
Forward:
The G1 is an excellent phone and I have yet to run into anyone who doesn’t like it after they understand how to use it properly. One of the more challenging things to get accomplished when using the G1 and a Linux PC is transcoding video in such a way that it will play seamlessly. There are many tools available for Linux for transcoding video, but most are command line based and not very approachable for new users. Another issue is that most of the graphical tools don’t support true D.264 Baseline out of the box, and can take hours of fiddling with settings to get workable video for the G1. I have yet to see any graphical transcoders specifically target this device, but it is possible to make a profile for for the G1 within Handbrake.
For those of you not familiar with HandBrake, it is a multiplatform transcoding application built ontop of the ffmpeg libary. Here is a breif description of HandBrake from their website: “HandBrake is an Open-Source, GPL-Licensed, multiplatform, multithreaded, video transcode available for Mac OS X, Linux and Windows”
Plunging Ahead:
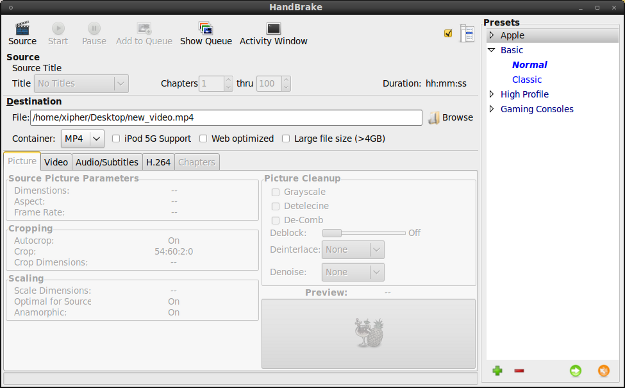
If you are using Ubuntu 8.04 or later you can download the GUI package directly from the HandBrake download section of their website. Once the package has been downloaded to your desktop, double click it and follow the installers instructions. You will find HandBrake in your Applications menu under “Sound and Video”. Once clicked you will be presented with this window:
You have a number of options you can change right from the get go. To begin we will just setup a basic video file for conversion with all the correct options selected so we can create a profile. Click on the “Source” button in the upper left side of the screen and choose a video to transcode. Once you are ready change the settings to look like this:
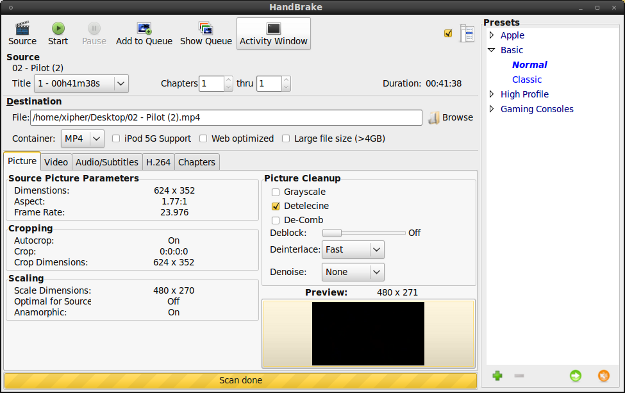
To change the videos size to the correct screen size for the G1 click on the preview box at the lower right. It will open a window were you can change the croping and aspect ratio of the video. Change your settings to look like this:
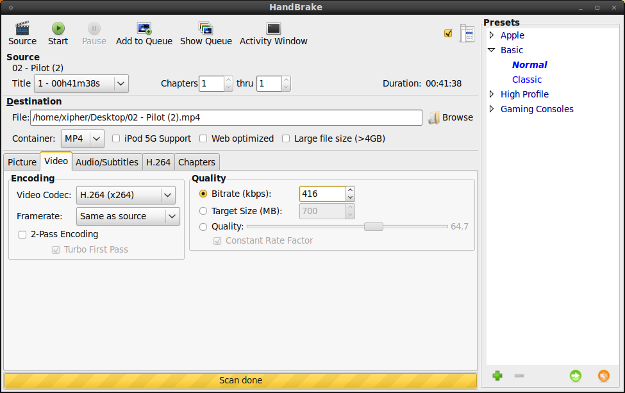
Once this has been completed you can close the window and then click on the “Video” tab. It is very important that you do not exceed 500kbps for your bitrate as the G1 will be unable to play the video. Go ahead and set the settings as follows:
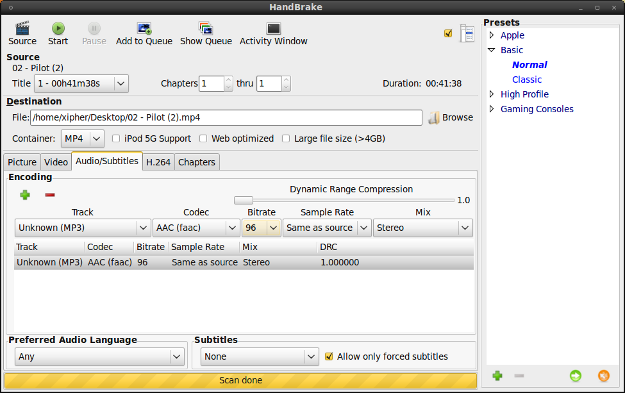
Next choose the Audio/Subtitles tab and select the audio channel you want to use. Once you have chosen the appropriate channel change the remaining settings as depicted:
Lastly you need to configure the H.264 encoder. Click on the H.264 tab and copy and paste this set of encoding instructions into the “Manual Options String” section on the lower left:
cabac=0:deblock=1,0:analyse=0x1,0x111:psy_rd=1.0,0.0:chroma_me=1:chroma_qp_offset=-2:threads=3:nr=0:keyint=250:keyint_min=25:scenecut=40:bitrate=416:ratetol=1.0:qcomp=0.60:qpmin=10:qpmax=51:qpstep=4:cplxblur=20.0:qblur=0.5
Once completed the settings should look like this:
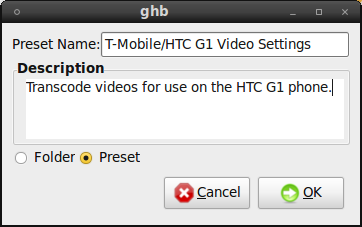
You are now ready to save these settings as a preset for HandBrake. You will notice on the right side of HandBrakes interface a section labeled “Presets” Click on the green plus button near the bottom to save these settings as a new preset. You will be presented with a window that will allow you to name and describe your new preset. Feel free to fill out your preferences as you wish, here is how I typically set mine up.
Now anytime you would like to encode videos for your G1 all you have to do is select the source video and click on the G1 Preset and click the start button. When the process is complete just copy the new file to the “Video” folder on your phone and open the video through the gallery.


