
This tutorial aims at showing a fast, straightforward way of creating a USB flash drive with Debian live installed (on it) using the persistence feature. It means that you can automatically save changes back to the USB flash drive before shutting your machine down.There are many more options not covered in this article which are explained in detail in Debian-live’s manual. You can find it here.
In order to follow this tutorial you need:
-A machine with linux installed.
-A FAT formatted usb flash drive of 4 GB (2GB will do since the image is 1.1 GB but this leaves little free space for persistence)
-A good internet connection to download an image of 1.1 GB.
-A basic knowledge of the command line.
-Sudo access to your machine. You must be in the sudoers file.
-Software/commands: bash, wget, mount, dd and gparted.
1. Download a usb-hdd image from live.debian.net A direct link to the latest stable release is here
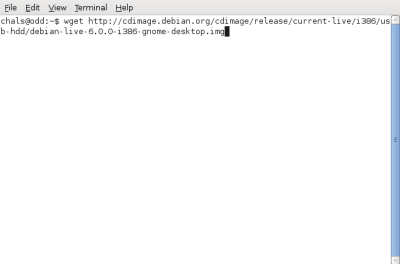
In order to achieve that, open a terminal. Type:
$ wget http://cdimage.debian.org/cdimage/release/current-live/i386/usb-hdd/debian-live-6.0.0-i386-gnome-desktop.img
With a fairly good connection it should not take longer than 20 or 30 minutes.
2. Plug in the flash drive and open a terminal. Type:
$ mount (In order to know the device name of your pendrive).
There should be an entry similar to this one:
/dev/sdc1 on /media/Kingston DataTraveler G2: 4.0 GB Filesystem type vfat (rw,nosuid,nodev,uhelper=udisks,uid=1000,gid=1000,shortname=mixed,dmask=0077,utf8=1,showexec,flush)
Here is important to remember /dev/sdc (your device name can be different like for example /dev/sdb) Just make sure that the name belongs to the usb you want to copy the live image to. Otherwise you risk losing important data.
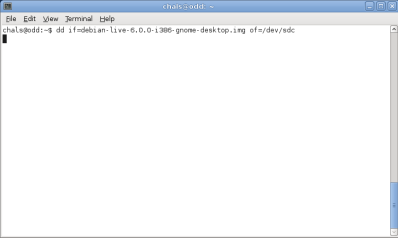
3. Once the download is finished. Copy the image to the usb flash drive. In order to do that open a terminal and type:
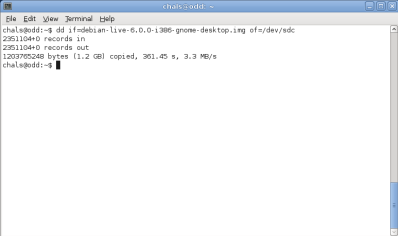
$ dd if=debian-live-6.0.0-i386-gnome-desktop.img of=/dev/sdc (Remember to replace sdc with the actual name of your device.)
4. Wait for it to finish. (It might take a while)
5. It is time to make a new partition to use the space left on the flash drive to save changes. Then type:
$ sudo gparted
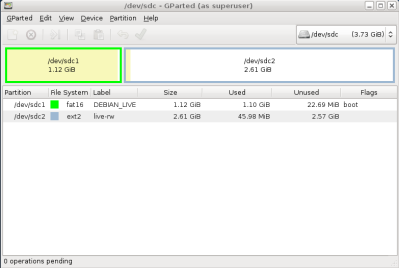
gparted interface looks like this:
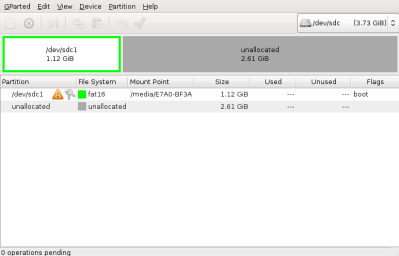
6. Gparted interface is very intuitive. Select the device from the drop down menu. Remember in this tutorial it is /dev/sdc
You must unmount the device. So first right click on it and select unmount.
7. Right click on the device and select new (To create a new partition). A new window opens.

8. Complete:
– Create as: Primary partition
–File System: ext2
–label: live-rw
Select Add and then apply changes. You’ll see something similar to this:
Unplug. Now you can boot from the usb Flash drive using persistence.
9. In order to use persistence you have to boot a machine from the usb device. You must first ensure that your bios is capable of booting from usb. Enter the bios and check that.
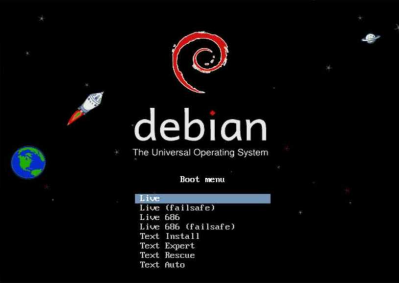
First thing you will be presented with the splash screen:
10. Press ESC to see the boot prompt and type “live persistent” (Without quotes)
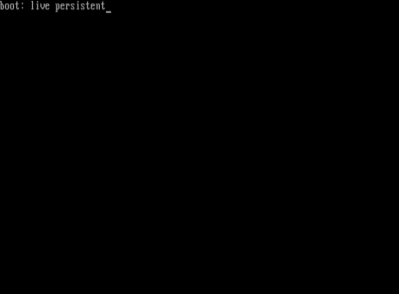
You are done. You can now use the system as you like and all the changes that you make will be saved in the partition you’ve created.
Only one thing left to say: ENJOY!!!!


