
The text editor is a tool Linux users have either a casual or a very deep relation with. If you’re one of those users that only opens up the text editor on the rare occasion that a configuration file must be tweaked, then you’re probably good with the likes of Nano. Developers, on the other hand, need something much more powerful. On the Linux platform, you can easily turn to Vi or Emacs, but some developers prefer to have a GUI at their fingertips.
-
Easy extensibility
-
Cross-platform editing
-
Built-in package manager
-
Smart autocompletion
-
Built-in file browser
-
Multi-pane viewing
-
Find and replace
-
Themable
-
Customize styling with your own CSS/LESS
-
And much more
In terms of available packages for Atom, you can browse among the nearly four thousand available extensions that can be added. If you’re looking for your next favorite text editor, look no further.
Let’s install Atom and use it.
Installation
I will be demonstrating Atom on Elementary OS Freya. From the Atom home page, you can download either an .rpm or .deb package for installation. To install Atom on the Debian-based platform, download the .deb package and save it in your ~/Downloads directory. Once the file has downloaded, follow these steps:
-
Open up a terminal window
-
Change into the ~/Downloads directory with the command cd ~/Downloads
-
Issue the command sudo dpkg -i atom-XXX.deb (Where XXX is the architecture of the file downloaded…i.e. amd64)
-
Type your sudo password and hit Enter
-
Allow the installation to complete
The installation should go off without a hitch. However, I tested the same installation on Ubuntu Mate 16.04, and it installed with errors (meaning it wouldn’t run). If you find that is the case on your Ubuntu system, you can fix it with the following steps:
-
Open up a terminal window (or remain in the one used for installing Atom)
-
Issue the command sudo apt-get install -f
-
Type your sudo command (if necessary) and hit Enter
-
Allow apt-get to do its thing
That should fix the dependency issue. You’re ready to go.
First Launch
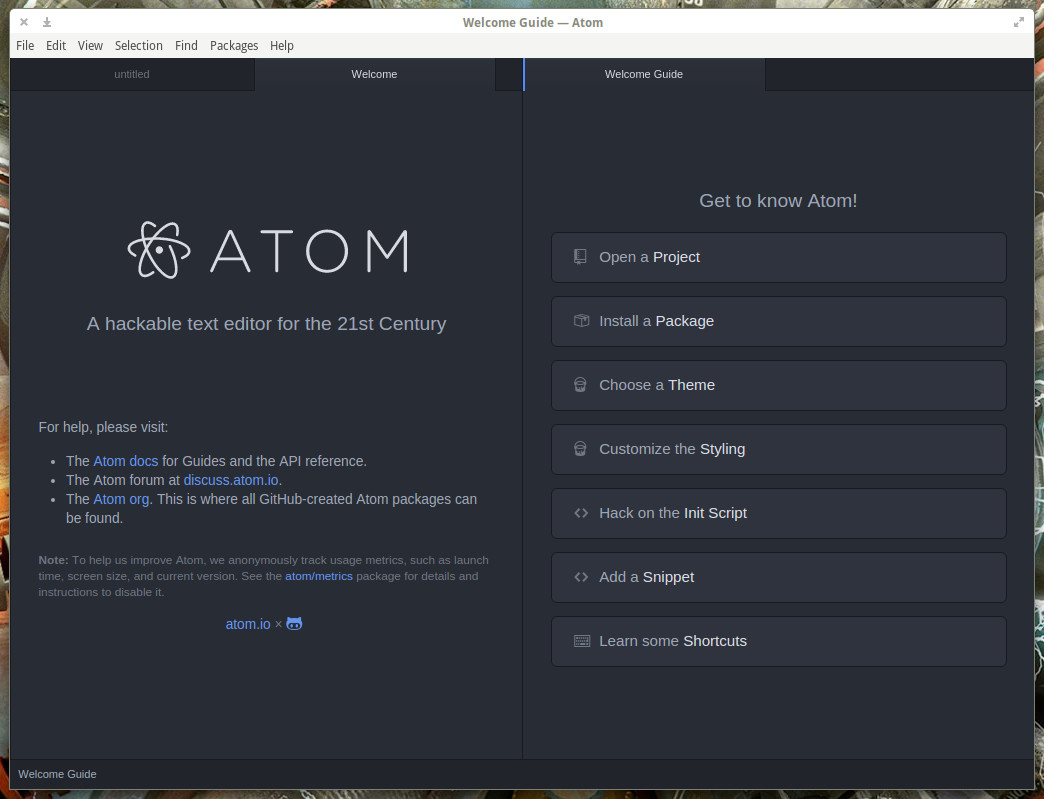
When you first launch atom (either from your desktop menu or from the command line…with the command atom), you will be greeted by the welcome guide (Figure 1 above).
This welcome guide will appear the first time you open Atom. Upon closing the editor, when you reopen, it will land on the editor window. To get back to the Welcome Guide, open Atom and then click Help > Welcome Guide.
From the Welcome Guide, you can easily open a project, install new packages, customize the styling, hack the Atom initscript, create snippets to be used later, learn keyboard shortcuts (memorize Shift+Ctrl+p, which is the command to open up the keyboard shortcut drop-down).
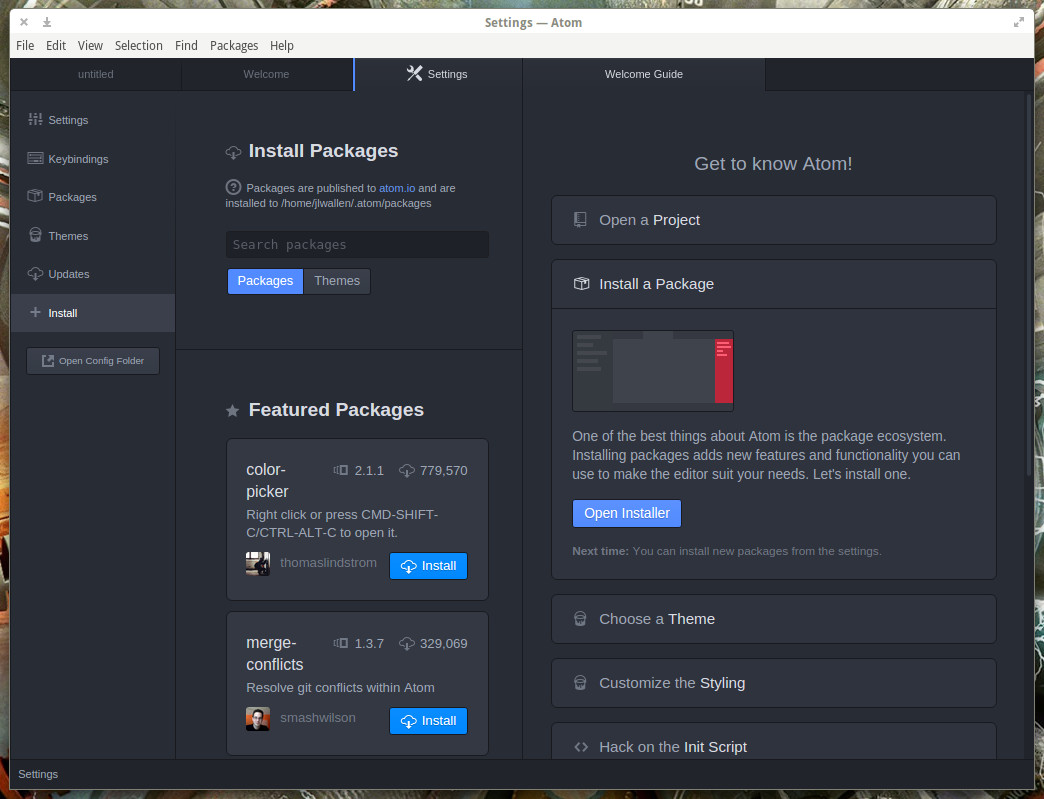
Installing Packages
-
Open up Atom
-
From the Welcome Guide, click Install a Package
-
Click Open Installer
-
From the newly opened pane (Figure 2) scroll through the listing of packages (or do a search for a keyword or name)
-
When you find the package you want to install, click the associated Install button
-
Allow the installation to complete
Once you’ve installed a package, you’ll find a newly-created sub-menu in the Packages menu. Click on that sub-menu to see what the package offers.
Let me show you a really cool example. Say you write in C or C++. Out of the box, Atom cannot run scripts written in those languages. However, there is an outstanding package, aptly named script, that can run C and C++. Here’s what you do:
-
Open Atom
-
Go to the Welcome Guide
-
Click Install package
-
Enter script in the search field
-
Locate the package, script, by rgbkrk
-
Click Install
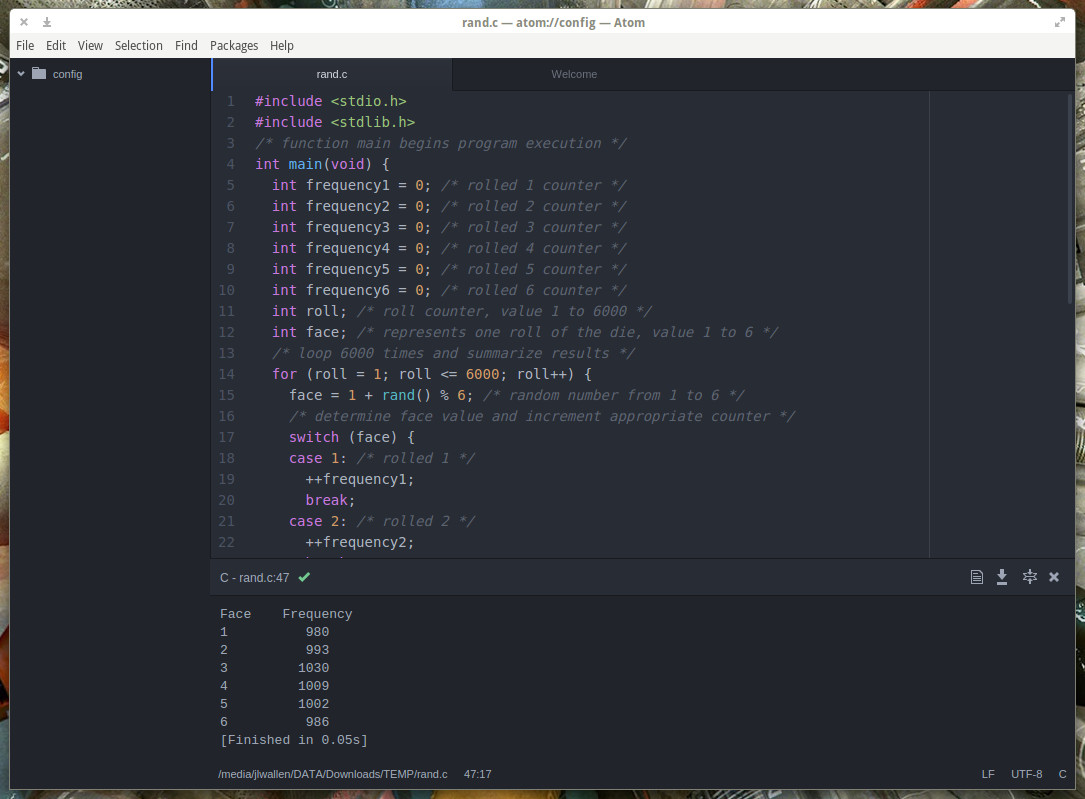
I’ve added a C++ script for random number generating. Click Packages > Script > Run Script and (if the code works) the results of the run will appear in a pane at the bottom of the window (Figure 4).
It’s the Little Things
Atom is filled with some pretty amazing features and tools. There are also several little additions that make this text editor spectacular. For example, say you’re looking for a matching bracket in a large snippet of code. All you have to do is click on one of the brackets and then click Packages > Bracket Matcher > Go to matching bracket. The cursor will be immediately teleported to the matching bracket, so you won’t have to go on a hunt for that missing character.
Another nice feature exists in the bottom right corner of the window. After you save a file, the bottom right corner will display:
-
Line break type
-
Encoding
-
Syntax highlighting
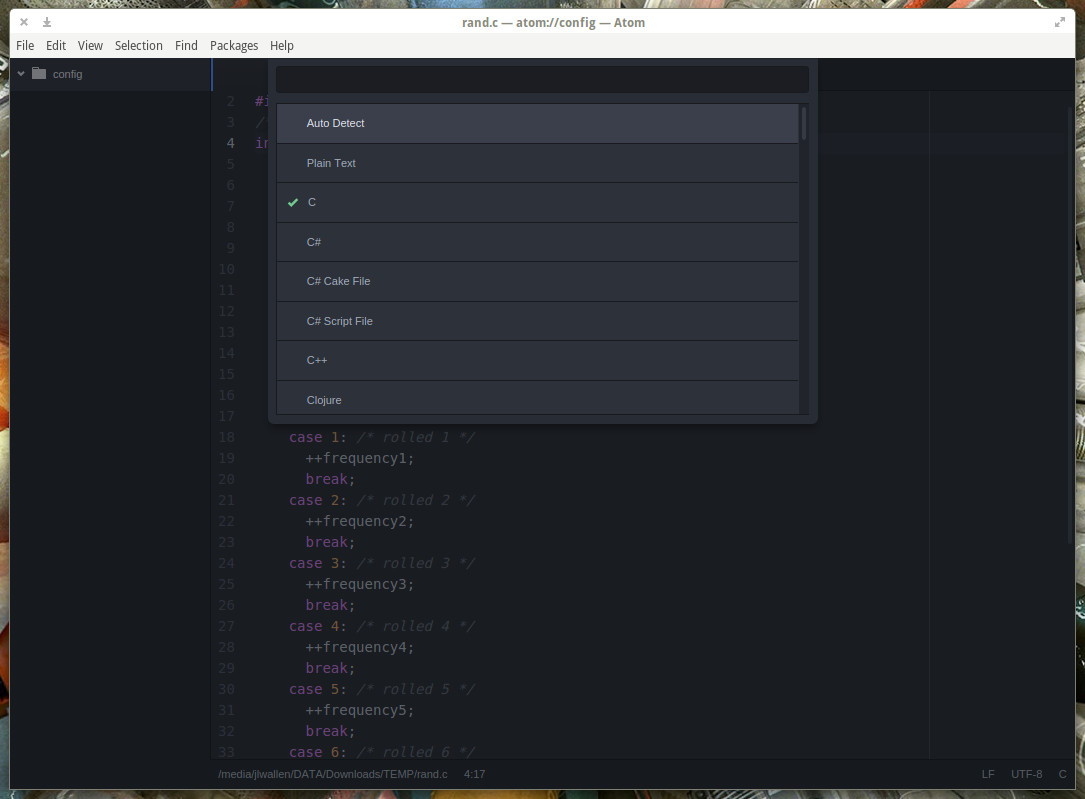
Atom offers something for just about everyone. I’ve just scratched the surface here of what this powerful text-editor can do. If you’re looking for the perfect combination of features and ease of use, Atom is ready to become your go-to text editor.


