
Ubuntu 16.04 was released in April, and it’s a great release. Ubuntu is generally known as an extremely user-friendly distribution, so it’s easy to get up and running quickly. That said, there are a few things to do — depending on your needs — to get most out of your system.
First Things First: Update Your System
I am one of those people who tend to keep their system updated. I don’t wait for a whole month for a long list of packages to be updated. That’s where a lot of things tend to go wrong, because you are making way too many changes to the system at the same time. Incremental updates are safer; they are better So, I recommend running updates on a daily or weekly basis.
To do this, open the terminal and refresh repos:
sudo apt-get update
Then, run system updates:
sudo apt-get upgrade

sudo apt-get dist-upgrade
Your system is now up to date.
Customize Ubuntu
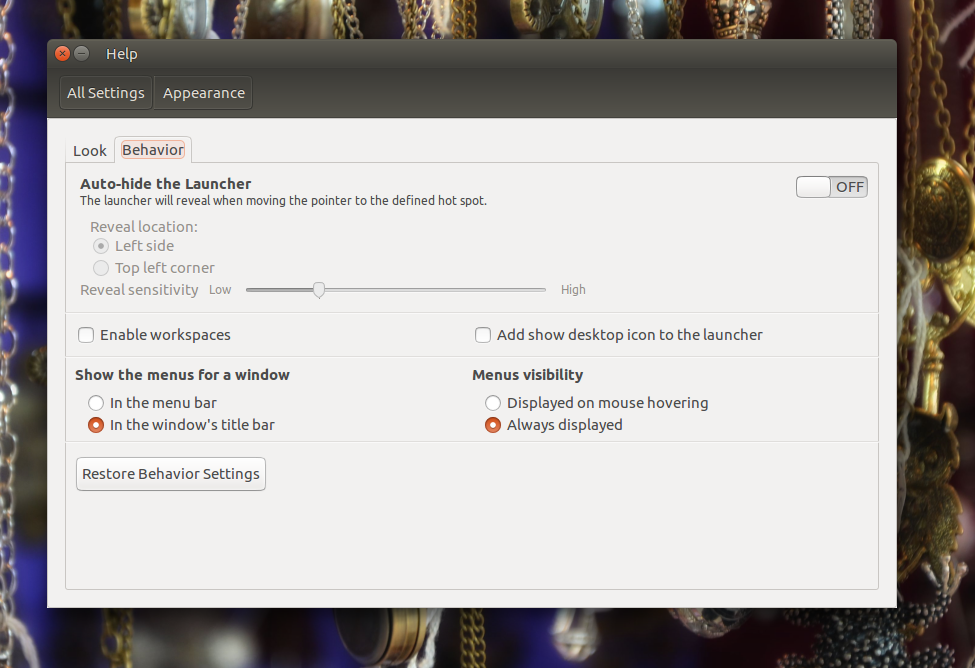
Unity is not known for customization options, but with 16.04, there are some new choices. For example, you can now choose where you want to display the menu — in the top bar or in app windows. In addition to that, you can also disable menu items from auto-hiding.
To gain some control over menus on your Ubuntu machine, open System Settings > Appearance and go to the Behavior tab. There, you can control menu visibility (Figure 1).
Change Launcher Location
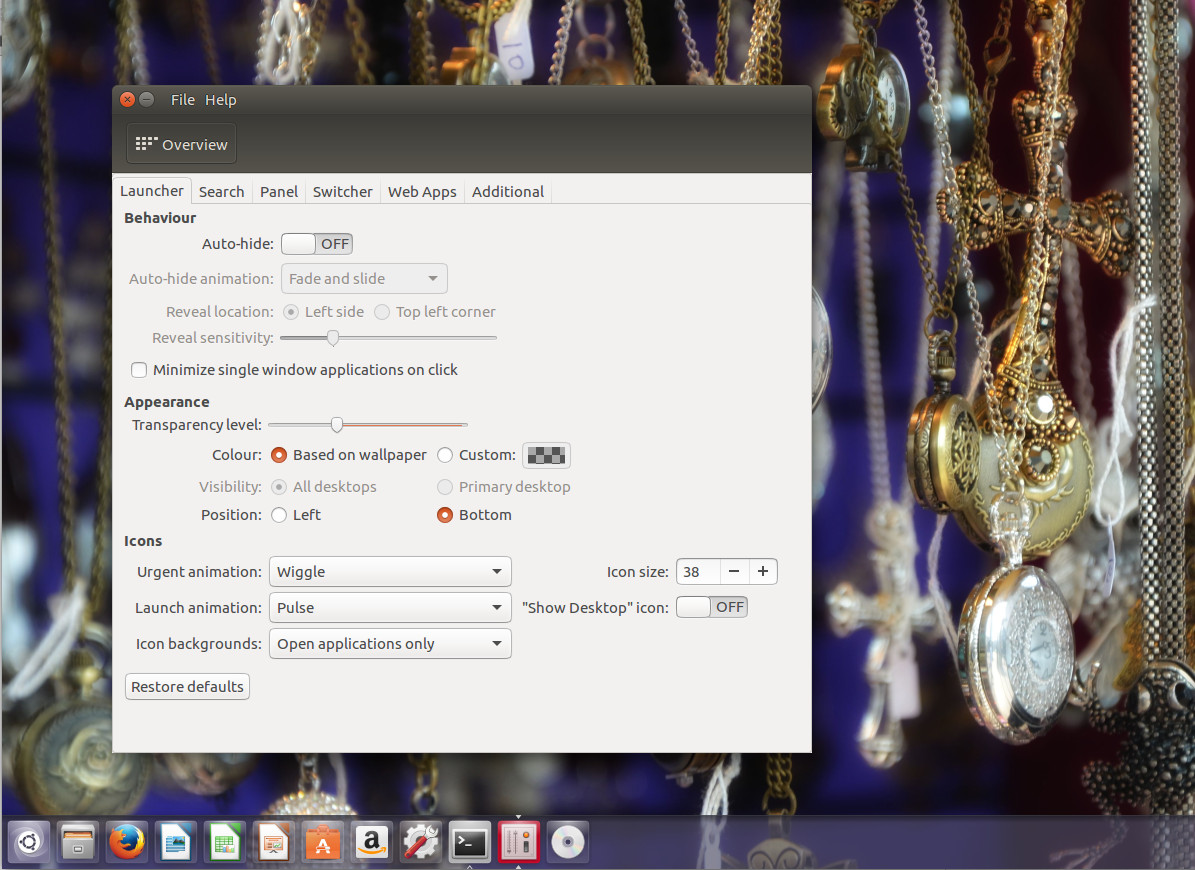
Canonical doesn’t really want users to be able to change the location of the Launcher. Some community-driven workarounds have been created to get some control over Unity Launcher, but none of them were easy to use. Now, thanks to the Ubuntu Kylin team, there is an easy way to do that. First, you need to install Unity Tweak Tool:
sudo apt-get install unity-tweak-tool
Once it’s installed, open the application and go to settings for Launcher and change the location. The tool allows two locations: Left and Bottom (Figure 2).
Install Proprietary Drivers
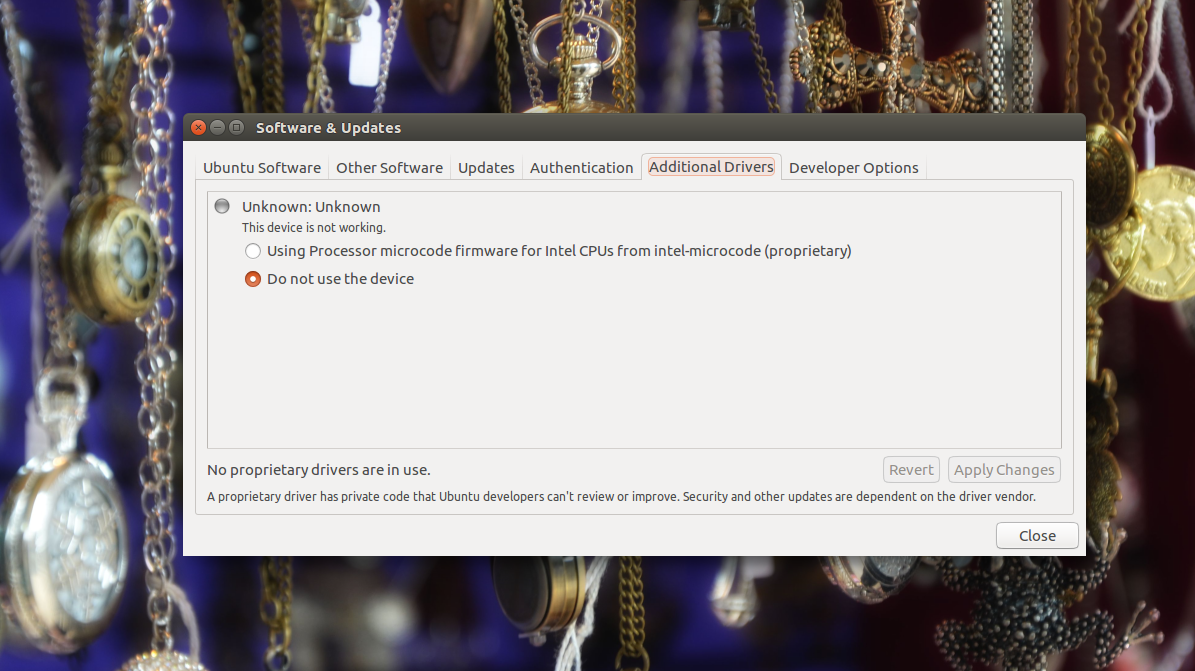
Ubuntu has done an incredible job at making it easy to install non-free drivers or firmware. If you are using Bluetooth chips or graphics drivers on your system, then you can easily install drivers for those. Just search for “additional drivers” in Dash; alternatively, you can open Software & Updates and go to the Additional Drivers tab (Figure 3). The utility will scan the system and, if it finds any proprietary drives for the hardware, it will offer to install those drivers. Easy peasy.
Install VLC and Media Codecs
If you want — and who wouldn’t — to be able to play movies on Ubuntu, you need to install media codecs. Or you can simply install VLC, which is more or less an all-purpose tool for media playback. Once you install VLC, you will be able to play virtually all media formats out there:
sudo apt-get install vlc
That said, you may still need codecs to play mp3 and other stuff on your system. You can do this with the following command:
sudo apt-get install ubuntu-restricted-extras ubuntu-restricted-addons
Suggested Applications
Ubuntu 16.04 comes with a decent set of applications preinstalled, so you can get started as soon as you boot into the system. But there are always more. Here are a few applications that suit my needs the best. I use VLC for media playback. Clementine is a great music player that has more features than the default music player. I also prefer Sublime Text over Gedit for text editing. I also install Chrome browser, because it allows me to play HTML5 videos, Netflix, Amazon Prime, and many other such services that need DRM. I also install Handbrake to convert videos for my mobile devices.
One application that I do not recommend is Adobe Flash Player. This is one of the most insecure applications out there, so please don’t even install it. That’s pretty much all you need to do to complete your setup after installing Ubuntu 16.04.
But, what if you are running an older version of Ubuntu, how do you upgrade to 16.04?
How to Upgrade to the Latest Release
It’s always recommended — and in most cases required — that you do incremental upgrades from one point release to the next. This means, if you are running Ubuntu 15.04, you should upgrade to 15.10 and then upgrade it to 16.04. The good news is that none of this is manual; there is a great tool to help you to do that. We will talk about it in a bit.
If you are running Ubuntu 14.04 LTS, you can skip the regular releases and upgrade to the next LTS. However, upgrades between LTS releases are disabled by default and will be enabled in 16.04.1. So, if you are running 14.04 and want to use 16.04, the safest best bet is to do a fresh upgrade — or wait for the next three months; there is a way out that I will mention later. If you are running 15.10, you can easily move to 16.04.
Before you proceed with a system upgrade, make a backup of your files. Now, open the terminal and refresh repositories:
sudo apt-get update
Then, run a system update:
sudo apt-get upgrade && dist-upgrade
And then run dist-upgrade, which will take care of any updates that were not made by the previous command:
sudo apt-get dist-upgrade
Once all upgrades are done, you can install the release upgrade tool:
sudo apt-get install update-manager-core
This tool handles a lot of tasks for you, such as changing the source.list so that you don’t have to edit it manually to point to the latest repositories. Next, run the following command:
sudo do-release-upgrade
If everything goes well, you will be able upgrade. If, however, it says “no new release found,” then you can force upgrade using:
sudo do-release-upgrade –d
Those who are currently using 14.04 on their desktop can also use the ‘-d’ option to force upgrade. I do not recommend this on production machines.
Enjoy your brand new Ubuntu 16.04!


