
Chromebooks are amazing little machines. They are a marvel of speed and simplicity. The Acer C720 Chromebook is certainly near the top of the list of Chromebooks to be purchased (next to the Chromebook Pixel, of course). It’s speedy and it’s inexpensive. But for some, the simplistic nature of the devices doesn’t  offer enough power or flexibility. For those who need more from this Acer platform, I have the answer – in fact, I have two answers:
-
Install Ubuntu.
-
Install Bodhi Linux.
Both solutions will land you with a full-blown Linux set up, ready to do what you need to do. But the process isn’t exactly as simple as slapping a USB flash drive in, booting, and installing. There are a few tricks to get this working. In the end, you’ll wind up with either a dual booting Chromebook (in the case of ChrUbuntu) or a single boot system (with Bodhi). With the dual boot, you retain the simplicity of ChromeOS, with the addition of the power and flexibility of Ubuntu. The Bodhi installation will give you more space for your Linux needs, at the cost of ChromeOS.
First things first
Before you install Linux, I highly recommend creating a recovery USB flash drive. Chromebook offers a simple solution for this. Just follow these steps:
-
Boot up your Chromebook and login
-
Plug in a spare ~2GB+ USB flash drive
-
Open the Chrome browser
-
Go to chrome://imageburner
-
Follow the simple instructions.
When all is said and done, you’ll have a recovery drive to use to get your system back where it was (should you not like either Linux install or something goes wrong).
Now, it’s time to start the process.
Boot into Recovery mode
-
Make sure Chromebook is turned off
-
Hold Escape and Refresh and tap the Power button
-
When the device reaches the recover screen, press Ctrl+d and then (after releasing Ctrl+d) press Enter
-
The system will reboot (this will take some time)
-
When the system finally boots to the set up, select a wireless connection and click continue
-
Accept the EULA by clicking Accept and continue
-
Once you reach the Google login screen, do NOT log in
-
Press Ctrl+alt+ → (not the right cursor key, but the key where the standard F2 key would be)
- At the login, type chronos and hit enter (no password is needed)
You are now ready to begin the installation process.
Install Ubuntu using ChrUbuntu
You should now be at the command prompt on your Chromebook. Here, type:
curl -L -O http://goo.gl/9sgchs; sudo bash 9sgchs
Make sure you get this command exactly right. Once you’ve done that, you will be asked to configure a size for the Ubuntu installation. This will obviously depend upon the size of SSD on your Chromebook. The recommended is 24. After you type the size and hit enter, the device will reboot a couple of times. This process is setting up the Stateful partition to make room for ChrUbuntu. Eventually it will come back to the Chromebook setup screen. Once again, configure your network and then hit Ctrl+alt+ → at the login screen. Log back in as chronos and then type the original command again:
curl -L -O http://goo.gl/9sgchs; sudo bash 9sgchs
This time around, the installation process will begin. Hit Enter (when prompted) and watch the fun begin! During the installation process (it will take quite some time), you may be prompted for:
encoding
locale
language
You will also have to decide where to place GRUB. You must check the box next to /dev/sda, or the boot process will not work. NOTE: During my installation process, this step was skipped. I assume the install script has been updated to automatically set the location of GRUB.
After the Ubuntu files have been downloaded and installed, the script will finally prompt you to reboot. When you reach the developers screen, hit Ctrl+L and ChrUbuntu will start up (or Ctrl+d to boot Chrome).
To log into your Ubuntu system, use the credentials:
username: user
password: user
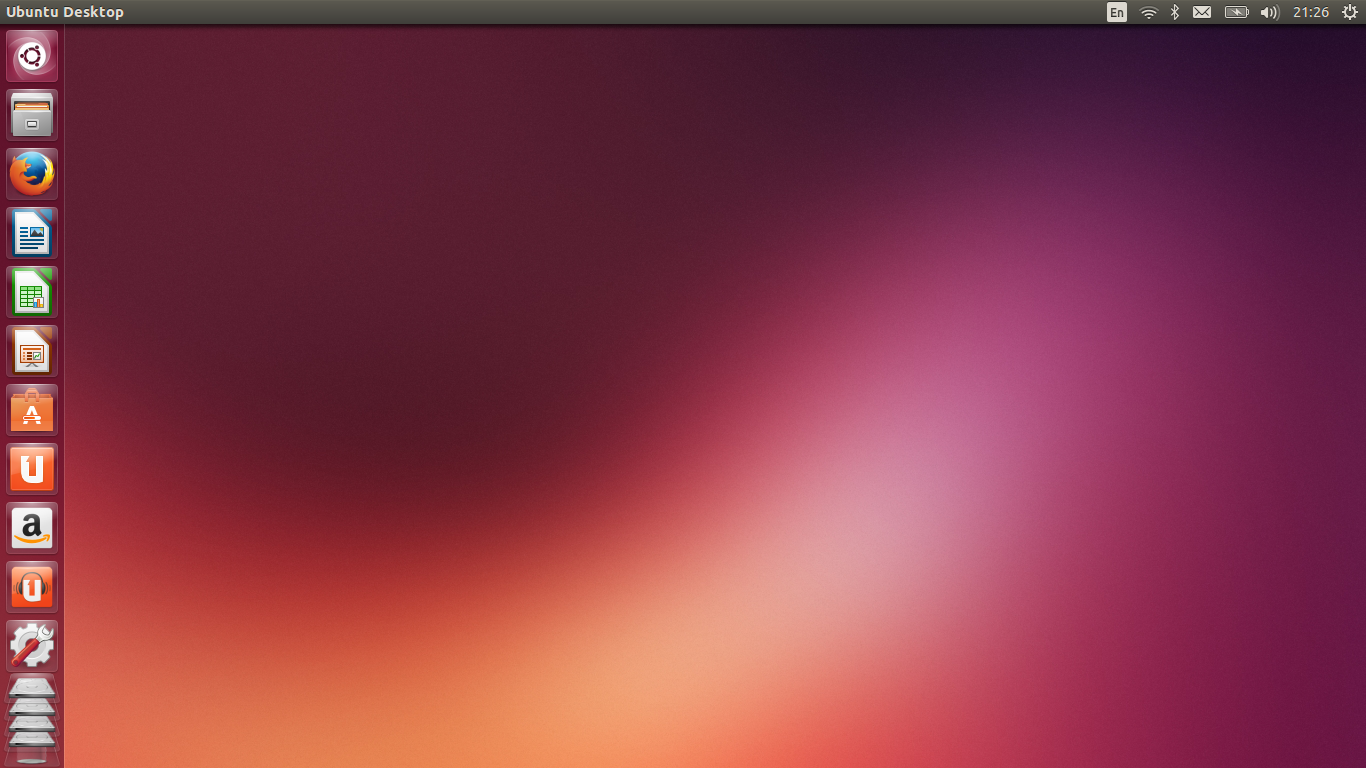
Your Ubuntu Chromebook should be ready to go, complete with LibreOffice and a number of other tools (Figure 1).
Bodhi Linux
Now, let’s install Bodhi Linux. This flavor of Linux is a very minimalist take on an already minimalist platform and will give you an incredibly fast and efficient machine.
The first thing you need to do is enable the Legacy Bios Mode – this will allow you to boot from a USB flash drive.
-
Follow the steps above to boot into recovery mode
-
Log into your Chromebook as normal
- Open a crosh window with Ctrl+Alt+t
-
At the crosh prompt, type shell and hit Enter
-
Become the super user with the command sudo bash
-
Enter the command crossystem dev_boot_usb=1 dev_boot_legacy_1
Exit out of bash with the exit command and then close the Chrome browser
Now you can boot your Chromebook from a USB flash drive.
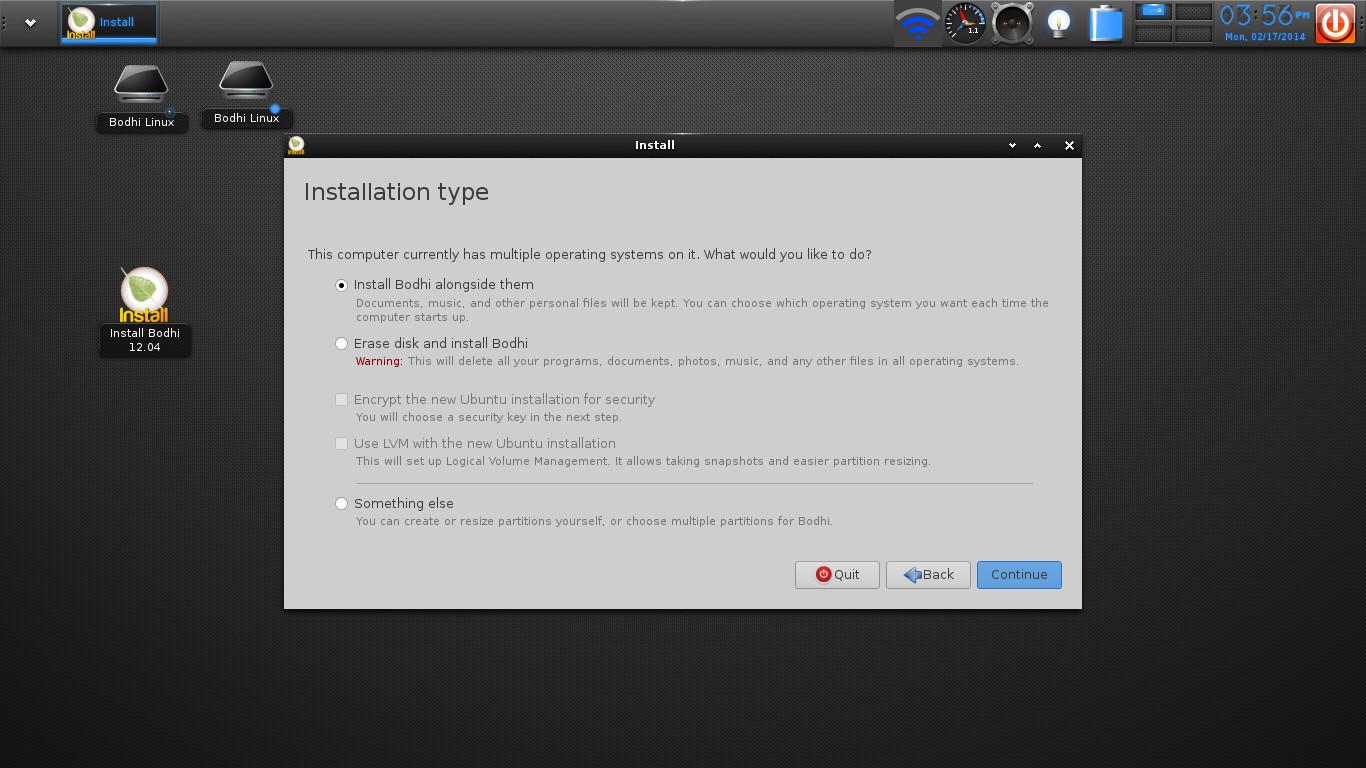
The next step is to create a USB flashdrive with the proper Bodhi image. The developers (specifically Jeff Hoogland) have created an Acer 720-specific image that you can download here. Once you’ve downloaded that file, insert a USB flash drive, open up a terminal window, change to the directory where the Bodhi iso is located, and issue the command:
dd if=bodhi-c720-chromebook.iso of/dev/sdX
(where X is the drive letter of your USB flash drive).
Unmount and remove that flash drive and insert it into one of your Chromebooks USB ports. Boot the device and then, at the startup screen, press Ctrl+l to boot from the legacy BIOS. When prompted, hit Esc to enter the boot menu and select 1 for the USB drive. At this point, boot the Live Bodhi instance and then walk through the standard installation process. You can allow Bodhi to take the entire drive, or set it up to dual boot (Figure 2).
You will need to hit Ctrl+l every time you boot – there is no work around for this at the current time.
Restoring
Should anything go wrong, you have your restore USB drive. To use this, follow these steps:
-
Boot the machine
-
When you see Chrome OS is missing or damaged, insert the USB flash drive
-
Wait for the Chromebook to boot from the flash drive
- Follow the instructions for recovery
If you’re looking for a way to supercharge your Acer C720, you now have the means. Whether you want a stripped-down, lightning-fast Bodhi-based Chromebook, or a full-blown Ubuntu-based Chromebook, you can stretch the limits of that device or even go back to the original set up. If you do opt to stick with either Bodhi or Ubuntu on your Chromebook, you might want to invest in a 64 GB SD card for some extra space.


