
Learn how to use Cockpit for Linux administration tasks in this tutorial from our archives.
If you administer a Linux server, you’ve probably been in search of a solid administration tool. That quest has probably taken you to such software as Webmin and cPanel. But if you’re looking for an easy way to manage a Linux server that also includes Docker, one tool stands above the rest for that particular purpose: Cockpit.
Why Cockpit? Because it includes the ability to handle administrative tasks such as:
-
Connect and manage multiple machines
-
Manage containers via Docker
-
Interact with a Kubernetes or Openshift clusters
-
Modify network settings
-
Manage user accounts
-
Access a web-based shell
-
View system performance information by way of helpful graphs
-
View system services and log files
Cockpit can be installed on Debian, Red Hat, CentOS, Arch Linux, and Ubuntu. Here, I will focus on installing the system on a Ubuntu 16.04 server that already includes Docker.
Out of the list of features, the one that stands out is the container management. Why? Because it make installing and managing containers incredibly simple. In fact, you might be hard-pressed to find a better container management solution.
With that said, let’s install this solution and see just how easy it is to use.
Installation
As I mentioned earlier, I will be installing Cockpit on an instance of Ubuntu 16.04, with Docker already running. The steps for installation are quite simple. The first thing you must do is log into your Ubuntu server. Next you must add the necessary repository with the command:
sudo add-apt-repository ppa:cockpit-project/cockpit
When prompted, hit the Enter key on your keyboard and wait for the prompt to return. Once you are back at your bash prompt, update apt with the command:
sudo apt-get get update
Install Cockpit by issuing the command:
sudo apt-get -y install cockpit cockpit-docker
After the installation completes, it is necessary to start the Cockpit service and then enable it so it auto-starts at boot. To do this, issue the following two commands:
sudo systemctl start cockpit
sudo systemctl enable cockpit
That’s all there is to the installation.
Logging into Cockpit
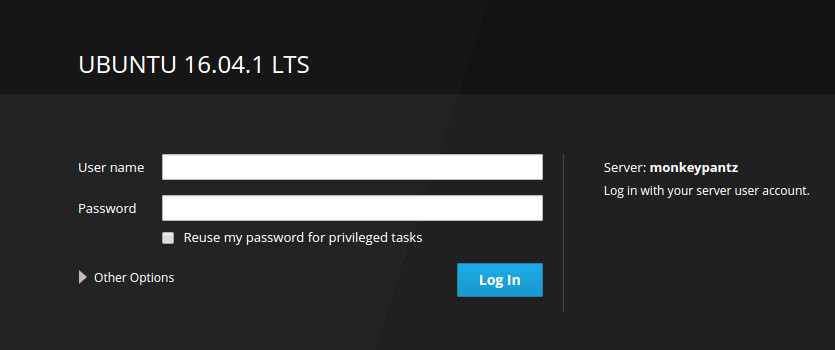
To gain access to the Cockpit web interface, point a browser (that happens to be on the same network as the Cockpit server) to http://IP_OF_SERVER:9090, and you will be presented with a login screen (Figure 1).
A word of warning with using Cockpit and Ubuntu. Many of the tasks that can be undertaken with Cockpit require administrative access. If you log in with a standard user, you won’t be able to work with some of the tools like Docker. To get around that, you can enable the root user on Ubuntu. This isn’t always a good idea. By enabling the root account, you are bypassing the security system that has been in place for years. However, for the purpose of this article, I will enable the root user with the following two commands:
sudo passwd root

sudo passwd -u root
NOTE: Make sure you give the root account a very challenging password.
Should you want to revert this change, you only need issue the command:
sudo passwd -l root
With other distributions, such as CentOS and Red Hat, you will be able to log into Cockpit with the username root and the root password, without having to go through the extra hopes as described above.
If you’re hesitant to enable the root user, you can always pull down the images, from the server terminal (using the command docker pull IMAGE_NAME where IMAGE_NAME is the image you want to pull). That would add the image to your docker server, which can then be managed via a regular user. The only caveat to this is that the regular user must be added to the Docker group with the command:
sudo usermod -aG docker USER
Where USER is the actual username to be added to the group. Once you’ve done that, log out, log back in, and then restart Docker with the command:
sudo service docker restart
Now the regular user can start and stop the added Docker images/containers without having to enable the root user. The only caveat is that user will not be able to add new images via the Cockpit interface.
Using Cockpit
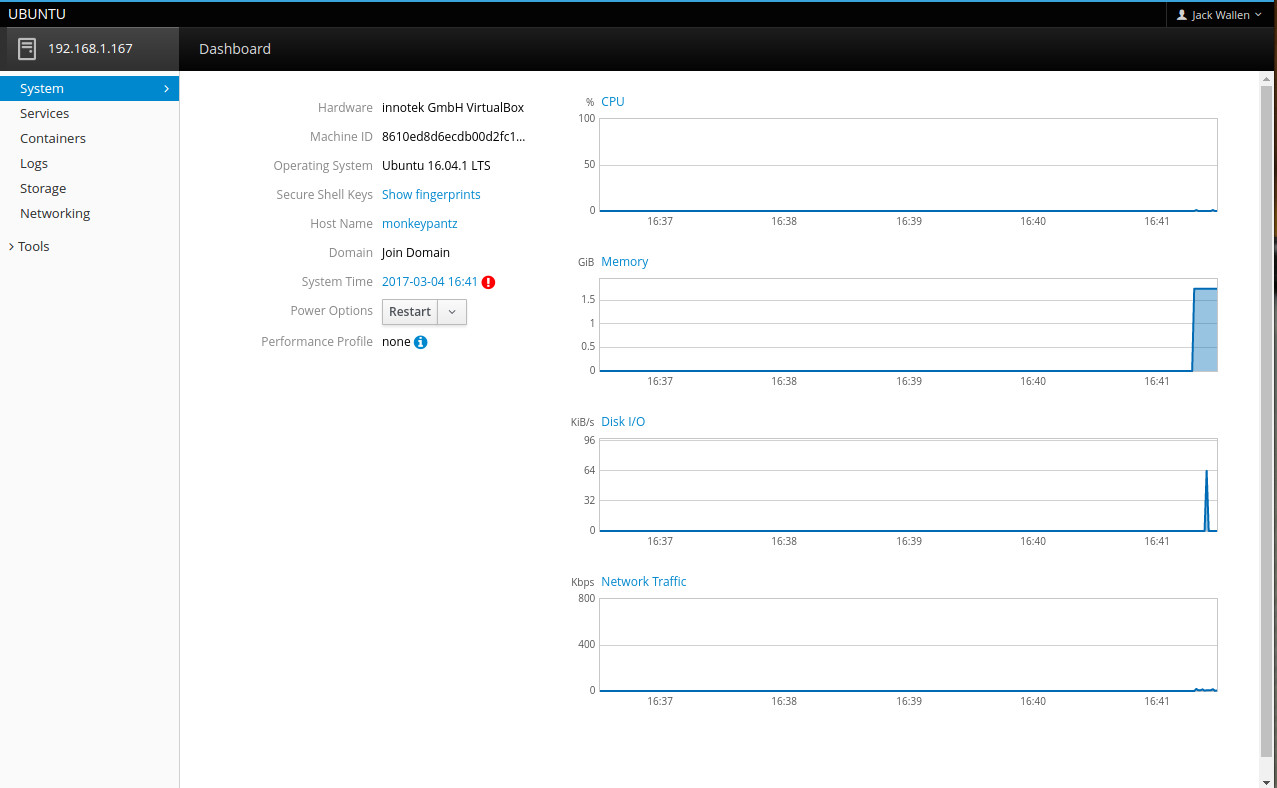
Once you’ve logged in, you will be treated to the Cockpit main window (Figure 2).
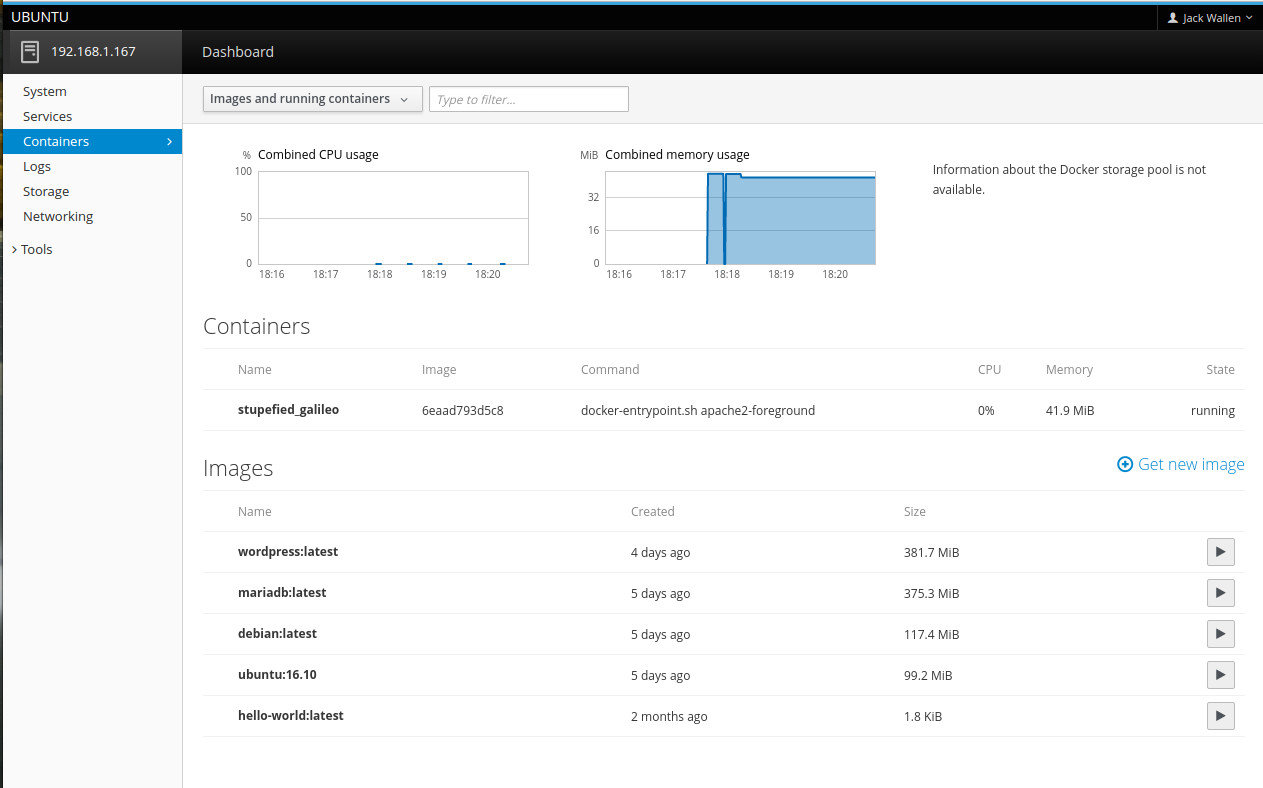
You can go through each of the sections to check on the status of the server, work with users, etc., but we want to go right to the containers. Click on the Containers section to display the current running contains as well as the available images (Figure 3).
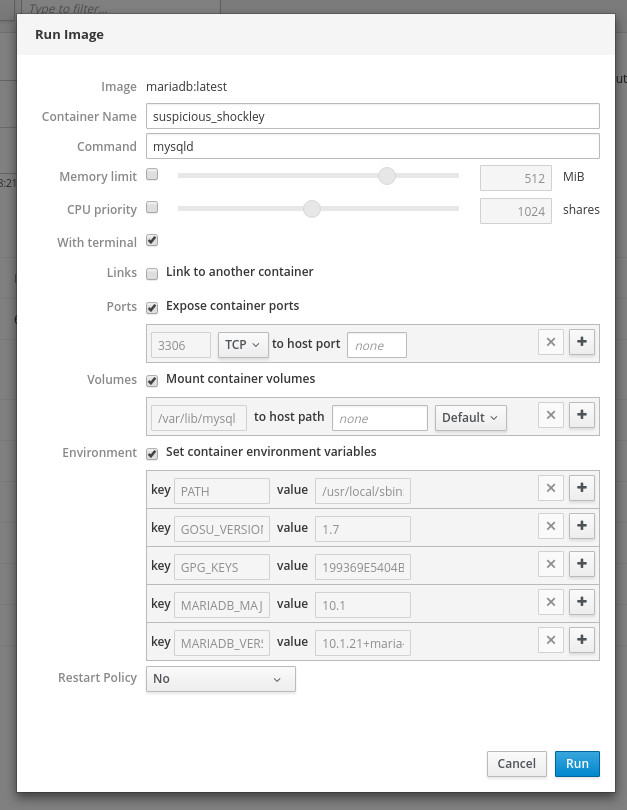
To start an image, simply locate the image and click the associated start button. From the resulting popup window (Figure 4), you can check all the information about the image (and adjust as needed), before clicking the Run button.
Once the image is running, you can check its status by clicking on the entry under the Containers section and then Stop, Restart, or Delete the instance. You can also click Change resource limits and then adjust either the Memory limit and/or CPU priority.
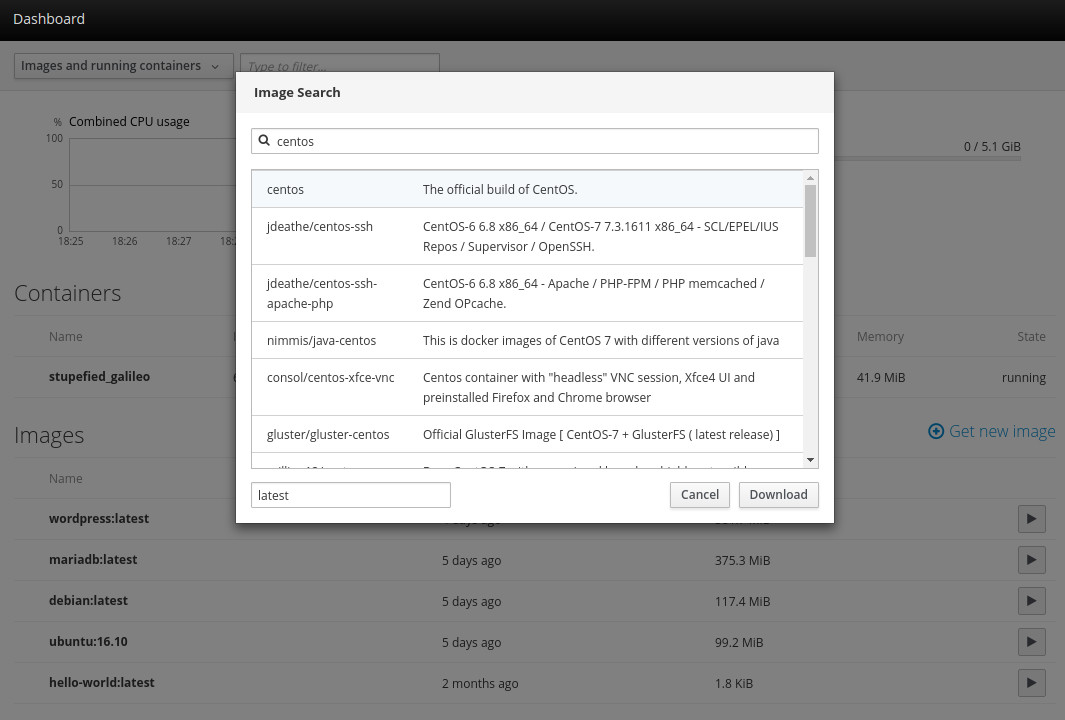
Adding new images
Say you have logged on as the root user. If so, you can add new images with the help of the Cockpit GUI. From the Containers section, click the Get new image button and then, in the resulting window, search for the image you want to add. Say you want to add the latest official build of Centos. Type centos in the search field and then, once the search results populate, select the official listing and click Download (Figure 5).
Once the image has downloaded, it will be available to Docker and can be run via Cockpit.
As simple as it gets
Managing Docker doesn’t get any easier. Yes, there is a caveat when working with Cockpit on Ubuntu, but if it’s your only option, there are ways to make it work. With the help of Cockpit, you can not only easily manage Docker images, you can do so from any web browser that has access to your Linux server. Enjoy your newfound Docker ease.


