
Updates are something that are often ignored for one reason or another. However, if you’re not making a daily (or at least weekly) habit of updating your systems, then you are doing yourself, your servers, and your company a disservice.
And, even if you are regularly updating your Ubuntu and Debian systems, you may be doing the bare minimum, thereby leaving out some rather important steps.
As with nearly every aspect of Linux, fortunately, there’s an app that does an outstanding job of taking care of those upgrading tasks. A single command will:
-
Update the list of available packages
-
Download and install all available updates for the system
-
Check for and remove any old Linux kernels (retaining the current running kernel and one previous version)
-
Clear the retrieved packages
-
Uninstall obsolete and orphaned packages
-
Delete package settings from previously uninstalled software
That’s a lot of jobs for one command—but ucaresystem-core handles all this with ease. Considering that one command takes the place of at least eight commands, that’s a big time saver.
In fact, here are the commands ucaresystem-core can take care of:
-
apt update
-
apt upgrade
-
apt autoremove
-
apt clean
-
uname -r (do NOT remove this kernel)
-
dpkg –list | grep linux-image
-
sudo apt-get purge linux-image-X.X.X-X-generic (Where X.X.X-X is the kernel to be removed)
-
sudo update-grub2
If you love spending time at a terminal window, that’s great. But if you have a lot of systems to update, you’re probably looking out for something to make your job a bit more efficient. That’s where ucaresystem-core comes in.
I’ve been using ucaresystem-core for more than a year now (with Elementary OS and Ubuntu) and have yet to encounter a single problem. In fact, this particular tool has become one of the first I install on all Ubuntu and Debian systems. I trust it…it works.
So, how can you get this incredibly handy tool? Let’s walk through the process of installing ucaresystem-core, how to use it, and how to automate it.
Installation
The first thing you must do is install ucaresystem-core. We’ll be downloading the .deb file (as the Utappia repository seems to no longer contain a release file). Here’s how:
-
Download the .deb file that matches your operating system release into your ~/Downloads directory
-
Change into the ~/Downloads directory with the command cd ~/Downloads
-
Install the deborphan dependency with the command sudo apt install deborphan
-
Install ucaresystem-core with the command sudo dpkg -i ucaresystem-core*.deb
That’s it for the installation; ucaresystem-core is ready to go.
Running ucaresystem-core
You might have guessed by now that running this all-in-one command is very simple, and you would be correct. To fire up ucaresystem-core, go back to your terminal and issue the command:
sudo ucaresystem-core
This will launch the tool, which will immediately warn you that it will kick off in five seconds (Figure 1).

As the command runs, it requires zero user input, so you can walk away and wait for the process to complete (how long it takes will depend upon how much needs to be updated, how much needs to be removed, the speed of your system, and the speed of your Internet connection).
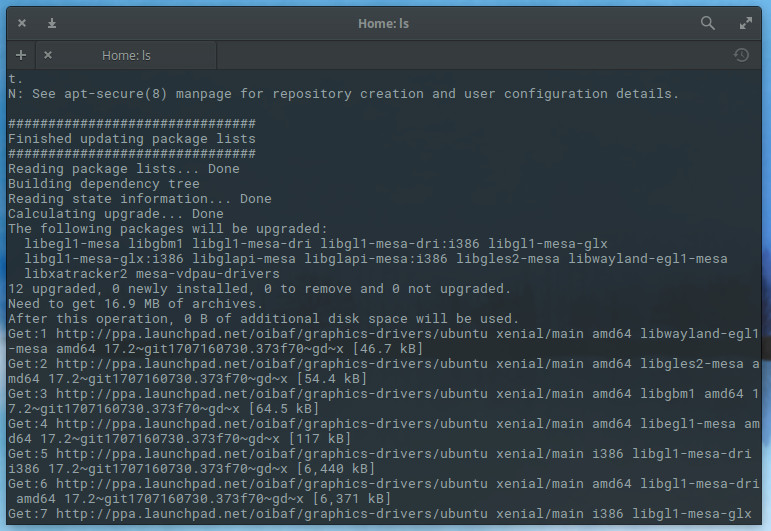
The one caveat to ucaresystem-core is that it does not warn you should you need to reboot your machine (if a newer kernel be installed). Instead, you have to scroll up to near the beginning of the output to see what has been upgraded (Figure 2).
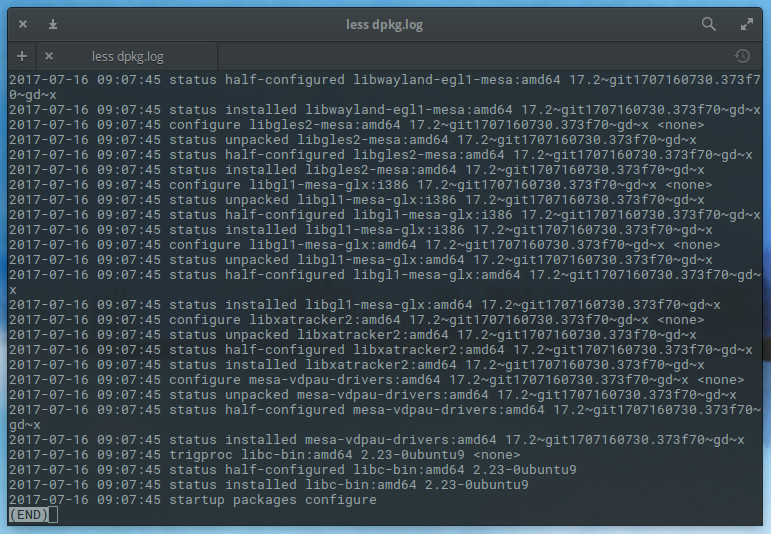
If you cannot scroll up in your terminal, you can always view the dpkg log found in /var/log/dpkg.log. In this file, you will see everything ucaresystem-core has upgraded (including a handy time-stamp — Figure 3).
How much space did we gain?
Since my Elementary OS is set up such that ucaresystem-core is run as a cron job, I installed a fresh instance on a Ubuntu 17.10 desktop to test how much space would be freed after a single run. This instance was a VirtualBox VM, so space was at a premium. Prior to running the ucaresystem-core command the VM was using 6.8GB out of 12GB. After the run, the VM was using 6.2GB out of 12GB. Although that may not seem like a large amount, when you’re dealing with limited space, every bit counts. Plus, if you consider it went from 37 percent to 34 percent usage, it might seem like a better savings. On top of that, the system is now clean and running the most recent versions of all software…with the help of a single command.
Automating the task
Because ucaresystem-core doesn’t require user input, it is very easy to automate this, with the help of cron. Let’s say you want to run ucaresystem-core every night at midnight. To do this, open a terminal window and issue the command sudo crontab -e. Once you’re in your crontab editor, add the following to the bottom of the file:
0 0 * * * /usr/bin/ucaresystem-core
Save and close the crontab file. The command will now run every night at Midnight. Thanks to the dpkg log file, you can check to see the results.
Should you want to set up ucaresystem-core to run at a different time/day, I suggest using the Crontab Guru to help you know how to enter the time/date for your cron job.
Keep it simple, keep it clean
You will be hard-pressed to find a simpler method to keep your Ubuntu and Debian systems both updated and clean, than with ucaresystem-core. I highly recommend you employ this very handy tool for any system that you want always updated and free of the cruft that can be left behind by such a process.
Of course, if you prefer to do everything by hand, that is an even more reliable method. However, when you don’t always have time for that, there’s always ucaresystem-core.
Learn more about Linux through the free “Introduction to Linux” course from The Linux Foundation and edX.


