
The Linux command line is a tool that every system administrator should get to know. With the power of commands at your fingertips, there’s very little you cannot do. However, along with that power comes the need to remember those commands. When you take into consideration how complicated those commands can get, it’s understandable that some admins have trouble recalling what they have done or need to do at the Bash prompt.
You may have to issue the command:
iptables -A OUTPUT -o eth0 -p tcp -m multiport
  --sports 22,80,443 -m state --state ESTABLISHED -j ACCEPT
Or, maybe you recently secure shelled into a server, but don’t recall the IP address off hand.
What do you do? Most Linux admins would immediately tell you to look to your Bash history; and that would be sage advice. By typing the command history, you are presented with the last X amount of command you have run on the system. The X is determined within the ~/.bashrc file, in the line:
HISTSIZE=1000
The history command is, in fact, a great way to see what commands you’ve issued. You can comb through that, find the command you need, copy it, and then paste it back into the prompt. Or, you can, at the command prompt, simply start tapping the up arrow on your keyboard until you land on the command you need.
What if I told you there was a much, much, much easier way? There is, and it’s called fish. Fish is a friendly, interactive shell that can be installed on your Linux machine and features:
-
Autosuggestions
-
Scriptability
-
Man page completions
-
VGA color
-
Web-based configuration
-
Ease of use
I’m going to walk you through the installation and usage of the fish shell; once you’ve started using this handy tool, chances are you’ll never go back to the standard old Linux shell again.
Installation
Fish can be installed on Ubuntu, Debian, Fedora, RHEL, openSUSE, CentOS, Arch Linux, Gentoo Linux, and even mac OS and Windows. I will be demonstrating the installation on Elementary OS, so the installation for your distribution will vary (you can get instructions for all the supported platforms from the fish main page). The installation for Elementary OS (as well as most Debian-based systems) is as follows:
-
Open up a terminal window
-
Add the necessary repository with the command sudo apt-add-repository ppa:fish-shell/release-2
-
Update apt with the command sudo apt-get update
-
Install fish with the command sudo apt-get install fish
That’s it; fish is now installed and ready to serve.
First steps
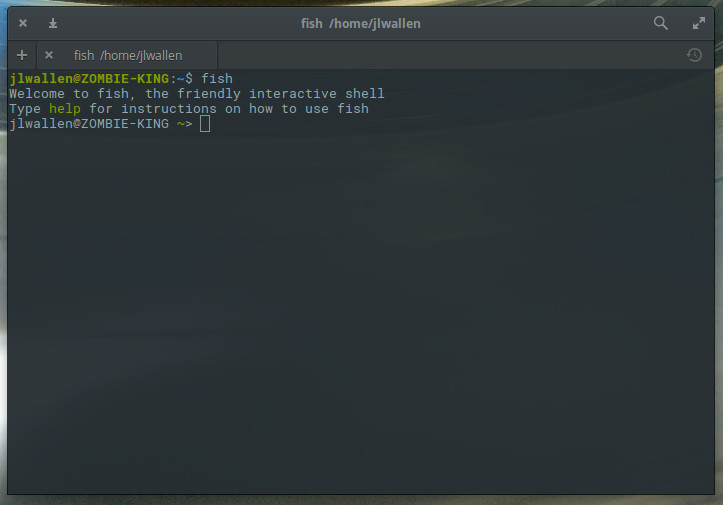
You’re at the Bash prompt, with fish installed, and you have no idea how to make use of it. That’s because you’re still in your bash prompt. To make use of fish, you have to enter the fish prompt. How do you do that? Type the command fish and you will see your prompt change (Figure 1).
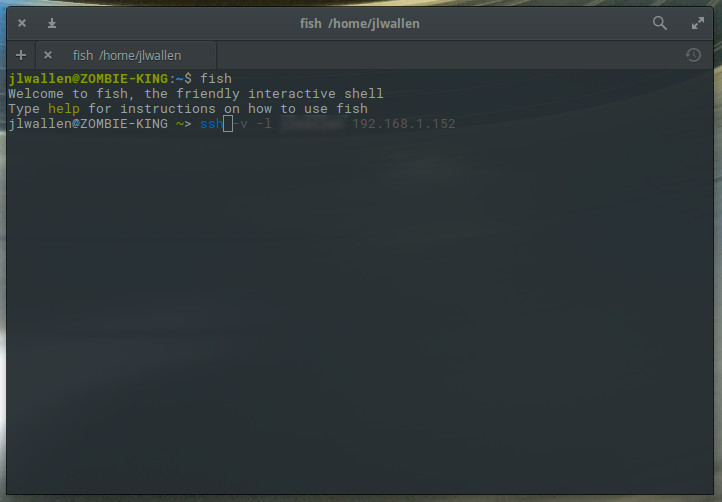
At this point, you’re ready to start using fish. The best way to do this is to start typing a command. You will see that fish does a great job of completing the command, bashed on your history. For example, if I start typing ssh, fish will complete the command with the most recent matching entry from bash history (Figure 2).
If that’s the command you’re looking for, hit the right arrow key to accept and then hit Enter. The one caveat to fish is that, once it makes a suggestion, you cannot scroll through the history of similar commands (which would be a nice feature).
One really cool thing you can do with fish is get suggestions for commands, based on what you type. Say, for instance, there’s an ssh tool you want to use, but you can’t remember the name of the command (but you know it starts with “ssh”). Type ssh and then hit the tab key. Fish will present to you suggestions, one of which might be the command you are looking for (Figure 3).

There are so many things you can do with fish. To learn them all, your best bet is to walk through the official fish tutorial (which offers up plenty of examples that will empower your fish experience).
Once you’re done with the fish prompt, you can return to bash by typing exit.
Configuring fish
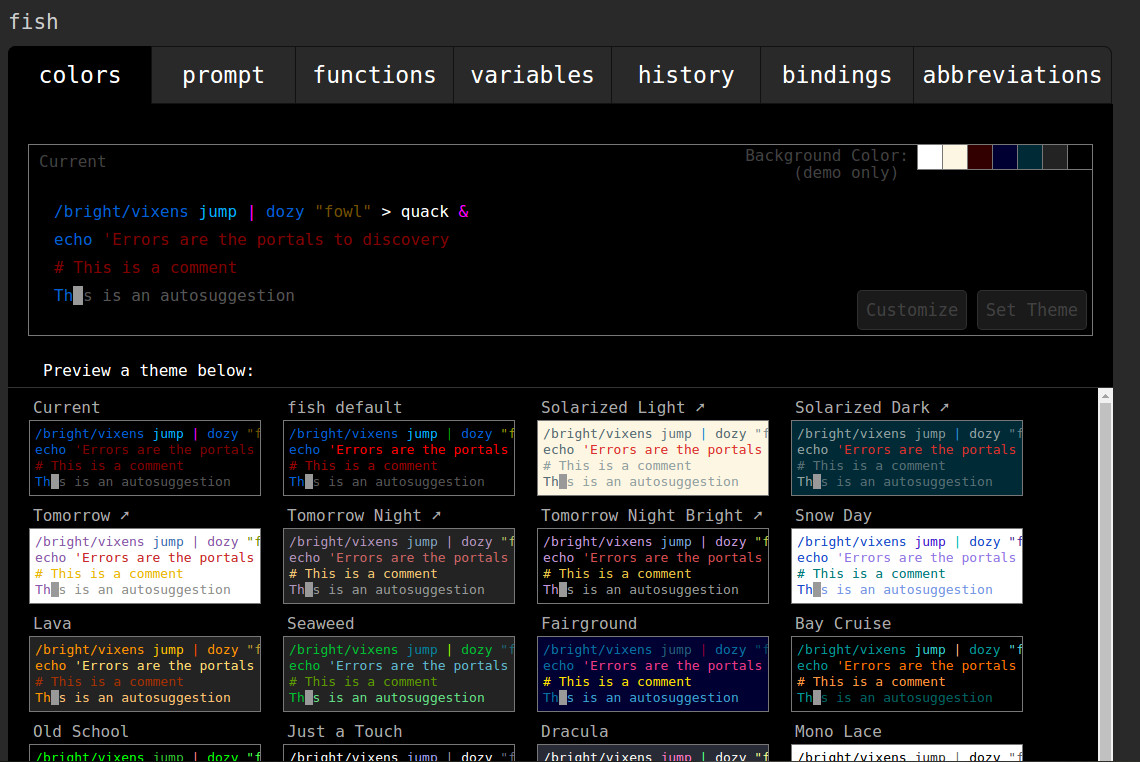
One task you should definitely undertake is the configuration. Out of the box, fish is an incredibly powerful and handy tool to use. However, fish offers plenty of customizations that can be tweaked with the web-based configuration tool. To get to the web interface, enter the fish shell and then type fish_config. Hit Enter on your keyboard and your default browser will open to the fish configuration page (Figure 4).
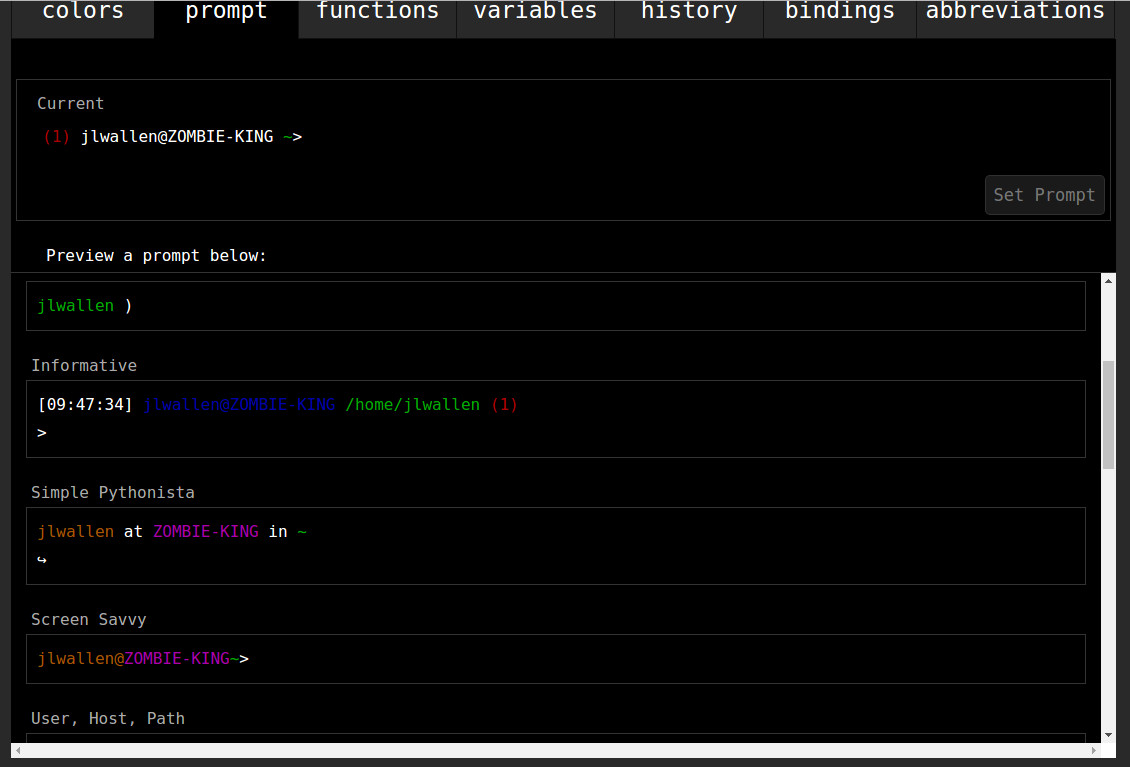
I highly recommend altering your fish prompt so that the differences between it and the standard prompt aren’t so subtle. To do this, click on the prompt tab, scroll down until you find a style that suits you, select that prompt, and then click the Set Prompt button (Figure 5).
Once you’ve made the changes, close the browser window (or tab), go back to your terminal window, and hit Enter. The new prompt configuration will be set and you’re ready to go.
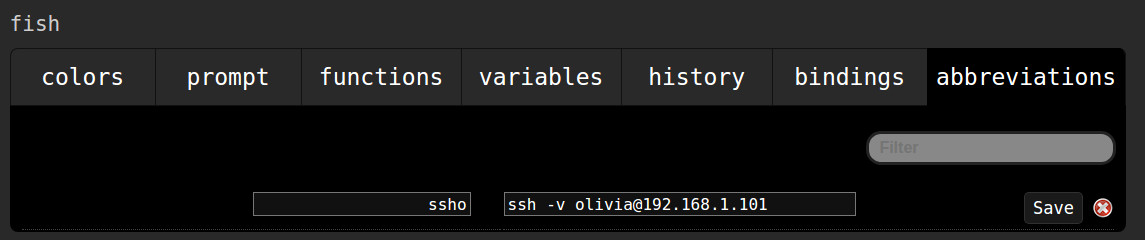
There are quite a lot of other options to be configured within the web-based tool. From here you can also set up abbreviations (aliases) for commands. This can also be done from the fish prompt, but using the web-based interface makes it a bit easier. Say, you regularly ssh to a particular server with the command:
ssh -v olivia@192.168.1.101
With abbreviations, you could shorten that to, say ssho. With this in place, you would only need type ssho (within the fish shell), hit enter, and the full command will run. To create an abbreviation, run the fish_config command (from the fish prompt), go to the abbreviations tab in the web-based tool, and then type your abbreviation in the left text area and the full command in the right text area (Figure 6). Hit the Save button and your abbreviation is ready.
Make sure you close the browser window (or tab) and then hit Enter (on your keyboard) back at the fish prompt.
Keep learning
To get the most out of fish, it would behoove you to read through the official fish documentation (just type help at the fish prompt and hit Enter). You’ll be pleasantly surprised at how much this shell can do for you.
Mark my word, the fish prompt will very quickly become a must-have tool to aid you in your daily Linux administrative tasks.
Learn more about Linux through the free “Introduction to Linux” course from The Linux Foundation and edX.


