
Modern mobile phones have some very sophisticated methods of finding their location. With OwnTracks, you can distribute that information in any way you see fit. The OwnTracks project recommends that you run your own private server and not use any public server. This way, you are the one choosing where your location information is shared.
Although there are many reasons that you might not want your location tracked, most of those stem from fear of losing control over who can see that information. There are also good reasons you might want to know this information and also good reasons that you might want to share it. When organizing an event like a conference, for example, it’s useful to know where the organizers are so you can quickly resolve issues. Knowing where you are can also open up automation for Internet of Things (IoT) applications. For example, you might want to keep track your own location so that you can set up your house to ensure the stove and air conditioning are off when the house is empty.
If you mount a smartphone onto your DIY robot, you can use the location information to help control it and know where it has wandered off to. Just because you are using a phone to get the location doesn’t mean the phone has to be carried by a person.
The parts of the puzzle
OwnTracks uses an app on your Android or IOS smartphone to obtain location information. That data is then sent to the server you have chosen. Data can be sent as normal web HTTP traffic, or more usefully as MQTT messages. MQTT is a way for programs to communicate information in the form of small messages. A program that knows something that might be interesting — such as the phone app here — offers to publish that data to an MQTT server. Another program can contact the MQTT server and subscribe to specific messages which are then sent to that program as they arrive.
All MQTT traffic can be sent over TLS, tapping into the same protection that HTTPS offers for web traffic. On top of that, your MQTT server can set up access control based on username and password so you can allow read access to some messages and block access to others on a per user basis. Again, you have control over who or what can see and send data.
In MQTT, messages use a namespace similar to that of a filesystem. So, an LG G5 phone running OwnTracks might publish messages on the topic “owntracks/ben/g5”. A client can subscribe to exact topics or use wildcards to subscribe to any message on a whole tree. Using topics helps programs only subscribe on messages that they are interested in and lets programs give some information about what a message might mean.
You might wonder what happens if the phone only moves every now and then. If the phone only sends an MQTT message when it moves, you might think that a program that starts late at night and wants to know where your phone is located would have to wait a long time to get a message. Messages in MQTT can be marked as retained.
OwnTracks marks the location messages to be retained. When you arrive home and OwnTracks sends a message that the phone is home, that same message will be delivered to any new subscribers for the topic as soon as they subscribe. So, a late night “are you home” query will know right away that you are home and have been for a many hours now. Normally, only the most recent retained message for a topic is kept by the MQTT server.
Privacy and security
To retain the privacy of your location data, you should set up your own MQTT server. This is not an extremely difficult process, but is an additional hurdle for those used to installing an app and being up and running right away.
The Mosquitto server is a lightweight MQTT server with support for access control and TLS for secure communications. Mosquitto also has command-line clients mosquitto_sub and mosquitto_pub, which let you publish and subscribe to messages and are both invaluable for testing.
To use TLS and secure communications, clients will need to know your MQTT username, MQTT password, and be aware of the certificate authority that created the MQTT server key. This last part can be done by copying a specific non-secret ca.crt file from the machine you are running your MQTT server on onto your phone and telling the App to use that file when verifying the server. Another option is to use Let’s Encrypt TLS keys.
Mosquitto MQTT server setup
OwnTracks has some wonderful documentation on how to set up a Mosquitto MQTT server. I encountered a few minor hiccups along the way, mostly due to the server trying to bind to a port multiple times (a misconfiguration I added), and my not specifying the ca.crt file when trying to connect.
The following procedure should get you up and running. Note that running mosquitto-setup.sh generates server keys with the full domain name of the local machine. The configuration files still reference a generic server.crt file. I assume this is in case the machine has multiple names, although — if you only have one name — perhaps the script could set up the configuration file to use that key only. As shown below, check in /etc/mosquitto/conf.d for crt and key files with the name of your machine and update the configuration file to reference those files.
# apt-get install mosquitto mosquitto-clients
# /etc/init.d/mosquitto stop
# mosquitto_passwd -c /etc/mosquitto/passwd insert-username-here
# mosquitto_passwd    /etc/mosquitto/passwd insert-username-here2
# git clone https://github.com/owntracks/tools.git
# cd ./tools
# ./mosquitto-setup.sh
# ls /etc/mosquitto/conf.d
...
mydomain.example.com.crt
mydomain.example.com.key
...
# edit /etc/mosquitto/conf.d/mosquitto.conf
...
certfile /etc/mosquitto/conf.d/mydomain.example.com.crt
keyfile /etc/mosquitto/conf.d/mydomain.example.com.key
...
The main mosquitto file I used is shown below. Because the second TLS configuration file includes the configuration of which ports to listen on, I have removed all of those from the main configuration file shown below.
# cat /etc/mosquitto/mosquitto.conf

pid_file /var/run/mosquitto.pid

persistence true
persistence_location /var/lib/mosquitto/

log_dest file /var/log/mosquitto/mosquitto.log

include_dir /etc/mosquitto/conf.d

log_dest syslog
log_dest stdout
log_dest topic
log_type error
log_type warning
log_type notice
log_type information
connection_messages true
log_timestamp true
allow_anonymous false
password_file /etc/mosquitto/passwd
The conf.d/mosquitto.conf sets up the TLS keys and tells mosquitto that you want it to listen on port 8883 of all network interfaces. Insecure connections on port 1883 are still allowed but only from the local host.
# cat /etc/mosquitto/conf.d/mosquitto.conf
autosave_interval 1800

connection_messages true
log_dest stderr
log_dest topic
log_type error
log_type warning
log_type notice
log_type information
log_type all
log_type debug
log_timestamp true

persistence true
persistence_file mosquitto.db
persistent_client_expiration 1m

retained_persistence true

listener 1883 127.0.0.1

listener 8883
tls_version tlsv1
cafile /etc/mosquitto/conf.d//ca.crt
certfile /etc/mosquitto/conf.d//myserver.localdomain.crt
keyfile /etc/mosquitto/conf.d//myserver.localdomain.key
require_certificate false
It is useful to test that messages can be sent through the MQTT server using TLS before moving on to installing the OwnTracks Android app.
The three commands shown below should be run from a different console on the same machine that the MQTT server should run on. Notice that the last parameters on the mosquitto_sub and mosquitto_pub commands are the same. The pub command takes the -t topic to connect to and the -m message to send. The sub is using a topic of #, which means it will subscribe to all topics. If everything works, then you will see traffic on the console that is running mosquitto, and the word ‘world’ will appear on the mosquitto_sub console.
# /usr/sbin/mosquitto -c /etc/mosquitto/mosquitto.conf

# mosquitto_sub  -t '#' -u insert-username-here
 -P insert-password-here
 -p 8883
 --cafile /etc/mosquitto/conf.d/ca.crt

# mosquitto_pub -t 'hello' -m world -u insert-username-here
 -P insert-password-here
 -p 8883
 --cafile /etc/mosquitto/conf.d/ca.crt
With that all set up, the server can be started with the following command.
# /etc/init.d/mosquitto start
Android app setup
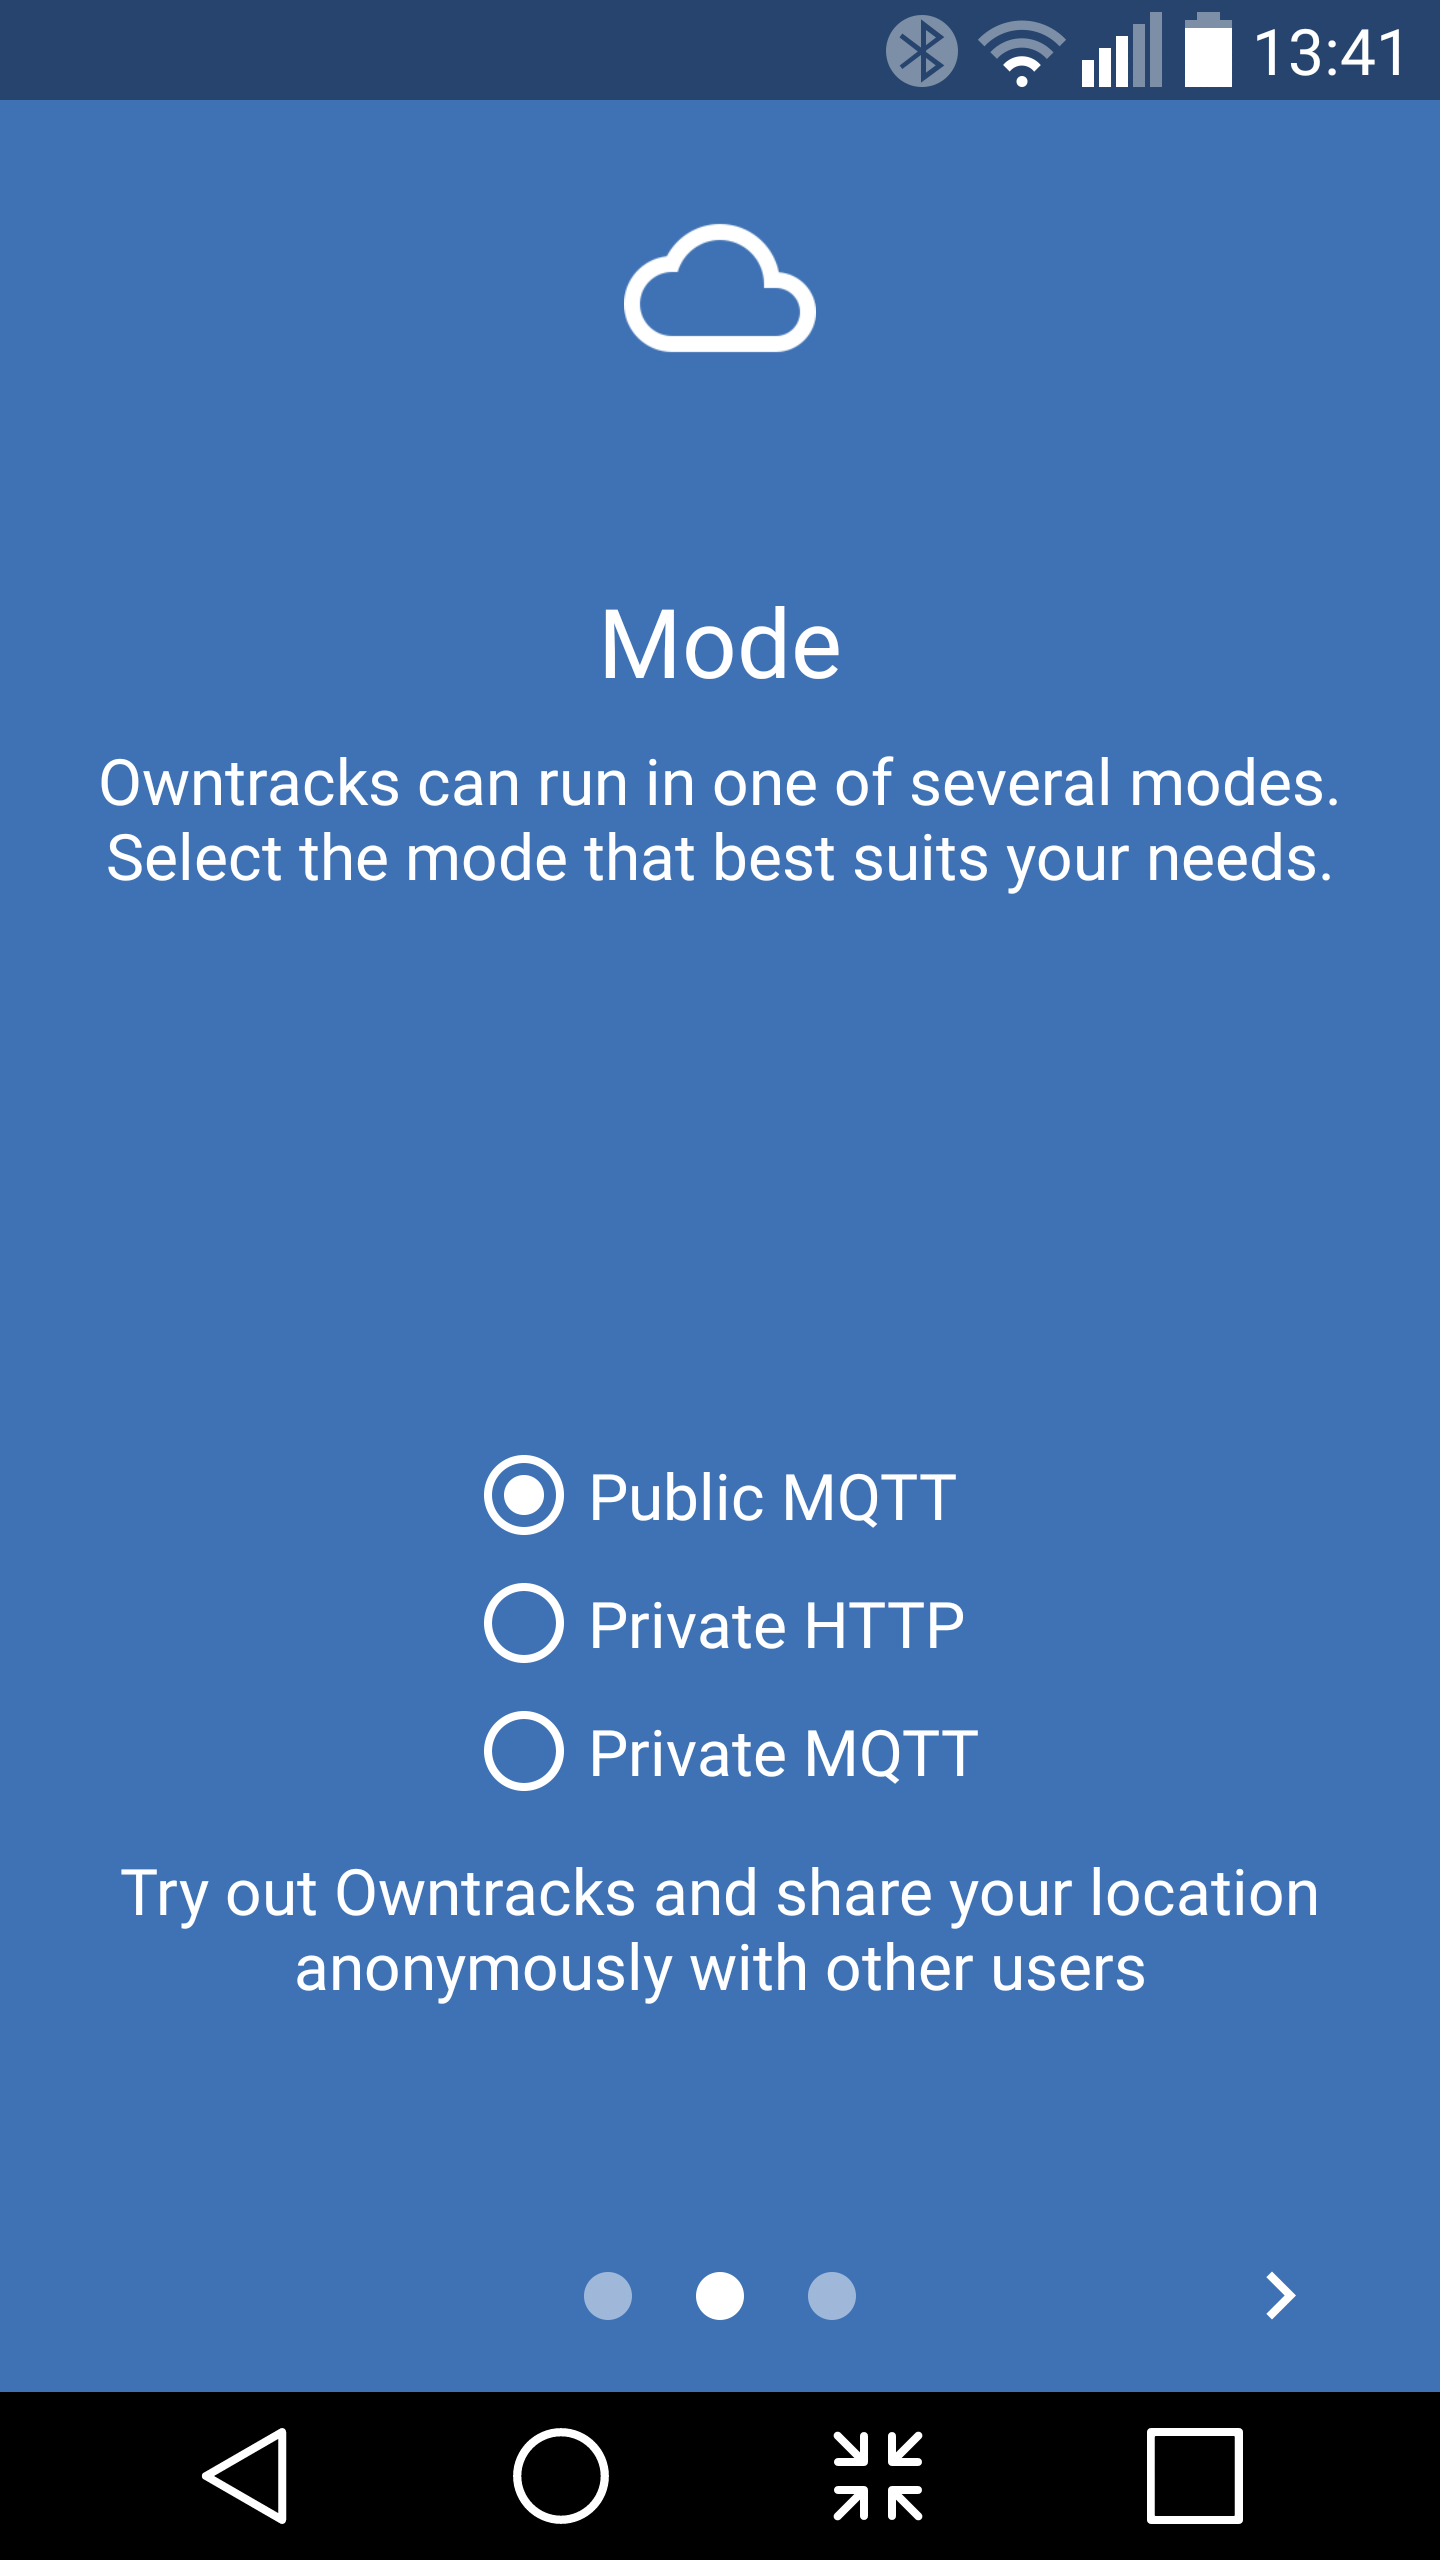
The OwnTracks Android App is available in the Google Play Store. The first time you open the OwnTracks App you will be asked which type of server you intend to send your data to (Figure 1) . This can also be changed later. The Private MQTT option is the recommended setting, letting you retain all your data.
Although the ca.crt doesn’t need to be kept private, it is good practice to double-check the checksum of the file to make sure that it wasn’t changed during transmission. Knowing that you have the same ca.crt file that you sent will prevent a man in the middle type of attack. This is an attack where somebody replaces the ca.crt file with their own. They can then pretend to be your server without your knowing it. If you verify that the ca.crt on the phone is identical to the one you have on the server, then it eliminates this attack possibility.
Back at the main screen of the OwnTracks App — under the Preferences menu and the Connection submenu — there is a little tick at the top right of the screen. That will cause OwnTracks to try to connect with the server using the current configuration. Again, for initial testing, it can be useful to start your mosquitto server as below so you can see debug information on the console letting you know if things have connected.
# /etc/init.d/mosquitto stop
# /usr/sbin/mosquitto -c /etc/mosquitto/mosquitto.conf
Once you know that the phone can connect with the server, go back to the top page of the OwnTracks app. In the top right of the screen is a little upward pointing arrow. Clicking on that tells the app to try to send a message with your location back to your server. This is handy if you want to force a message to be sent even when your phone is not moving.
The following mosquitto_sub command will subscribe to all messages on the server. If the phone has already sent a message, the command should show you the phone location instantly. Each time you click on the upload arrow on the OwnTracks app, you should see a new message on the console telling you the current location of the phone. If you forget to include the cafile in the mosquitto_sub command line, then you will not be able to see anything, but you may not get an error message either.
$ mosquitto_sub  -t '#' -u insert-username-here
 -P insert-password-here
 -p 8883
 --cafile /etc/mosquitto/conf.d/ca.crt
 ...
{"_type":"location","tid":"g5","t":"u","acc":27,"lat":0.1234,"lon":5.6789,"tst":34563,"batt":59}
Now you have private, secure, location data collection happening from your phone!
Wrap up
In the next article, I’ll look at some of the clients that can be used with OwnTracks. I’ll also take a look at the friend feature on OwnTracks and show how to update the picture and name shown for your friends.
The Internet of Things is quite a popular term these days. If you are looking to smarten up your home, then knowing where you are located can help these “things” respond in the way you would like.
With OwnTracks, you can keep track of your location and trips. You can also bring together groups who securely share their location to help make a task simpler. If you just want to have some fun then a phone and OwnTracks can help you keep track of your robot and help it navigate at the same time.
Learn more about embedded Linux with the Embedded Linux Development course from The Linux Foundation.


