
Let’s admit it, professional grade video editing is still a weakness of the Linux desktop. The closest thing you can get to professional video editing on Linux is Lightworks, but that’s still closed source.
If you are looking for fully open source video editing software for Linux, there are actually many options, but in my experience, they all lack something or other. There are two video editing tools in particular that I often use on my Linux machine depending on the project: PiTiVi and Blender.
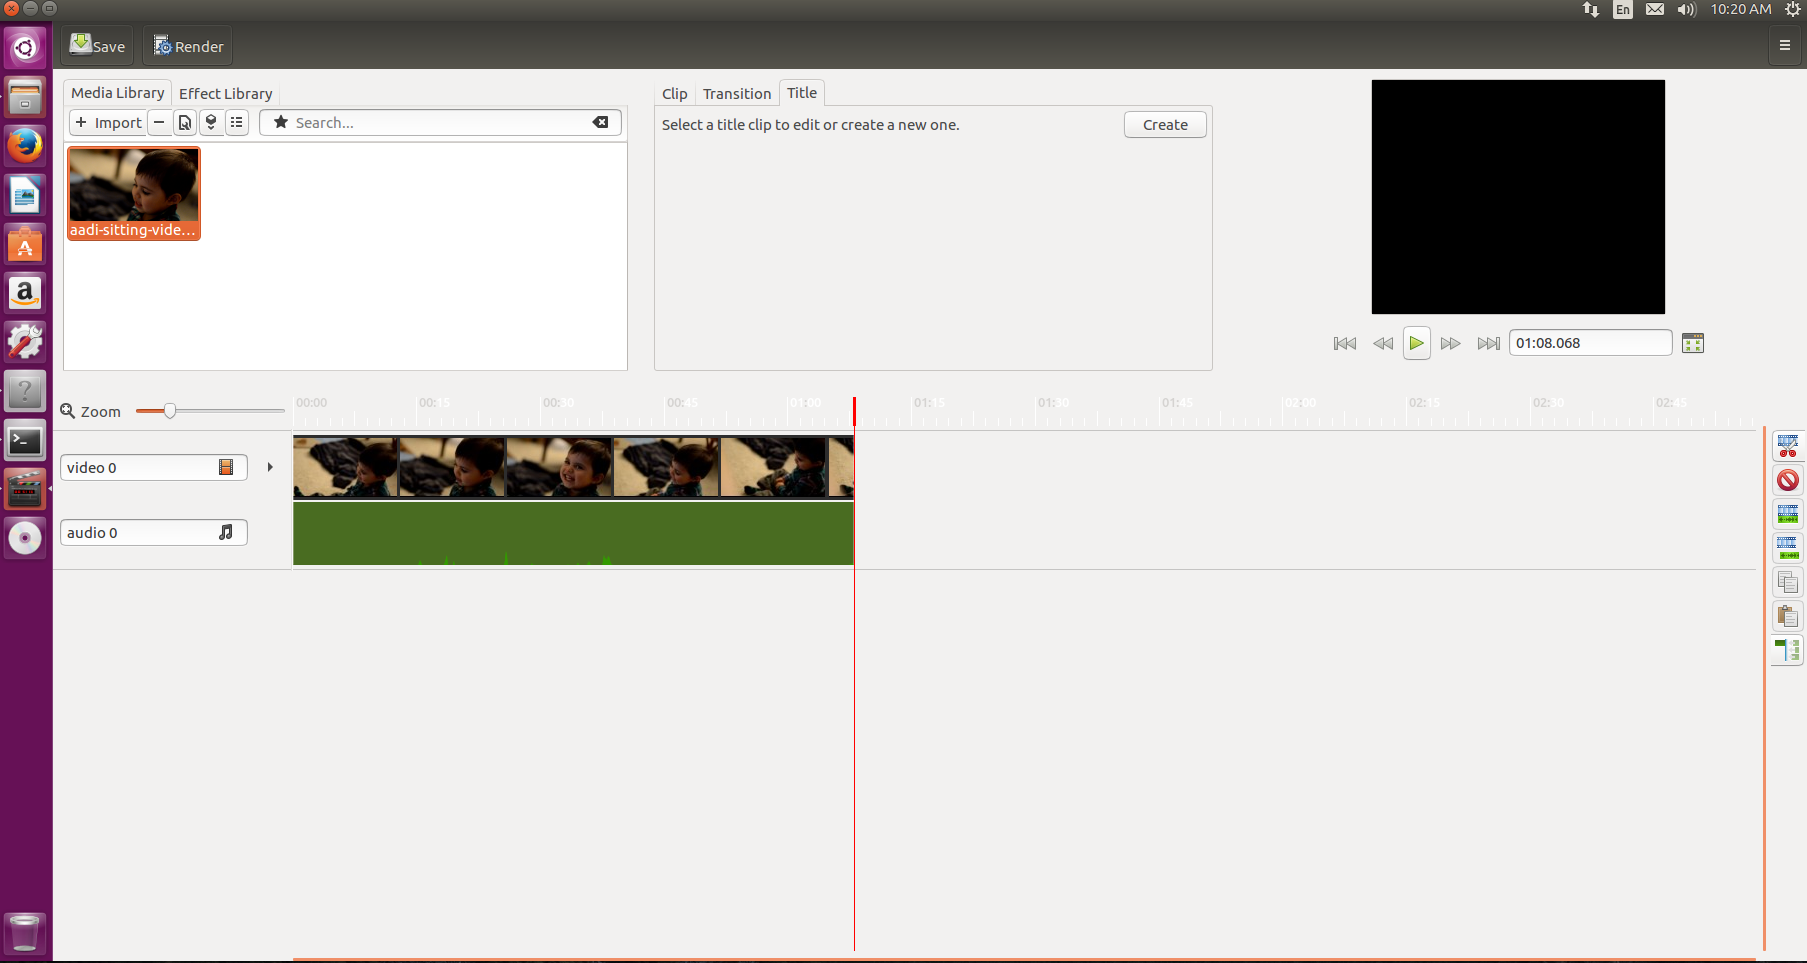
PiTiVi is extremely easy to use, so I’m not going to spend much time on it here. All you need to do is open it, drag and drop clips onto the multi-track timeline, and create a movie. It’s as simple as that. PiTiVi (Figure 1) also offers some nifty tools that allow you to apply effects and transitions. I often use it to create simple tutorial videos.
Setting Up Blender
Blender, on the other hand, is extremely polished, powerful, and featureful. But, video editing is not the primary job of Blender; it is intended for use as 3D animation software that doubles as a video editor. That means Blender can be a bit intimidating to a new user; it was to me. But, once you understand the basics, you will enjoy the power of Blender.
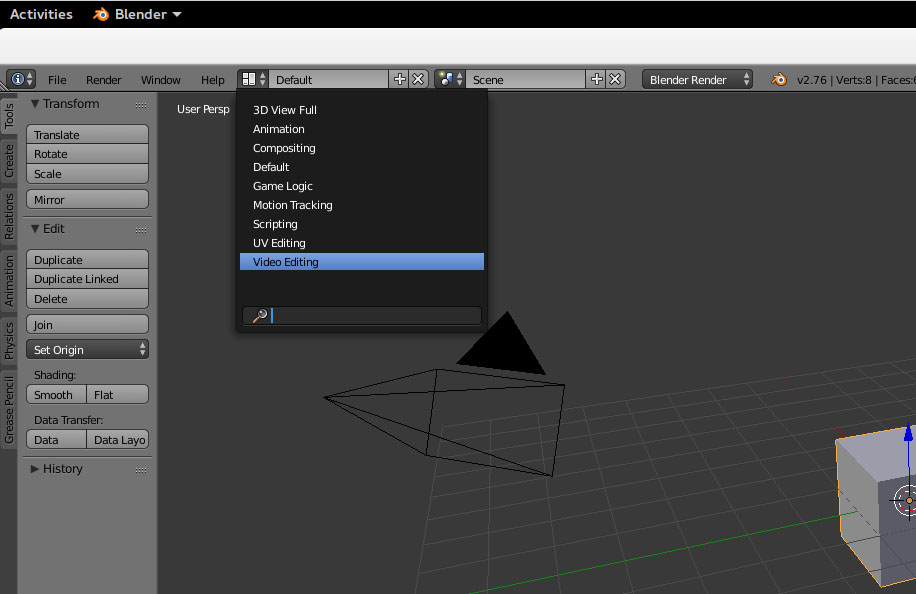
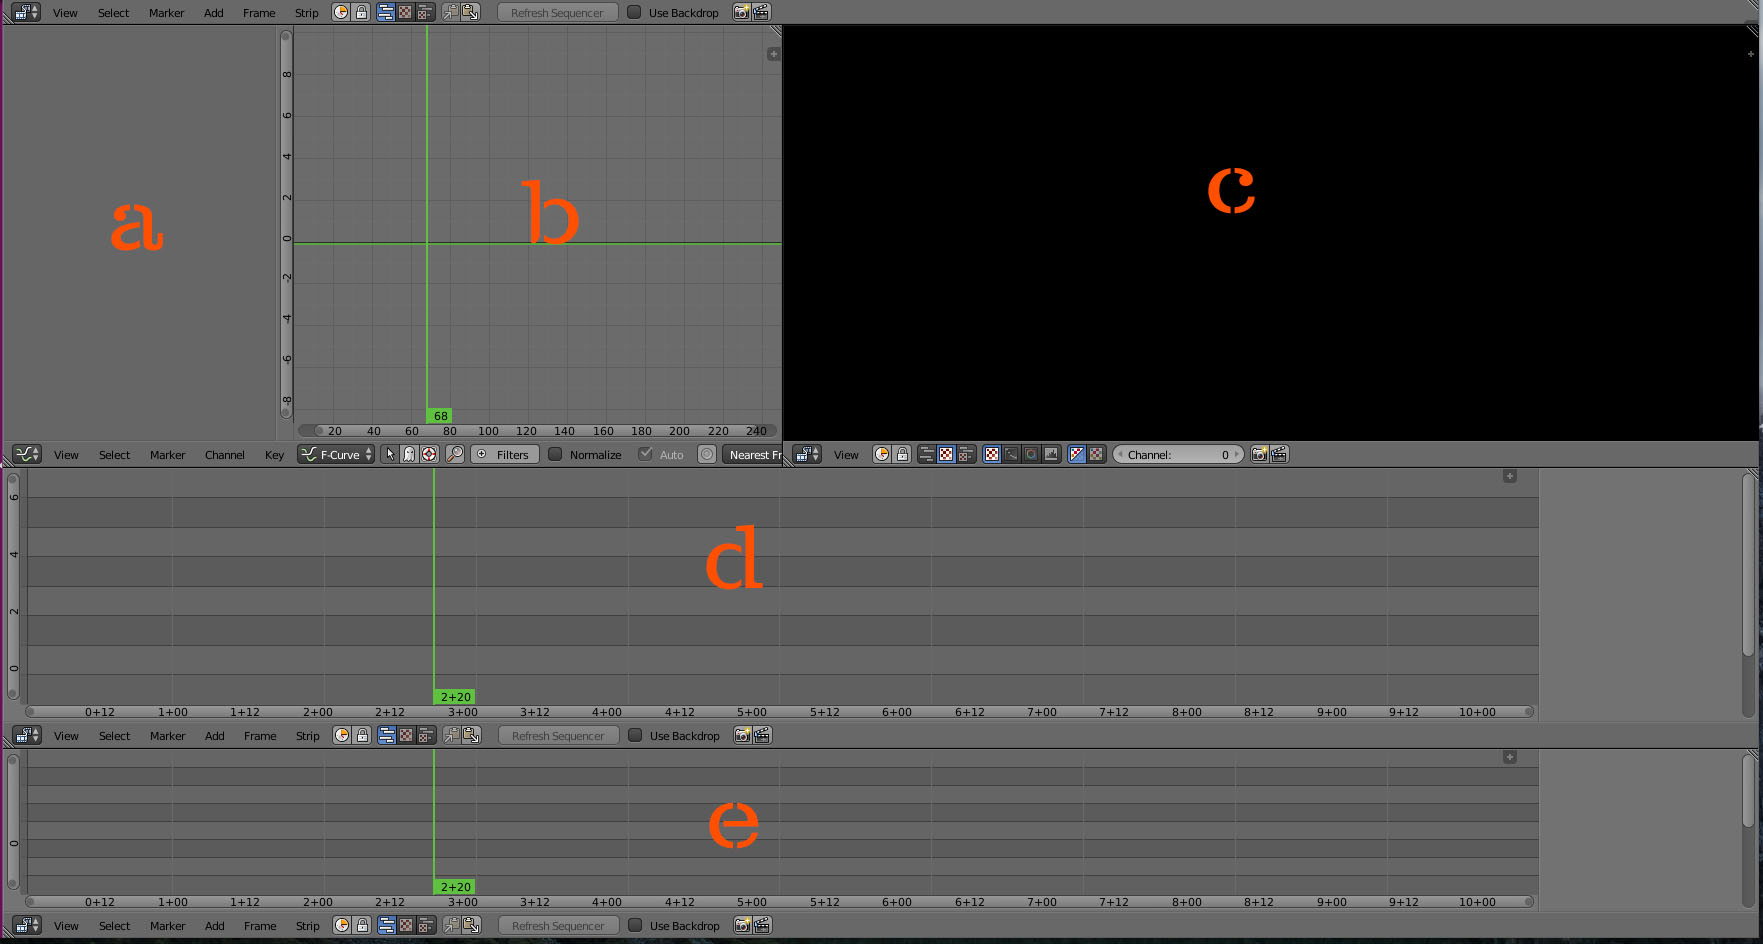
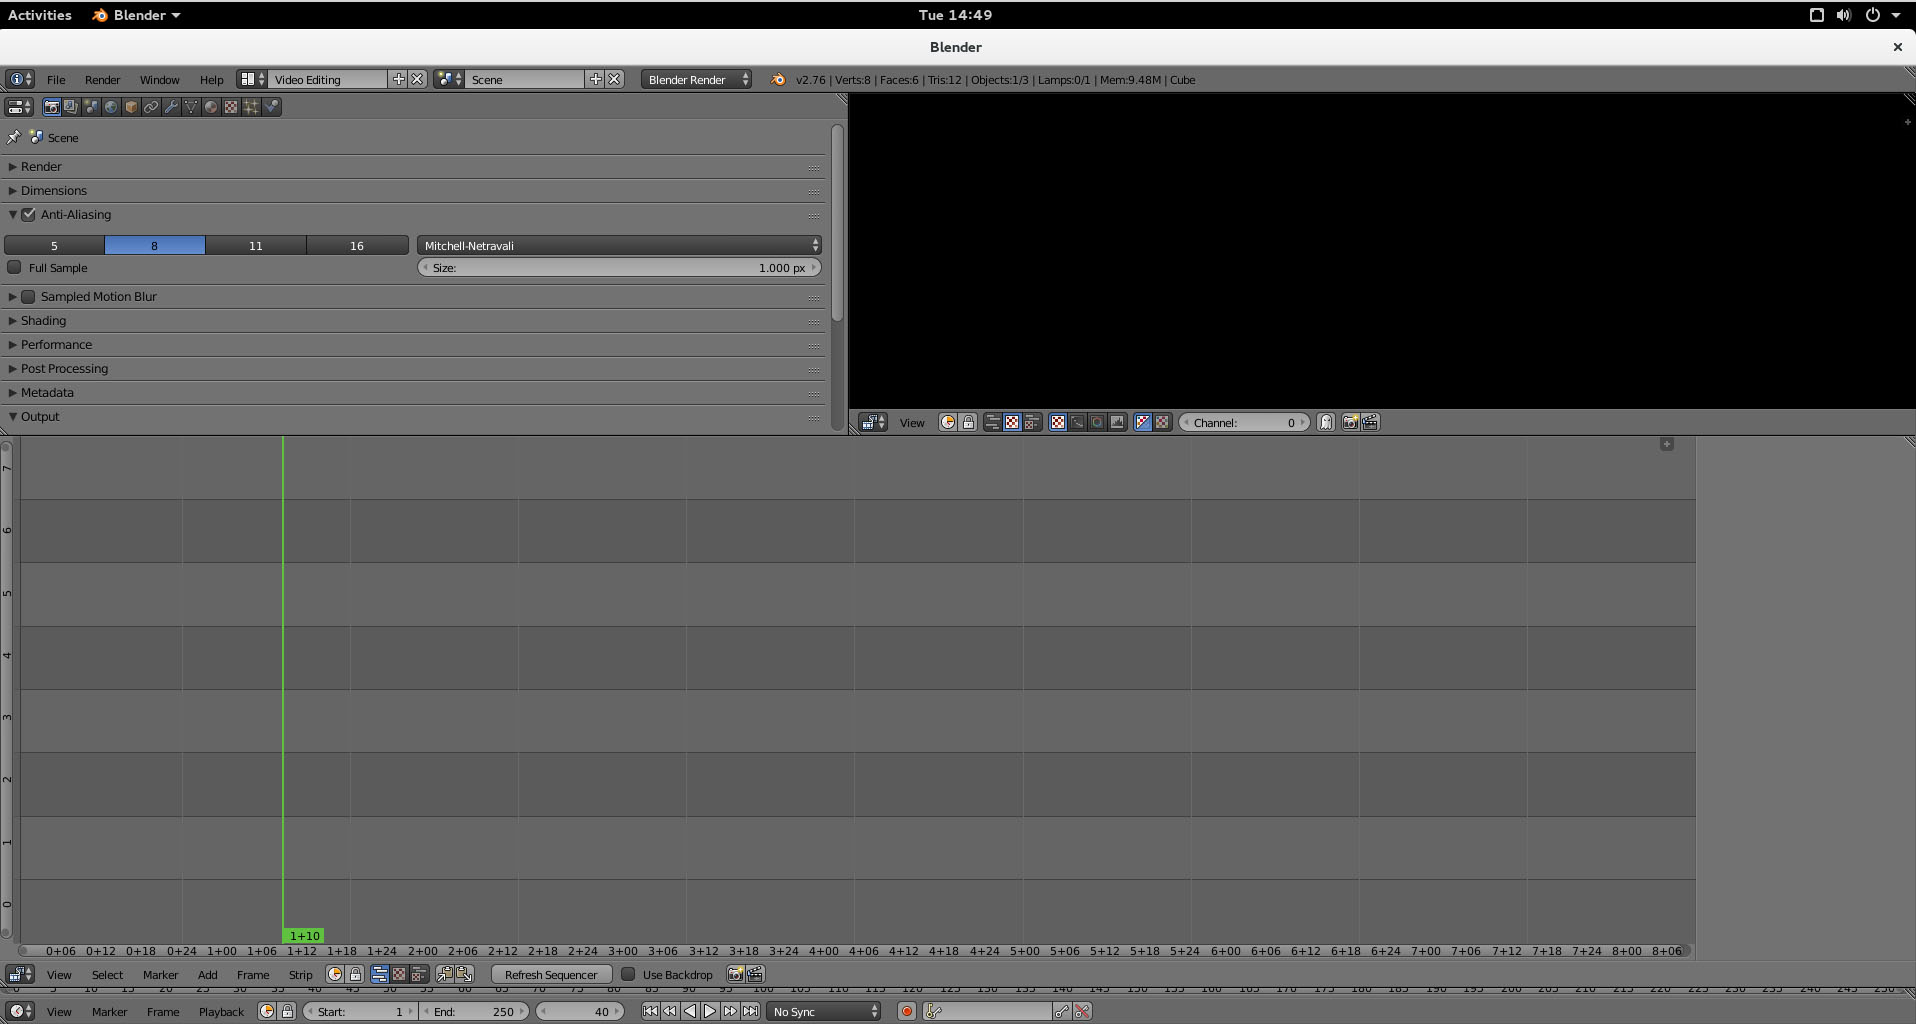
Figure 3 shows what you see once you make those changes — with items labeled from a to e.
![]()
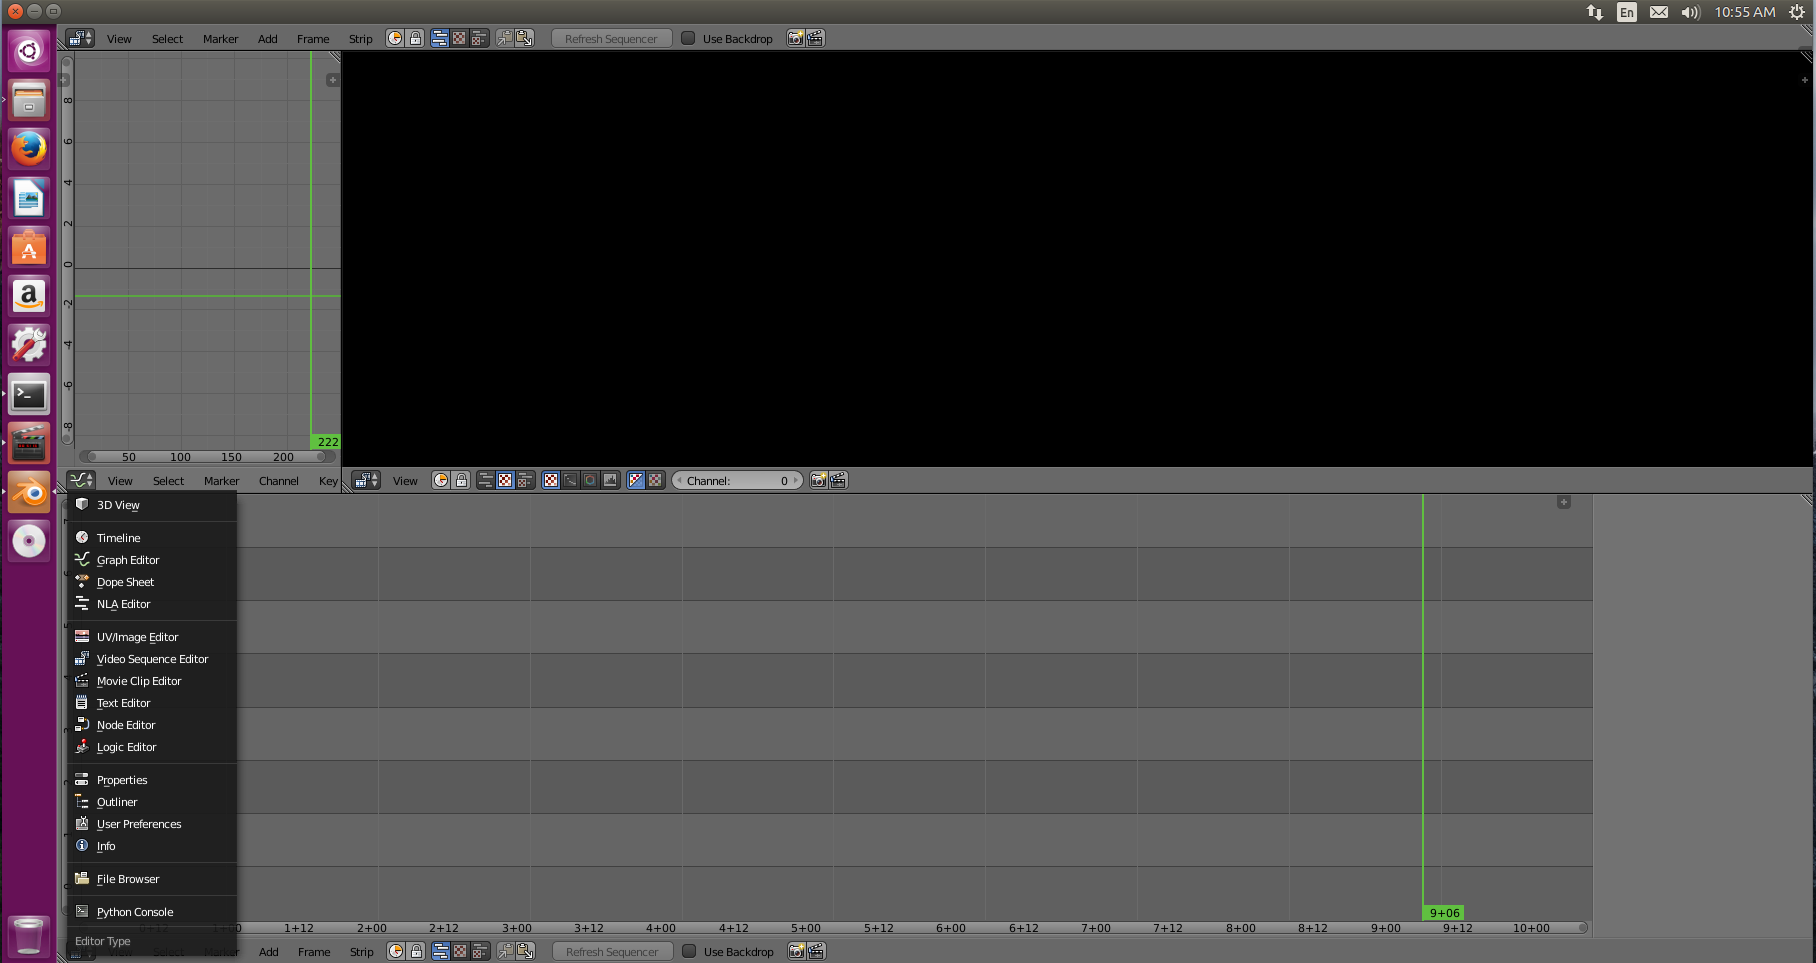
Next, we are going to change b from the default Graph editor to the properties panel — I’ll explain why in a minute. Note: Each window has its own sub-menu that’s located below the window, so just click on the submenu below the Graph editor window and change to “properties” (Figure 5).
You could have changed Graph editor to any other window, but I chose properties because it’s extremely important. That’s where you set the properties for your project.
Let’s say that your film is shot at 1080p and 30fps. You have to make sure that Blender has the correct information about the project. I wish it could automatically detect the resolution and frame rate the way Adobe Premiere does, but it can’t, so we have to. And, that’s where the Project window comes in handy. Just make the changes to the resolution and frame rate in the window.
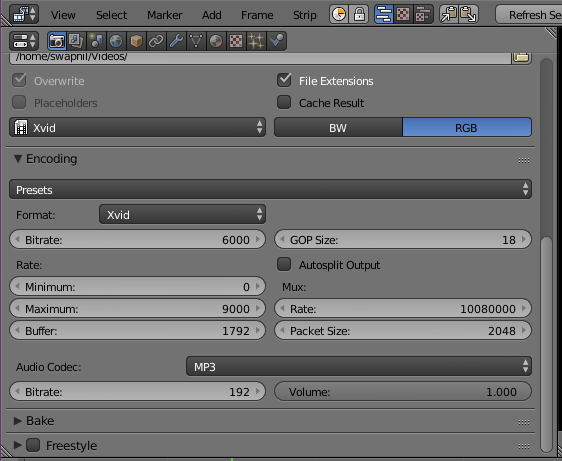
The next thing to do is configure the location of the rendered/exported film. Go to Output and changed the location from /tmp to your desired location. Next, you can set the audio and video formats for the project.
To do this, first change the file format from PNG to Xvid and choose RGB. Now go to the Encoding option and choose Xvid from Presets list. To set the audio, scroll down and choose MP3 for audio (Figure 6).
Getting Started
Now you can start working on your films. You can add any clip to the timeline by dragging the clip from the file manager of the OS to the timeline. You can play and pause a clip by using the play and pause button at the bottom of the timeline or by using Alt+A for play and pause.
There are two ways to cut a clip: soft cut and hard cut. A soft cut allows you expand the clip even after you cut it, just like in Adobe Premiere. A hard cut, on the other hand, will cut the clip and you won’t be able to expand it by using frames from the severed clip. I use soft cut. Just move the cursor to the frame where you want to cut the clip and hit the K key.
To move the clip around, press b and then pull the rectangle on the clips that you want to select. Then press the g key to grab those clips and move them to the desired position on the timeline.
However, while working on a project, you may just want to move the clip up and down in the tracks without messing with their position. After pressing g, hit the x to stay on the same track but move the clip backward and forward. You can press y to move up and down on the track without changing the frame location. This can be very useful when you are working on a very complex project with clips spread across multiple tracks.
Rendering a Project
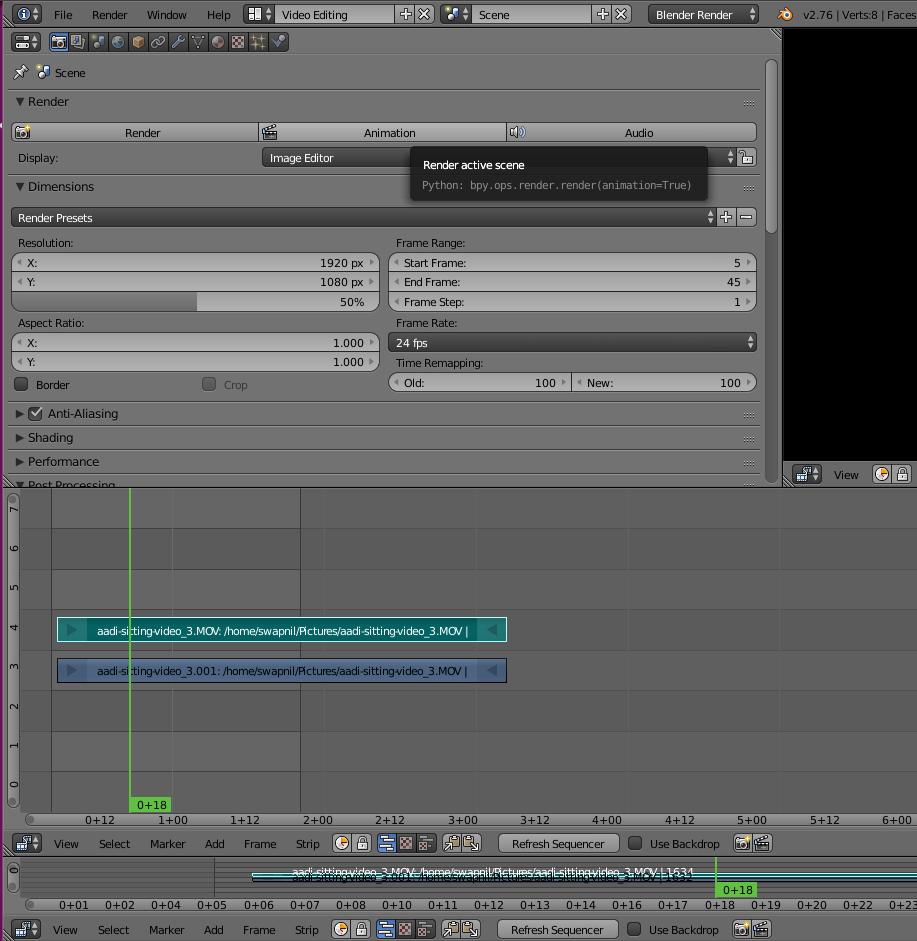
To render or export a completed film, go to the project window and there choose the start frame and end frame. You will notice two black lines at the beginning and end; those lines mark the beginning and end of the project that will be rendered (Figure 9).
That’s it, your movie has been exported.
The fact is, in this article, we have not even scratched the surface of what Blender is capable of doing. With these steps, however, you can quickly get Blender up and running and begin experimenting on your own. We may touch upon some of the more advanced features in the future.


