
Author: Dmitri Popov
Besides these two tools, you need a scanner (obviously), a pencil, and a piece of paper. When you’re done, you will not only have a usable book cover, but, more importantly, some essential skills that will help you in your artistic endeavors.
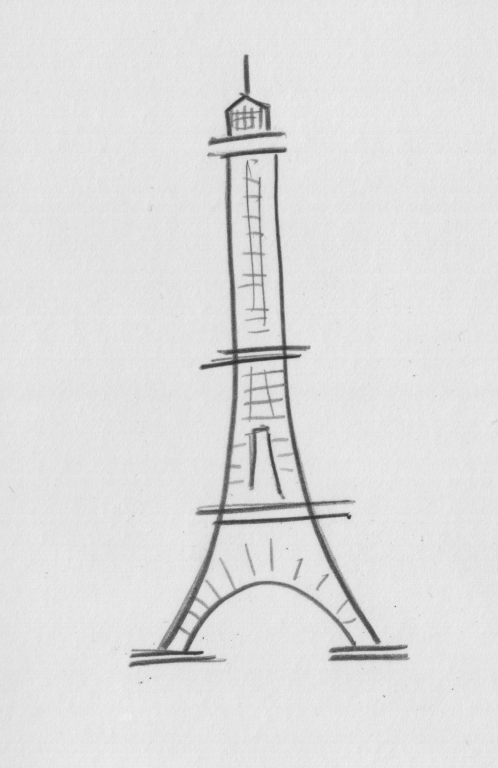
As an example, let’s create a cover for a book about the Eiffel Tower. Before you fire up your computer, you have to create a pencil-and-paper sketch for the main image of the book cover (a drawing of the Eiffel Tower would be an obvious choice for a book on the subject). To make it easier to work with the sketch later, start with a simple one-colour drawing, like this one.
Once the sketch is ready, you have to scan it. In KDE, you can use Kooka, while GNOME users can try the equally capable XSane. If you are on Windows and you don’t have a scanning application, you can use one of the many live CD Linux distributions that come with Kooka, such as PCLinuxOS, Kanotix, or Knoppix.
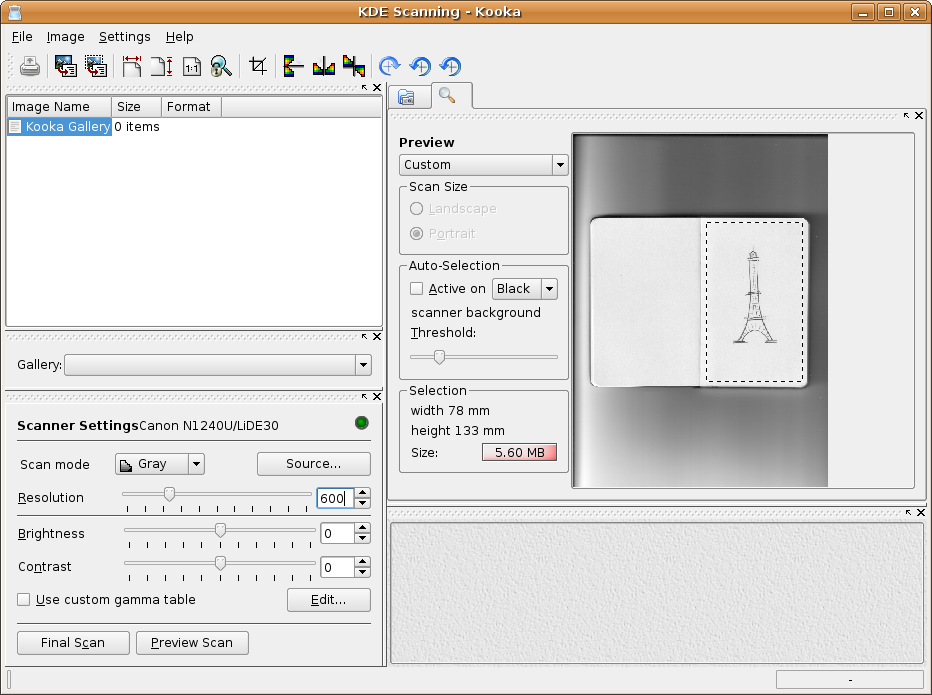
Kooka’s default settings work fine most of the time, so you should be able to get a decent scan even without tweaking options. The only thing you have to configure is the scan mode and resolution. Since we have a black-and-white sketch, you have to use either the Lineart or Grayscale scan mode. The latter is preferable, since it produces smoother and more detailed scans. Since you are going to convert the scanned image to a vector drawing, the scanning resolution is not that important; something between 300 and 600dpi would work just fine. Once you have chosen the desired settings, click the Preview Scan button to see a rough preview of the scan. Use it to see whether the drawing is positioned correctly as well as to narrow the scanning area. To do this, select with the mouse the exact area of the image you want to scan. When everything looks fine, click the
Final Scan button and wait for Kooka to do its job. Save the scanned image in the format you want (PNG is a good choice).
| Click to enlarge |
The next step is to turn the scanned image into a vector drawing. Launch Inkscape, create a blank document, set its properties (File -> Document Properties), and import the scanned image by choosing File -> Import. Select the drawing and choose Path -> Trace Bitmap. Tracing the bitmap image can be a bit tricky, so you might need to try different Brightness Threshold settings to achieve the optimum result. For this example, a threshold at 0,755 produced a good vector tracing of the sample image for me. If you don’t like the result, simply undo it (Edit -> Undo) and repeat the procedure with different settings. Once you’ve created the vector drawing, delete the bitmap image, and resize the drawing to fit the page by dragging one of the corner arrows while holding the Ctrl key down.
To spice the drawing up a bit, you might want to add a drop shadow to it. To do this, select the drawing, then copy (Ctrl-C) and paste it (Ctrl-P). Choose Object -> Fill and Stroke and apply light grey colour to the object. With the object still selected, choose Object -> Lower to Bottom and move the object behind the drawing with a slight off-set to create an illusion of a drop shadow. Drag the mouse around both objects to select them, and choose Object -> Group. This creates a single object, which is easier to move and resize. You can always ungroup the objects by choosing Object -> Ungroup.
The hardest part is now over, but you still have to create a book title. Choose the Text tool from the Toolbar, click somewhere in the document, and add the title. Choose Text -> Text and Font and format the title to your heart’s content. If you want to jazz up the title even further, you can make it flow along a path. Use the Bezier curve tool to draw a path. If you’ve never tried working with Bezier curves, getting it right can be a bit tricky, so you might want to start with simple straight lines. When the curve is ready, select both the title text and the curve and choose Text -> Put on Path. This places the text along the curve, and you can use the Edit path tool to adjust the curve’s nodes and make the text flow smoother. If you want to “hide” the curve, choose Object -> Fill and Stroke, click on the Stroke paint tab and press the No paint button.
When working with text in Inkscape, keep in mind that the application relies on the fonts installed on your machine. If you want to make sure that the final cover is rendered correctly on any computer — even if it doesn’t have the same fonts — you should convert the text objects into paths by choosing Path -> Object to Path. Note, however, that once you’ve converted the text to paths, you can’t edit it.
Lastly, draw a bar at the bottom of the page, add a catchy footer, and your book cover is ready to go. To export the finished result as a bitmap image, choose File -> Export Bitmap, adjust the available setting and press the Export button.
Dmitri Popov is a freelance writer whose articles have appeared in Russian, British, German, and Danish computer magazines.


