
Author: Joe Barr
If you’re running Debian, you can find GNOME Photo Printer in testing and in unstable. According to the software’s Web site, it has also been packaged for Red Hat 9.0 and Gentoo. If you prefer to build from source, you can find the tarball here.
How easy is it?
How easy is GNOME Photo Printer to use? Very. Start the program by entering gnome-photo-printer at the command line. Naturally, you can add it to a menu or panel if you prefer. Click on the Layout tab near the top of the program’s window and select the size you want the photos to be. Note that all the preset sizes are in centimeters rather than inches. If you want a 5×7-inch layout, use the custom setting at the bottom of the window to enter the measurements and select “in” instead of “cm.”
| Click to enlarge |
Next click on the Image tab and choose whether to maintain the ratio of height and width as images are scaled to fit your layout size. While keeping the ratio correct results in a more accurate printing, it may result in the layout not being filled completely.
Next comes the Printer and the Paper tabs. You can create a PDF instead of printing pages, and you can choose from all the printers GNOME knows about on your system. You can select the paper size, set the margins, feed orientation, page orientation, additional layout specifics such as two or four pages per sheet, or folded, and so on, and whatever options there might be for your paper tray.
| Click to enlarge |
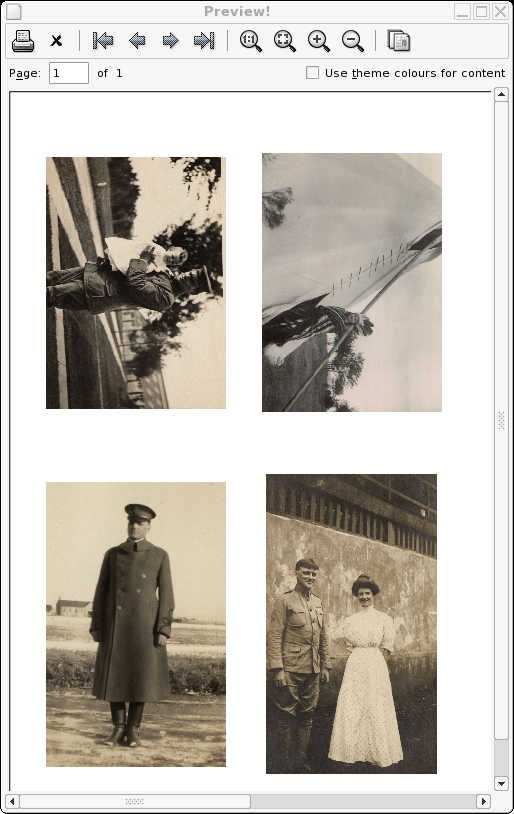
We could preview or print at this point, except for one thing — we haven’t selected any pictures. You can drag and drop photos from Nautilus to GNOME Photo Printer, or you can do it manually from the Files tab. To do it manually, click on Add and use the file browser to locate the image, then click OK. A thumbnail of the photo and its complete file spec appear in the GNOME Photo Printer window as you add them. Once you’ve selected them, you can click Preview to see on the screen what your print output is gong to look like, or simply click Print to start printing.
Wish list
I hope “fogman” has time to add niceties like saving the layout settings and perhaps offering the preset layout sizes in both centimeters and inches. But even if he doesn’t, this nifty little app is going to let me print a lot more pictures a lot more quickly.


