
Author: Tom Haddon
Right from the beginning, I was impressed by the quality of QEMU, as well as the feature set. Networking seemed to “just work” from the first; the emulated machine could access the Internet while running from my wireless laptop. I appreciated being able to run in snapshot mode (where the original state of the virtual hard disk is preserved and any changes are written to a temporary location). I was impressed with the breadth of command-line options for things like location of the CD-ROM, diskette, and hard disks, which device to boot from, and how much memory the emulated machine should have.
There are two ways to install QEMU: either in binary format, for Linux i386 only (a tar.gz file that you simply unpack into your top-level directory) or from source. Since I was having some problems installing from source on my Ubuntu system, I installed the binary. That was as simple as downloading the tar archive file, copying it to the root directory, and unpacking it as root. The QEMU online user documentation suggests you download a number of test disk images to ensure things are working correctly. Personally, I prefer to mix things up a bit, so I downloaded Damn Small Linux (DSL) and ran that as a live CD using the command:
qemu -cdrom dsl2.5.iso
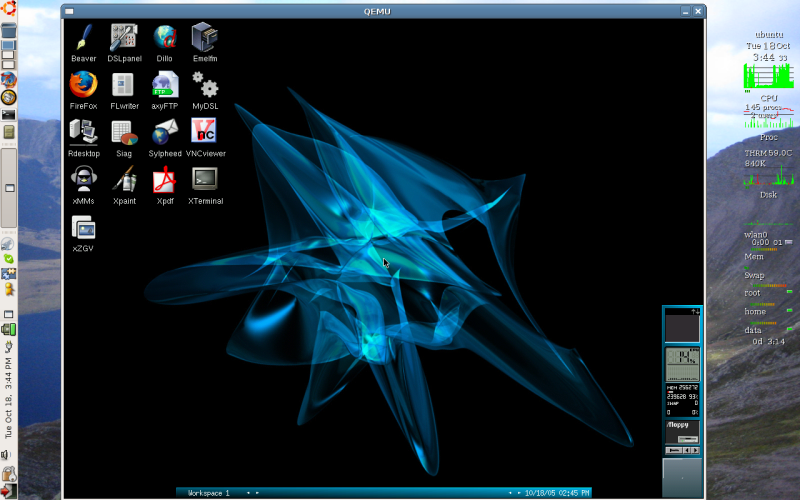
This tells QEMU to start up with the DSL CD image as the emulated CD-ROM. And there it is — a beautiful DSL instance. I decided I also wanted to install DSL to an (emulated) hard drive so I could save settings between boots. To do this, I created a 250MB disk image with command:
qemu-img create dsl.img 250M
I then booted DSL again and ran the installation process (including writing to the emulated master boot record so I could boot from this emulated hard drive image in the future):
qemu -cdrom dsl2.5.iso -boot d dsl.img
When the installation was complete, I could boot into my new DSL installation with the command:
qemu dsl.img
Notice that I didn’t specify any networking options. If you have anything like a standard setup with networking available on your host system, QEMU will auto-magically make networking available to your guest OS. It defaults to using the user mode network stack if no TUN/TAP network init script is found. If you do have special networking needs, there are a number of other configurations available, which are all explained well in the man pages. One downside of the default option is that QEMU effectively firewalls any incoming connections to the emulated machine, so you won’t be able to connect to it via the network without digging into some of the other networking options.
QEMU handles mouse input in a similar way to VMware. When you left-click inside an emulated machine, it grabs the mouse for that machine; to release it, you press Ctrl-Alt. The title window for an emulated machine includes a message with this information, as a reminder for those unfamiliar with it.
| Click to enlarge |
I liked the functionality available through QEMU’s monitor, an administrative console that allows you to interact with the emulated machine. The monitor allows users to perform tasks such removing or inserting CDs or diskettes, freezing the emulated machine, committing changes to the underlying disk for a machine started in snapshot mode, or inspecting the status of the emulated machine. Ctrl-Alt-2 takes you to the monitor window, where you can issue these commands, and Ctrl-Alt-1 returns you to the emulated machine itself.
Though QEMU seems to be a great piece of software, I had some problems too. First, I was missing a number of Simple DirectMedia Layer (SDL) development packages to allow for graphical output of the emulated machines (which I consider a must-have). Second, I didn’t see the KQEMU plugin recognized as part of my “configure” script. KQEMU is a binary, closed source (but free) plugin provided by Fabrice Bellard, the developer of QEMU, that provides CPU virtualization for emulated machines, thereby greatly enhancing the speed of the emulated machine. Without the accelerator, QEMU emulates a 800MHz Pentium II with a default of 128MB of RAM, and a standard mouse and keyboard, as well as optional CD-ROM, diskette, NE2000 PCI network adapter, serial port, Soundblaster 16 card, and two PCI IDE hard drives. The QEMU Web site claims that while the regular emulation is anywhere from one-fifth to one-tenth as fast as the native OS, with the KQEMU accelerator, this jumps to half regular speed).
I resolved both of my compilation issues by finding the appropriate packages (libsdl-devel, zlib1g, linux-headers) from my APT repositories. In the process of troubleshooting this situation, I learned about static libraries, shared libraries, and dynamic libraries. I learned about using ldd to diagnose which libraries are required by a particular program, as well as ldconfig -p to view currently installed libraries.
Once I had the right packages installed, installing QEMU and the KQEMU accelerator was a simple process:
curl http://fabrice.bellard.free.fr/qemu/qemu-0.7.2.tar.gz >

qemu-0.7.2.tar.gz

tar -zxvf qemu-0.7.2.tar.gz

cd qemu-0.7.2

curl http://fabrice.bellard.free.fr/qemu/kqemu-0.7.2.tar.gz >

kqemu-0.7.2.tar.gz

tar -zxvf kqemu-0.7.2.tar.gz

./configure --target-list="x86_64-softmmu i386-softmmu"

make

sudo make install
| Click to enlarge |
The target list from the ./configure command is optional, but if you are having trouble compiling all the target systems, it may help. Also, if you are on a very recent distro with GCC 4.0, QEMU won’t compile with it. Be sure to specify GCC 3.4 (you can do this by including an option like --cc=gcc-3.4 --host-cc=gcc-3.4 with your configure command). You can then load the KQEMU kernel module with:
sudo modprobe kqemu

sudo mknod /dev/kqemu c 250 0

sudo chmod 666 /dev/kqemu
How you load the KQEMU module at boot time varies depending on your distro. Ubuntu uses /etc/init.d/bootmisc.sh. Once you’ve located the appropriate script, here’s the text to insert:
# Start Qemu with KQemu accelerator

/sbin/modprobe kqemu

mknod /dev/kqemu c 250 0  # Create the KQEMU device

chmod 666 /dev/kqemu      # Make it accessible to all users
By default QEMU allocates 128MB RAM to an emulated machine. When I tried to bump that up to 256MB (which I could do because I had 512MB on my host machine), I got an error message that said:
You do not have enough space in '/dev/shm' for the 256 MB of QEMU virtual RAM.
To have more space available provided you have enough RAM and swap, do as root:
umount /dev/shm
mount -t tmpfs -o size=272m none /dev/shm
This led me into an exploration of shared memory — what is it and how it is allocated. I learned about tempfs and shared memory. I also learnt about other virtual file systems, what their settings are, and where they are configured.
| Other options |
|---|
| QEMU is far from unique. Other emulators include BOCHS (which, though powerful, can be hard to configure) and VMware (a polished, proprietary, commercial product). Another whole school of products offer “virtualization”; while emulation essentially creates an entire hardware environment that may bear no relation to the actual hardware of the machine it’s running on, virtualization provides an indirect access layer to the actual hardware of the host system. Xen is the name that sticks out in this area, although technically Xen offers “para-virtualization,” a virtualization technique that presents a software interface to virtual machines that is similar but not identical to that of the underlying hardware. |
Once I had QEMU and KQEMU installed and configured, I realized I could do more with QEMU than I’d originally anticipated. QEMU is the perfect way to create a test/staging environment for a small-scale production Web server. Currently I use source control and local installation on my laptop for quality assurance on any code changes to the production server. Now that I can easily create an exact replica of my production server, I can create a mirror image of it to test new administration scripts, security updates, and new software installations. Also, I’d always been interested in FreeBSD, but had never had a way to install and use it. This was the perfect opportunity.
Many people also use QEMU to run Windows on top of Linux. Since I don’t have a copy of Windows, I thought I’d try out ReactOS, an alpha-stage open source ground-up implementation of a Windows XP-compatible OS, instead. Under ReactOS I was able to install 7-zip and Abiword without any problems, and was impressed with some nice features that had been built into the OS.
Thus the freedom provided by open source software opens up new possibilities. It’s unlikely that I would have paid for a copy of VMware just to play around with, but if I hadn’t played around with the free and open QEMU, I wouldn’t have learned about libraries and shared memory. I wouldn’t have realized the potential usage as a mirror of my production server without the need for messy dual boots or additional hardware.


