

On Linux there are a few open source alternatives to the Thunderbird email client. There’s Evolution, KMail, Claws-Mail, Alpine (if you’re really old-school), and a handful of other clients (most of which, don’t live up to anyone’s expectations). There’s also a new kid on the email block. That kid is the brainchild of Yorba. Meet Geary, the new default IMAP email client for the GNOME desktop (and the likes of Elementary OS Freya).
Geary is an interesting beast. It offers a very low-key interface design ─ similar to what you might see in an Android app. It’s flat, clean, and incredibly easy to use. It doesn’t offer numerous panes or sidebars. There isn’t a plugin system for expansion. You won’t even find much in the way of preferences. What you will find, however, is an email client that gets the job done and does so without the footprint and learning curve of other clients. This is truly a set it and forget email client and it is certainly worth a look.
Geary features:
-
A modern and straightforward interface
-
Quick account setup
-
Support for Gmail, Yahoo! Mail, Outlook.com, and popular IMAP servers (Dovecot, Cyrus, Zimbra, etc.)
-
Mail organized by conversations
-
Full-featured HTML mail composer
-
Fast keyword search
-
Desktop notification of new mail.
It’s not a huge feature list (especially when compared to the likes of Claws Mail), but it gets the job done and does it well.
Let’s walk through the process of installing, setting up, and using Geary.
Installation
What if you don’t use a distribution that defaults to GNOME? Fear not. Geary is found in some distribution default repositories (and for others, it’s easily added). For example, if you use Ubuntu, you can install Geary from the Ubuntu Software Center. If you prefer to install from the command line, you can do so with the following steps:
-
Open up a terminal
-
Update apt with the command sudo apt-get update
-
Install Geary with the command sudo apt-get install geary
That’s it.
If you’re using openSUSE, you can install Geary with the following commands (I’ll illustrate using openSUSE 13.1):
-
Open a terminal
-
Add the repo with the command zypper addrepo http://download.opensuse.org/repositories/openSUSE:13.1/standard/openSUSE:13.1.repo
-
Update zypper with the command zypper refresh
-
Install geary with the command zypper install geary
For Fedora, depending upon what you have installed, you might wind up with a bit of a dependency issue. Take a look at the official Fedora Geary rpm page (this page is for i686 and Fedora 22. For other versions, check here). Download the Geary .rpm file and attempt to install with the command yum install geary-XXX.AAA.rpm (Where XXX is the release number and AAA is the architecture). If you’re using Fedora 22, the command to install would be dnf install geary-XXX.AAA.rpm.
Setup
Once you have Geary installed, it’s time to set it up. How this is done, will depend upon the email service you are using. Let me walk you through the process of connecting Geary to a Google Mail account.
Because of the way Google authenticates, you cannot simply enter your normal account password that you use to log into Gmail. You have to create an app password to be used for Geary. Here’s how to create that app password:
-
Open up your web browser and log into your Google account
-
Go to the Google App Password page
-
From the drop-downs (Figure 2), select Mail and Other (enter Geary when prompted for a name)
-
Click Generate
-
When your password is displayed, make note of it.

Now that you have your 16-digit app password, here are the steps for connecting Geary with your Google Mail account:
-
Open Geary
-
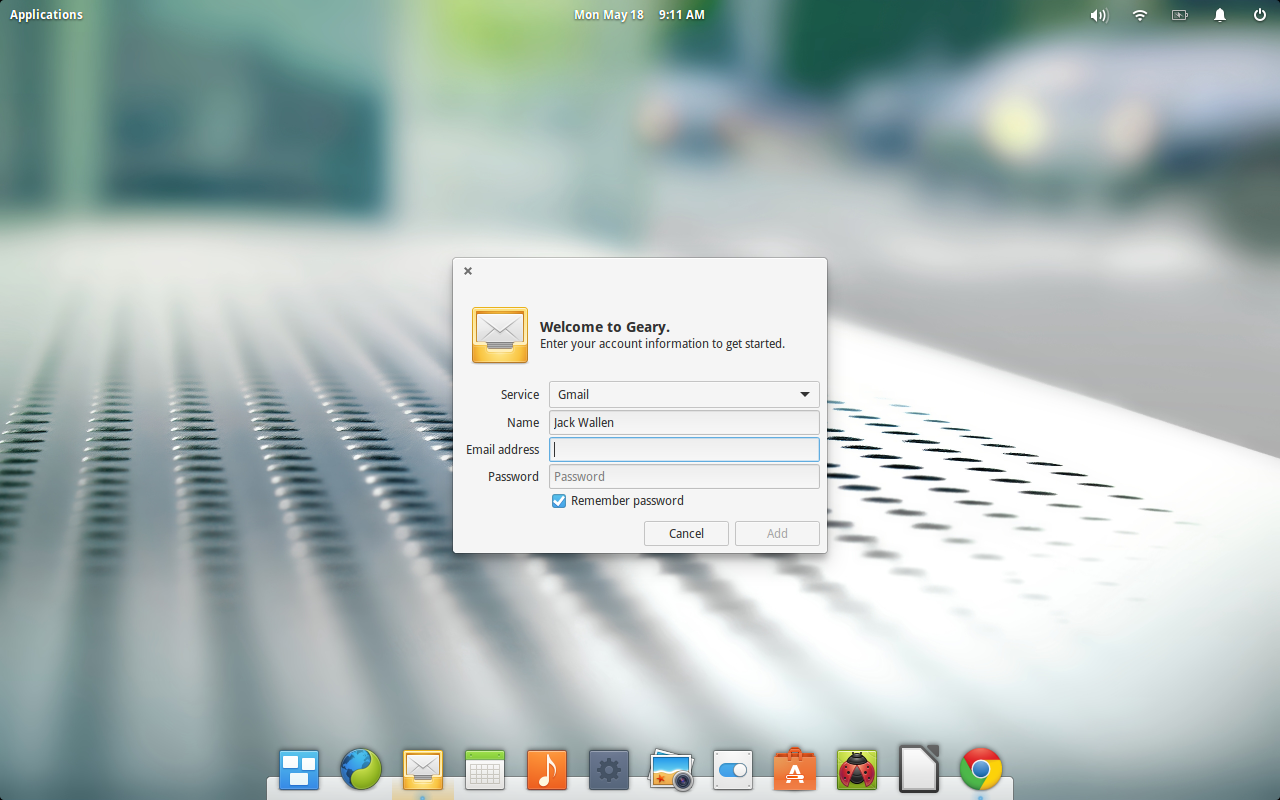
When prompted (Figure 3), select Gmail from the Service drop-down
-
Enter the details for your Google Mail account (using the app password instead of your standard Google password)
-
Click Add.
Geary should now automatically open up to your Google Mail account (Figure 1, above), ready for use.
Once you’ve setup an initial account, you can easily add more accounts. Let’s add an IMAP account to Geary. Follow these steps:
-
Open Geary
-
Click on the Gear icon (upper right corner)
-
Click Accounts
-
Click the + button
-
Select Other from the Service drop-down
-
Fill out the details for your IMAP account (Figure 4)
-
Click Add when finished

Usage
As you might expect, using Geary is about as simple as it gets. There are no surprises, gotchas, or tricks. All emails are viewed in conversation threading (which makes for much easier viewing when an email has gone back and forth numerous times). You can star an email for easier filtering. To do this, simply hover your mouse over a particular email (in the middle pane) and then click the star when it appears (Figure 5).

There’s one caveat with the starring system—it only works with supporting services. In other words, your IMAP email probably won’t support starring. If you’re working with Google Mail, you’re in luck. You can star an email and then select the Starred listing under Inbox to display only those emails you have starred.
You’ll find a scant-few more tricks up Geary’s sleeve—but not much more (and it’s all very intuitive).
If you’re looking for a change from the old email client, and you want something that doesn’t require much in the way of thought or effort (outside of creating an app password for Google Mail), give Geary a go. I’m fairly confident, even while still in its infancy, it will quickly win you over as your go-to email client.


