
October 19, 2009, 4:38 am
The last time I posted on Fedora’s portable usability testing lab, I talked about the video files it outputs and how Ray Strode helped me write a gstreamer pipeline to construct the videos into a quad-screen video. (Ray has sinced worked out a much more efficient pipeline, and created a git repository on GNOME.org to make it available.)
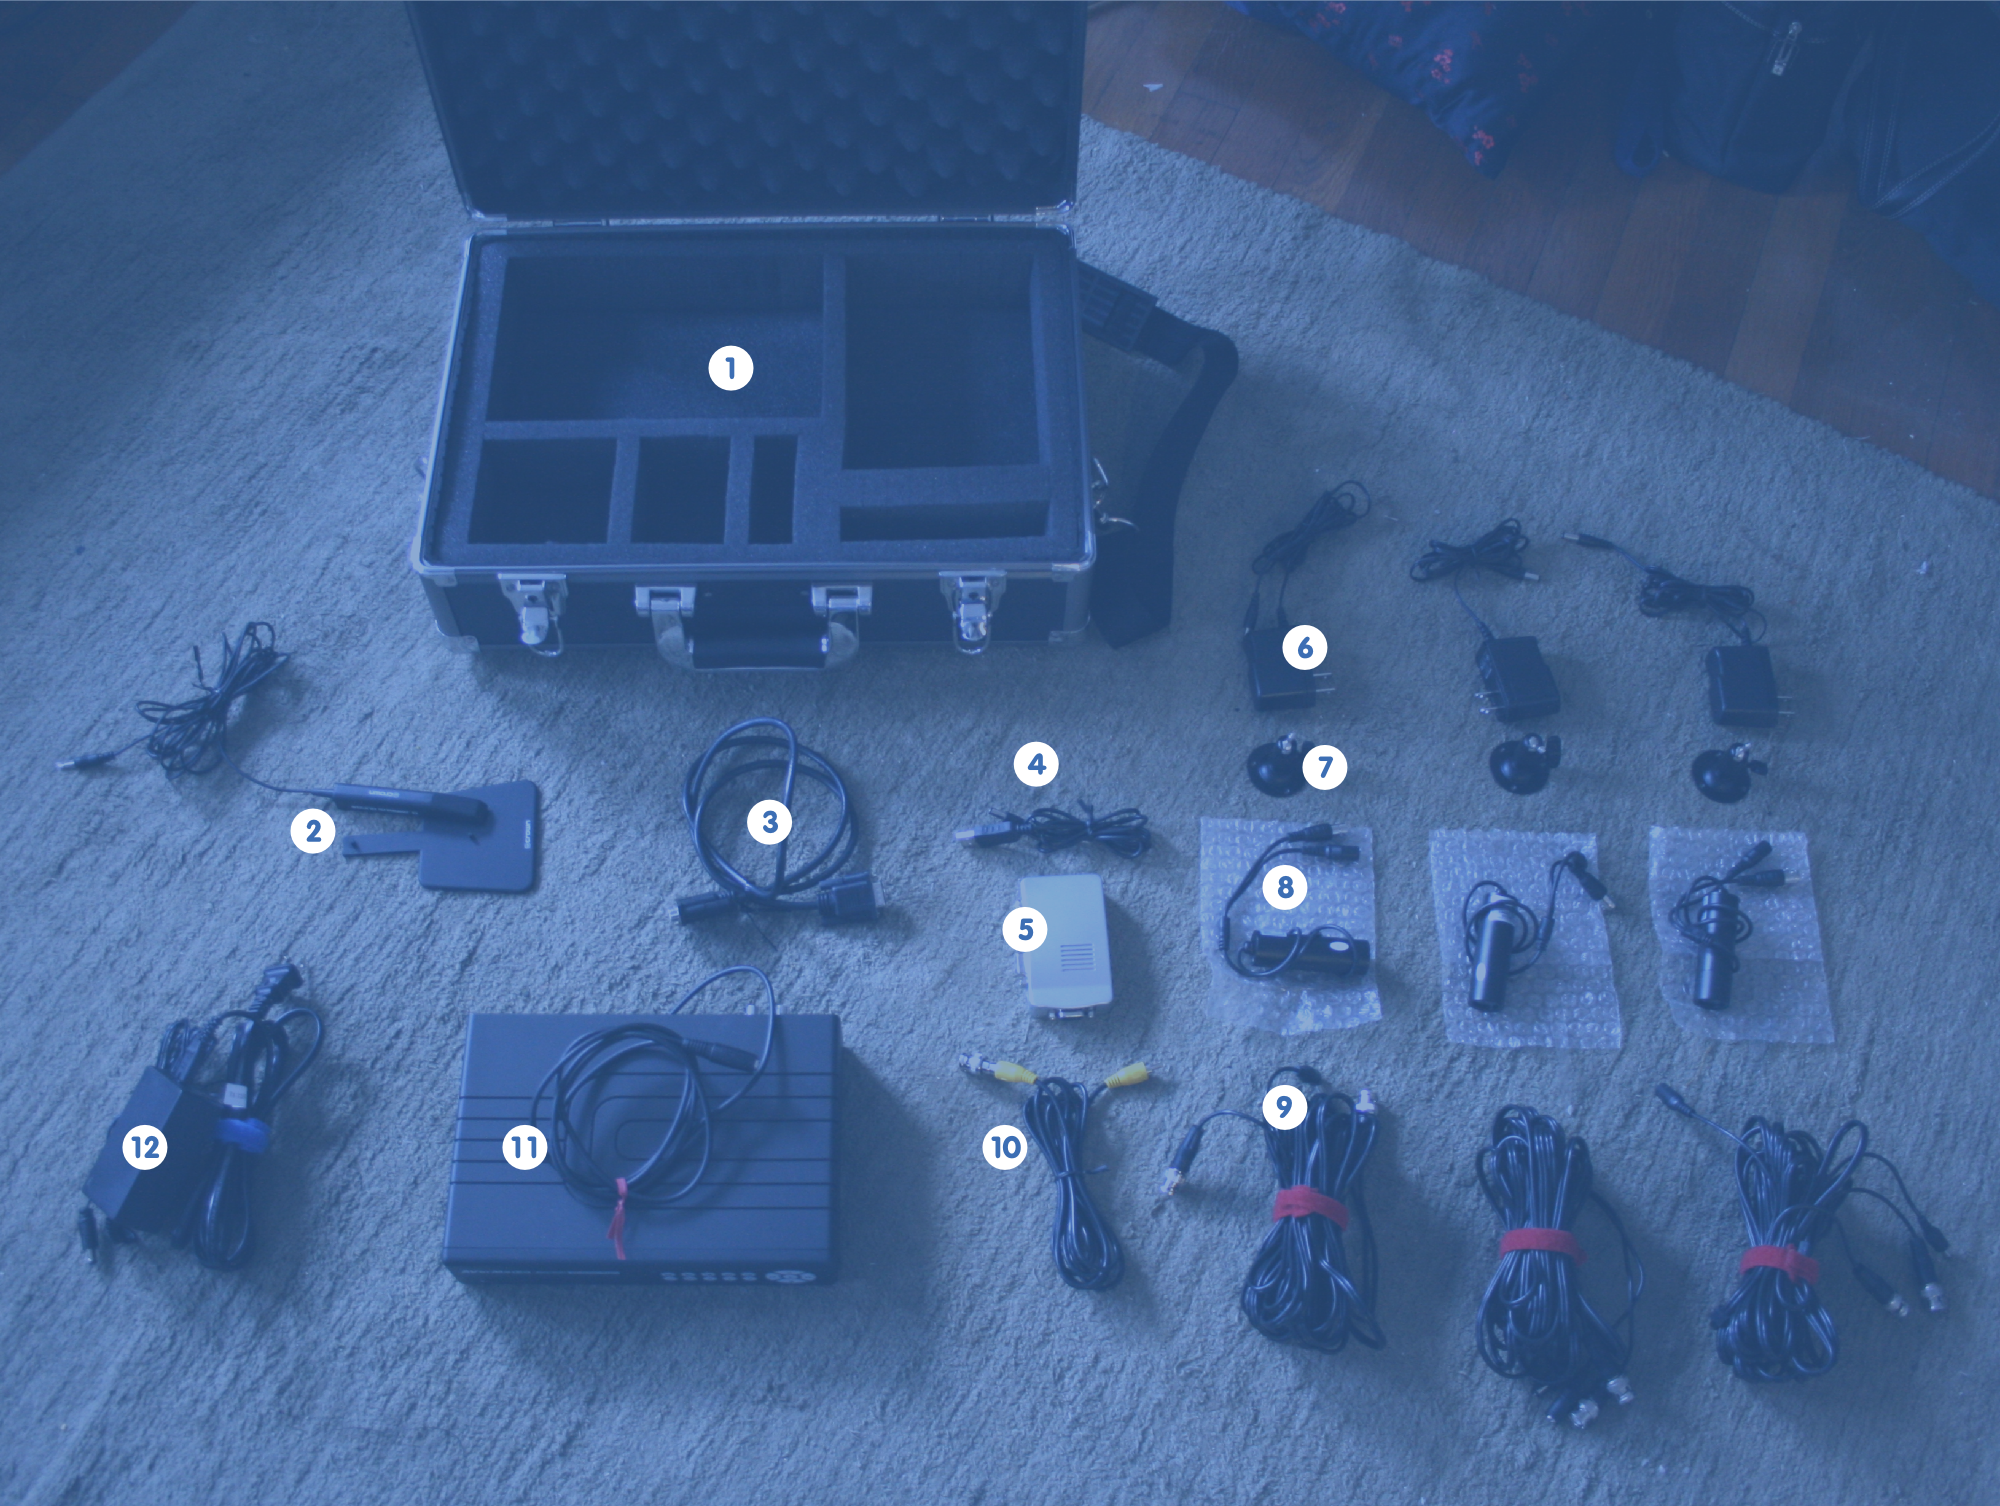
Well, in this post I’d like to review the equipment that’s in this lab. I’ve started to put together some documentation on how to assemble, use, and process the data out of the usability lab. This is really just an excerpt of the Assembly Instructions document I started writing in the Fedora wiki:
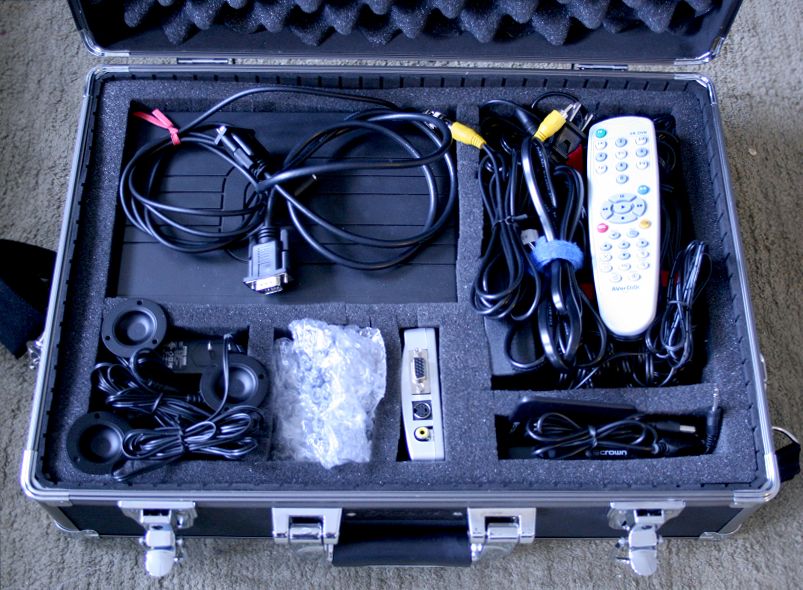
- Carrying case – it’s an Opteka equipment case, with foam padding on the inside, cut out to create various fitted components for the parts. Here’s a photo showing all the parts in the case.
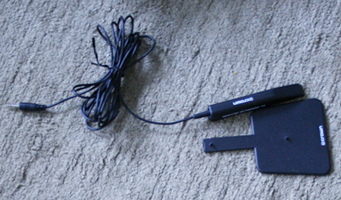
- Microphone and microphone plate – it’s a crown omnidirectional mic. The pickup really isn’t that great, so I’m going to be looking to either get some phantom power for it or maybe replace it with a better one at some point.
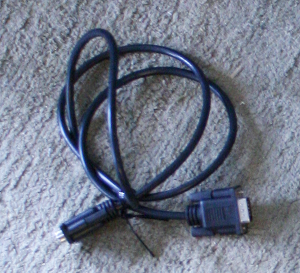
- D-SUB connector video cable (for scan converter) – this connects the input of the scan converter to the output of the computer you’re running the tests on, so that the DVR can record the desktop. This means all desktop recording is done externally from the computer, so your usability tester won’t notice any lag or sluggishness due to recording.
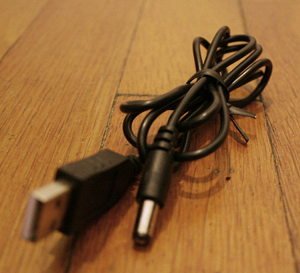
- Scan converter USB power cable – this whole lab requires 6 power outlets, so thankfully the scan converter doesn’t require one more. It simply powers off of a USB port on your testing computer.
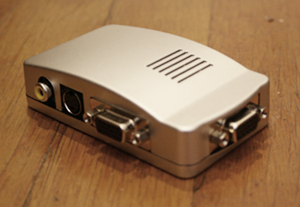
- Scan converter box – the scan converter takes the video out of your testing computer (up to 1024×768) and turns it into a signal the DVR can record.
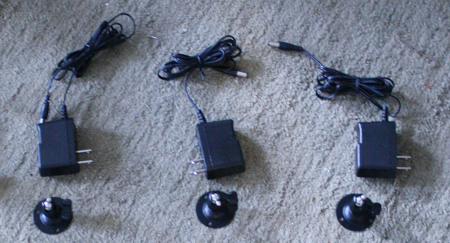
- Camera AC power supplies (3) – the cameras are externally-powered by these.
- Camera stands (3) – these screw into the bottom of the camera cylinders and are directionally adjustable.
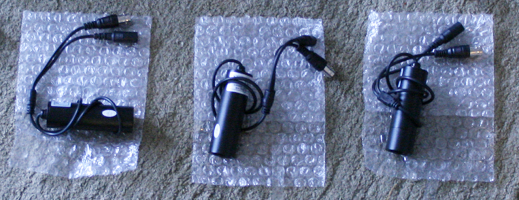
- Cameras (3) – these are Sony color security cameras and have very good pickup in dark conditions.
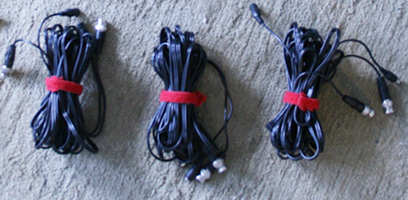
- Camera BNC & power cables (3) – these are 10 feet long – a bit too long to be honest – but they get the job done, connecting the cameras to the back of the DVR.
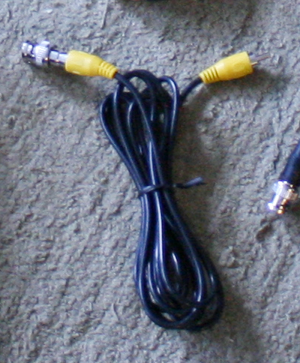
- Video cable for scan converter (RCA / BNC) – this allows the scan converter to send signal to the DVR. One end has a BNC converter to go into the DVR end.
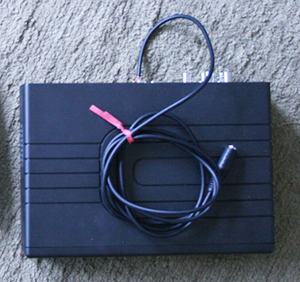
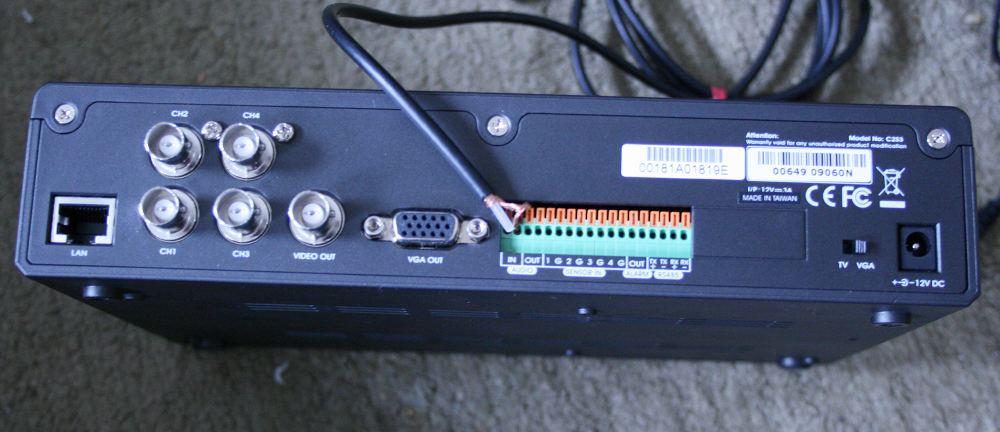
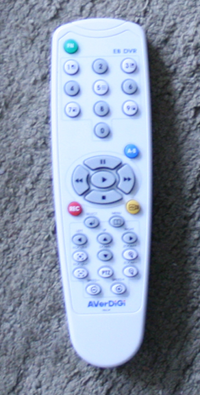
- DVR / video mixer – this is an AverMedia AverDigi SATA+ embedded Linux security DVR unit. It takes the signal from the three cameras and scan converter as well as the microphone and handles the recording of those into video files. As discussed previously, the file formats output by this little beastie are a bit of a pain, but GStreamer comes to the rescue and transforms this box into a workable solution. (By the way, here’s what the ports on back look like.)
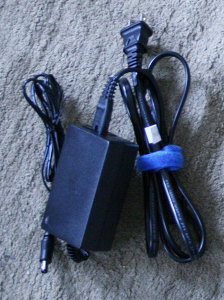
- DVR power supply – power for the DVR.
- DVR Remote (missing from image above)
For a fuller run-down of the equipment as well as a listing of additional needed equipment see: https://fedoraproject.org/wiki/Design/UsabilityLab/Assembly_Instructions. By the way, the specs and pricing for the parts listed above are also available on the Fedora wiki now, but I do intend to clean up that page to be a little more useful / readable in the future.


