
Author: Keith Fieldhouse
Trac integrates a capable wiki engine with a number of project management features. In particular, Trac provides a Web-based interface to a Subversion source code repository, a job/bug ticketing system, and basic scheduling features. Each of these is integrated with the wiki engine. Trac can be readily adapted to nearly any project management style.
For the purposes of this article, we’ll assume that you use Subversion for your source control system. If you’re not familiar with the software, you may want to review my recent article on using Subversion or take a look at the Subversion Book to get started. You will also need a Python 2.3 installation, the python bindings for your installation of Subversion, and an installation of PySQLite; use version 1.x or below, as the current stable version of Trac doesn’t support PySQLite2.
| Click to enlarge |
Users of Debian-based Linux distributions can install all of these prerequisites and Trac itself by simply executing apt-get install trac as root. Packages for Trac can be often be found in other repositories for distributions such as Fedora. There are Microsoft Windows binaries for Python, the Subversion python bindings, and PySQLite as well. If none of these options serve, the Trac Web site has information for installing Trac on a variety of platforms.
The simplest deployment of Trac, which we’ll outline here, involves using its own built-in Web server. For small to medium internal projects, this configuration should prove more than adequate. For larger or externally deployed projects, investigate Apache-based deployment options.
There are two commands that are important in the Trac distribution: trac-admin and tracd. In most Linux distributions they’ll be found in /usr/bin or /usr/local/bin. For Windows installs, these commands will generally be found in Python installation directoryScripts.
To create your Trac project you must choose a location in which Trac will keep its data. For our purposes we’ll assume the directory /path/to/MyTracProject. (On Windows it could just as easily be C:MyTracProject.) Trac must also know the location of your Subversion repository (we’ll use /path/to/SubversionRepository). Given this information, use the initenv command to initialize the project:$ python trac-admin /path/to/MyTracProject initenv /path/to/SubversionRepository
After initializing your Trac project you should able to run: $ python tracd --port 8080 /path/to/MyTracProject
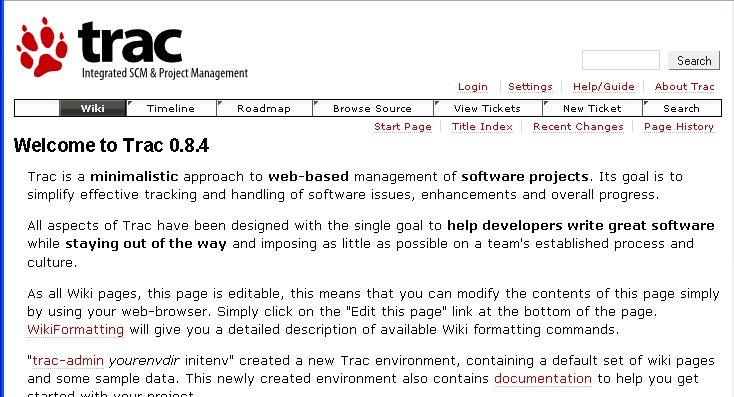
to start the built-in Trac server. Then, simply browse to http://localhost/MyTracProject:8080 to take a look at your initial Trac project.
One thing that you’ll notice is that the Trac wiki is pre-populated with pages that document the Trac system. For example, the wiki page at http://localhost:8080/MyTracProject/wiki/TracGuide is the table of contents for the Trac documentation.
You can use the trac-admin script to configure other aspects of your project. Let’s use it to add some project components and some scheduling milestones. While we’re at it, we’ll remove the sample milestones and components that Trac places in its database. The following commands will give you the flavor of working with the Trac administrative tool. There is also a help command that provides a summary of all of the available administration commands.
$ python trac-admin /path/to/MyTracProject
Delete default components
Trac [/path/to/MyTracProject]>  component delete component1
Trac [/path/to/MyTracProject]>  component delete component2
Add a GUI and Database component
Trac [/path/to/MyTracProject]>  component add GUI
Trac [/path/to/MyTracProject]>  component add Database
Delete the default milestones
Trac [/path/to/MyTracProject]>  milestone delete milestone1
Repeat the above command for milestones 2,3, and 4
Then add an Alpha, Beta and Release milestone
Trac [/path/to/MyTracProject]>  milestone add Alpha
Trac [/path/to/MyTracProject]>  milestone add Beta
Trac [/path/to/MyTracProject]>  milestone add Release
Once you’ve set up the basic structure of your project you can begin to actually populate it. The toolbar at the top of the Trac Web pages lets you browse your project wiki, look at your project schedule (called the “Roadmap” in Trac), enter tickets (which can be bug reports or “todo” tasks or a combination), and browse through your Subversion repository.
The real power of Trac is its ability to adapt itself virtually any project management style. Trac honors wiki formatting across the entire Trac-managed project. Naturally enough, Trac’s wiki supports a full range of the usual wiki formatting behavior for links to other wiki pages, lists, emphasis, and so on. Trac, however, also supports special markup for creating links to milestones (milestone:Alpha), tickets (ticket:121), and source code (source:trunk/MyCode.cc). Thus, you can create wiki pages that organize access to any useful selection of project characteristics. Then, to extend the concept, Trac honors wiki formatting not only in wiki pages but in ticket descriptions and even Subversion check-in comments.
With this ability to interlink various aspects of your project you can create a living view of your project’s status. Consider a project being run using agile methodologies. Wiki pages can be used to describe user “stories” or use cases. These pages can be linked to “iterations” that are entered as the project milestones. Developer tasks can be entered as tickets associated with the appropriate iteration or milestone. As code is checked in to satisfy a particular developer task, the check-in comment can identify the task with a link to it. Thus, the project’s state can be reviewed from virtually any perspective, where appropriate details are accessed with the click of a mouse.
In addition to integrating well with itself, Trac provides a number of features that allow it to integrate well with the outside world. The URL scheme in Trac is constructed in a very sensible and predictable fashion. For example the URL in “MyTracProject” for the Alpha milestone pages would be http://trac.myco.com:8080/MyTracProject/milestone/Alpha. The URL for the seventeenth ticket is http://trac.myco.com:808/MyTracProject/ticket/17. Thus, it is quite easy to compose blog entries or emails that refer to aspects of a Trac-managed project. Trac also has the ability to create reports using SQL select statements against the ticket table in the Trac database, allowing you to provide customized reports for project stakeholders.
All of this shows that any project, regardless of its size, can take advantage of Trac’s powerful and sophisticated planning, monitoring, and reporting infrastructure. With a small investment of time, you can deploy and adapt Trac to your project management strategy, allowing you to concentrate on moving your project to completion and success.
Category:
- Enterprise Applications


