
With the release of GNOME 3 came the promise of a small collection of apps that would go a long way toward making GNOME a desktop for all occasions. Apps for weather, calendar, music, photos, and maps not only promised to bring about a unified experience across the platform, they helped to offer a certain “mobilized” feel to the desktop. Considering that users across the globe are adopting mobile platforms at a rate that desktops cannot match, this was a wise move. Give the users a familiar collection apps, and they’ll feel right at home.
No app better defines that move than GNOME Maps. It’s a desktop app that does a great job of paralleling what you might find on a mobile platform. It offers an easy-to-use interface, favorites, route mapping, standard and satellite view maps, and much more. Sure, you can find all of these features (and more) in, say, Google Maps. However, you won’t find a desktop version of Google Maps for Linux. So, if you like your map apps ready at the click of an icon, GNOME 3 has what you’re looking for.
If you’ve never used GNOME Maps, you’re in for a treat. All you need is one of the latest iterations of GNOME (Maps was introduced in GNOME 3.16) and GNOME Maps will be installed by default.
Let’s get started.
The Interface
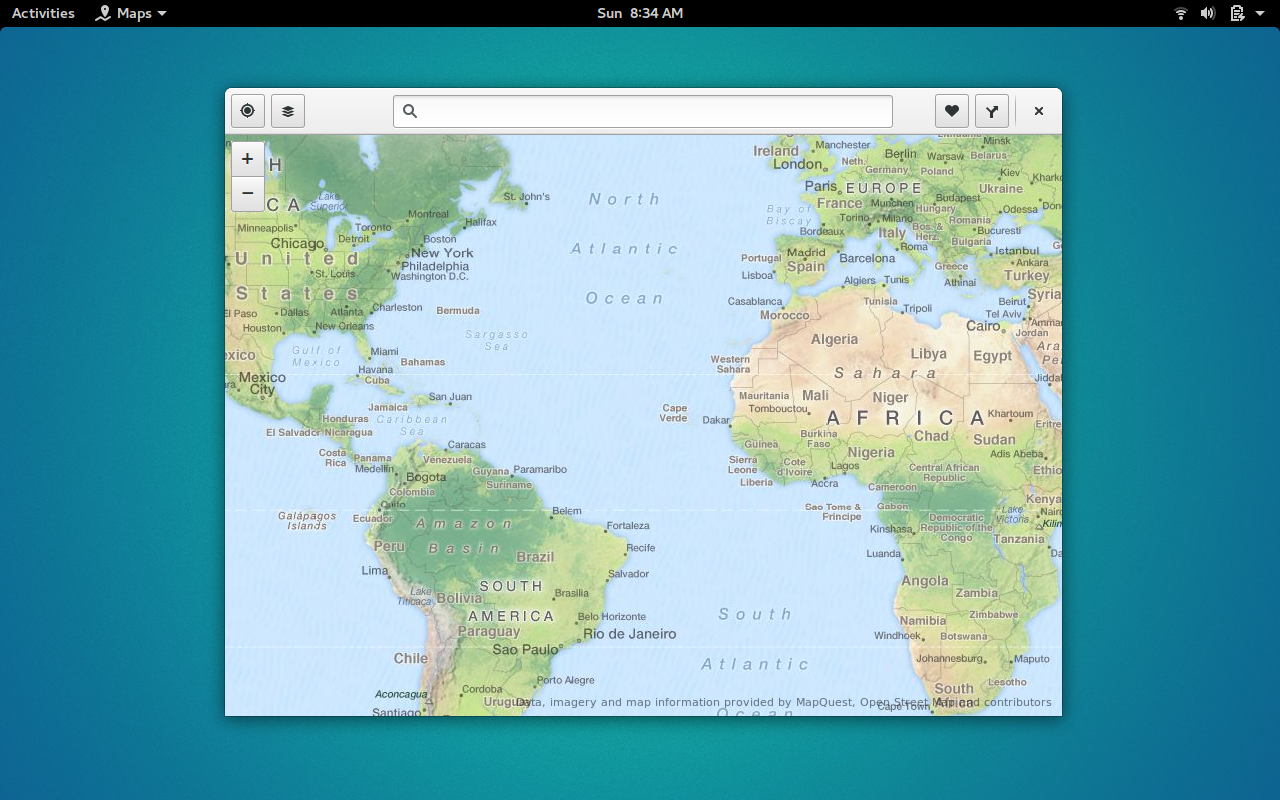
The interface is quite simple. In the upper left corner, you have the location button, the map type selector, and the zoom in/out buttons. In the center top, you have the search bar. In the upper right corner, you have the favorites and the route buttons. The designers/developers have done a great job of making this app easy to navigate.
First Step
The first thing I recommend you do (to get the most out of GNOME Maps) is enable the location services. Understand, to some this could be seen as a security issue, so only enable this feature if you’re okay with your device knowing your location. However, it will make GNOME Maps easier to use.
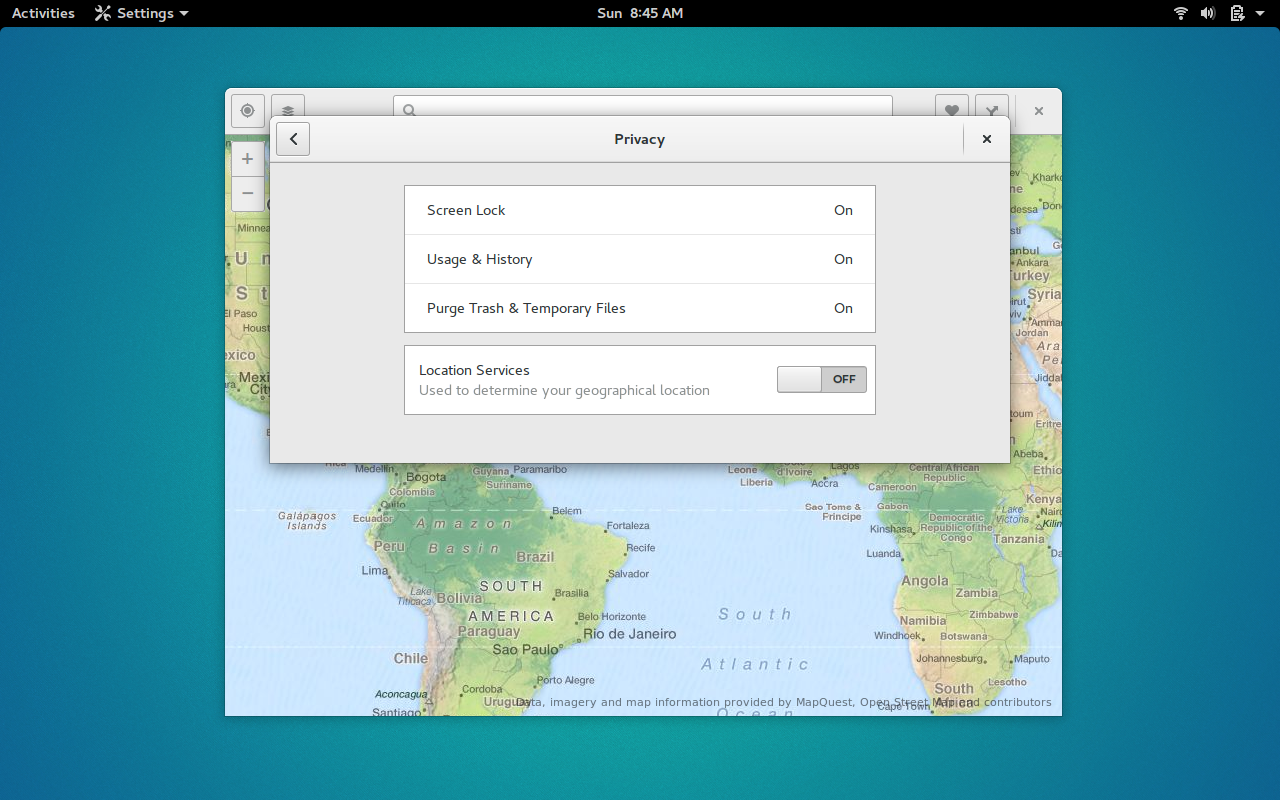
Once you’ve enabled the Location Service, close the settings window and return to GNOME Maps. Dismiss the location warning and you’re good to go. If you click the Location button and it responds with Unable to find location, give the service a moment to actually locate you. Try again until GNOME Maps can pinpoint your location. By default, it will open up your location by city. If you click on the Zoom In button (the + sign), you will see that the Location service does actually do a good job of finding you.
Using Maps
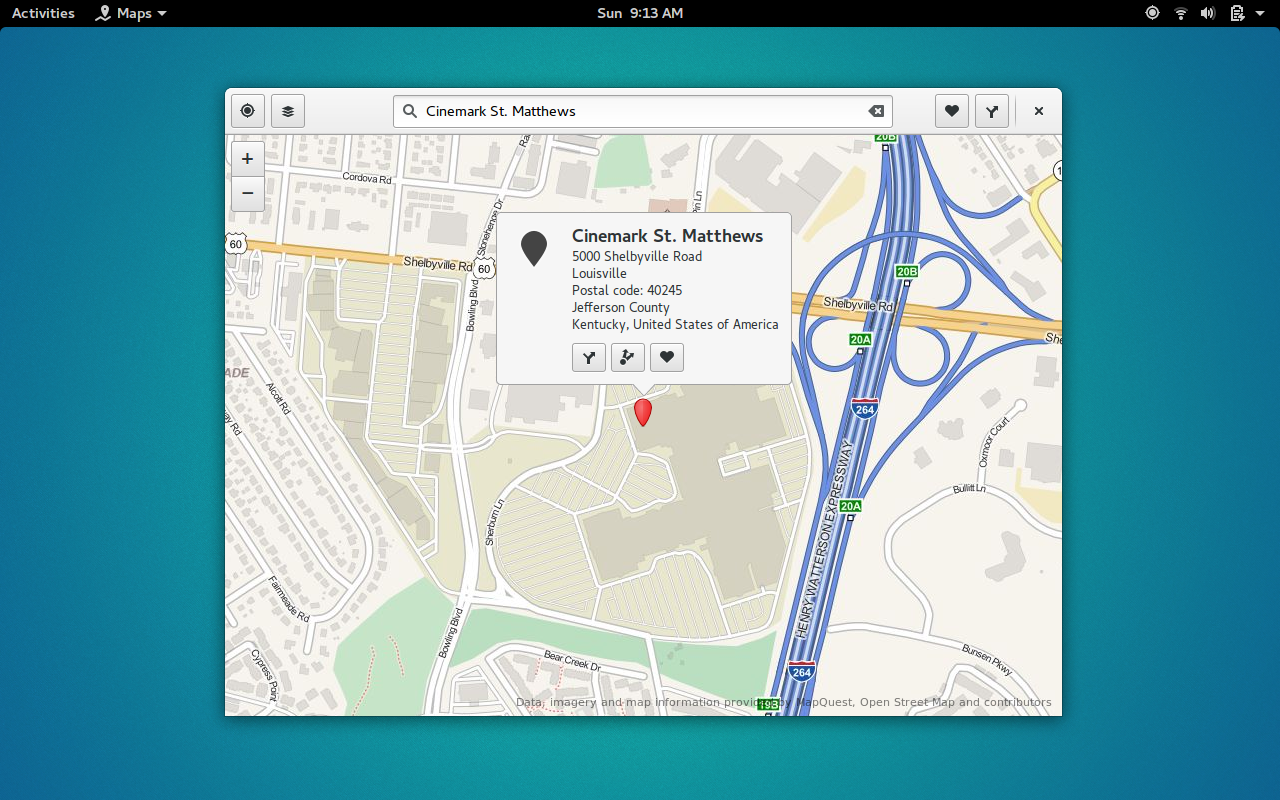
Let’s use GNOME Maps to locate a business. You can enter a business name in the search field and be presented with options. Say you want to find directions to the nearest Cinemark cinema. Type cinemark followed by your current city. All relative locations should appear.
Click on the desired entry, and GNOME Maps will then zoom into that location (Figure 3).
-
Add a new route (get directions to the location)
-
Open the location in another app
-
Add the location to favorites
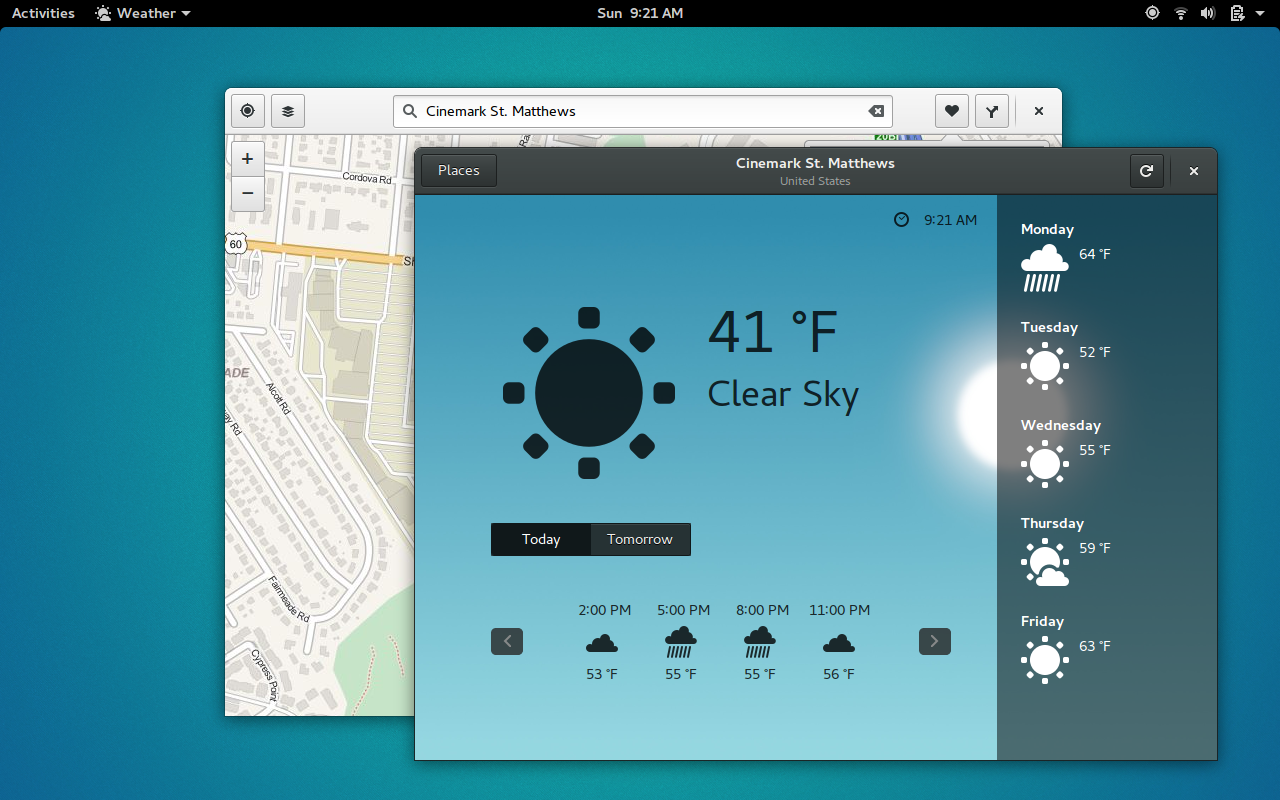
If you click the Add new route button, GNOME Maps will automatically give you directions to the destination from your current location. If you click to open the location in another app, you will be presented with all relevant apps (in this case, only the GNOME Weather app). You can then open that app and receive relevant information relative to the destination (Figure 4).
If you click on the Favorites button, that destination will be added to your favorites.
With every route, you can select a different travel type:
-
Car
-
Bicycle
-
Walking
Favorites
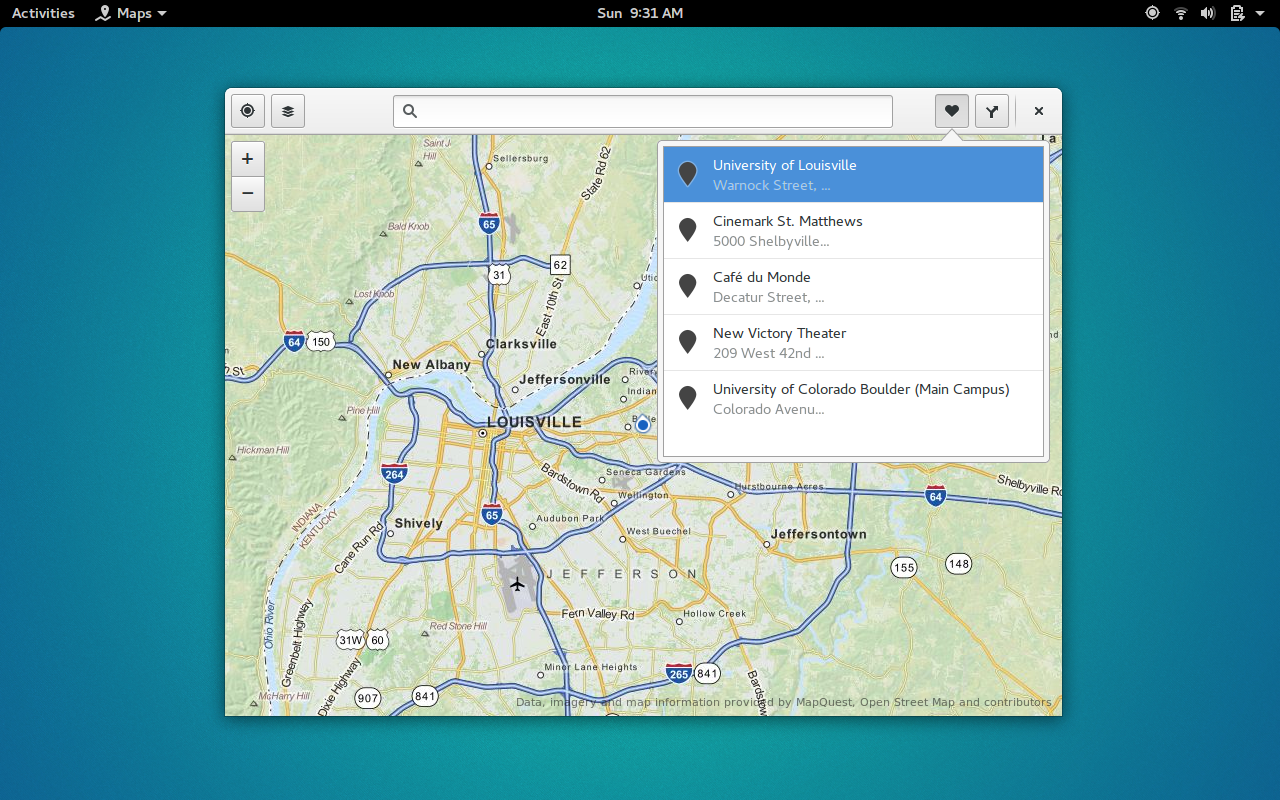
The Favorites feature should be a no-brainer for most. You click the Favorites button when you look up destinations. Once you’ve added to the Favorites, you can click the heart icon to reveal everything you’ve added (Figure 5). Click on one of the entries, and GNOME Maps will open to that destination.
To remove a location from your Favorites, here’s what you have to do:
-
Click to open the Favorites listing
-
Click on the destination to be removed
-
When the destination opens, click on the Favorites icon to remove the listing
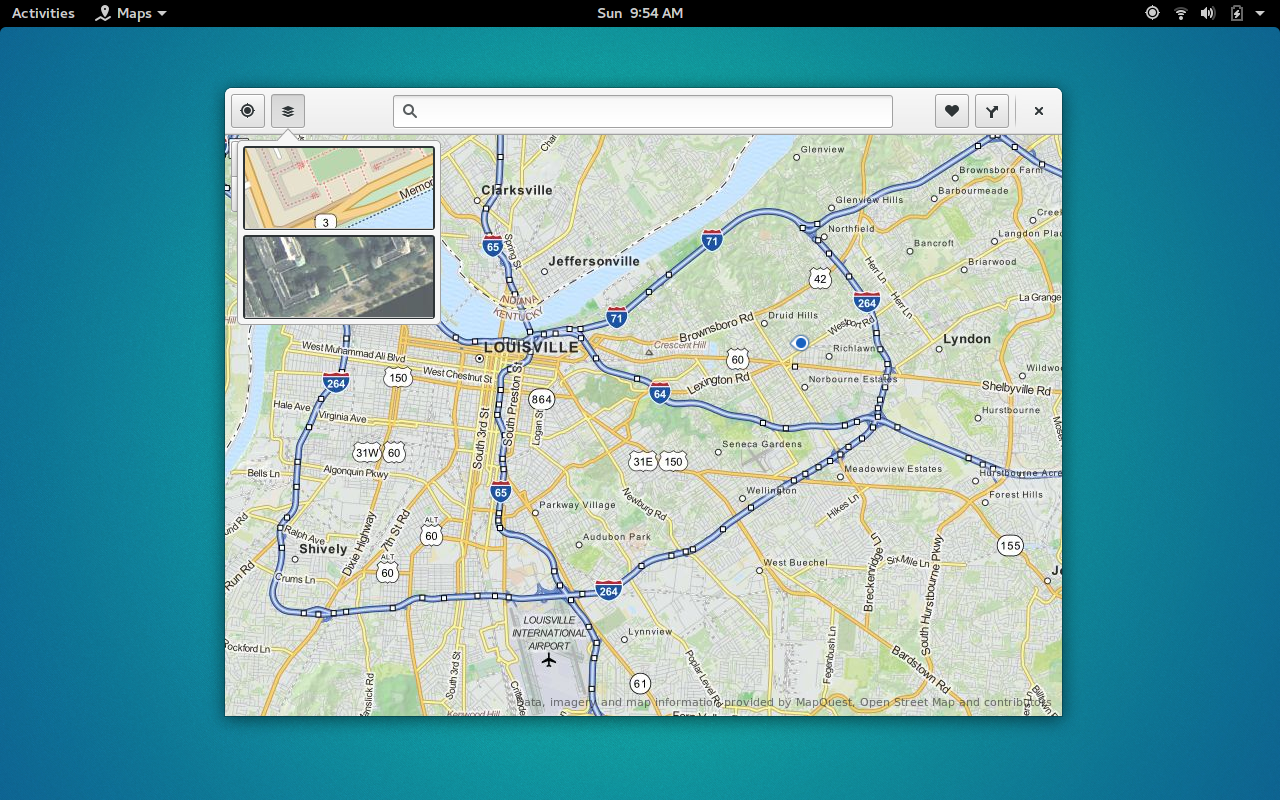
Map Types
There are two types of maps:
-
Standard
-
Satellite view
By default, all maps will appear in Standard mode. If you want to get a satellite view of the current location, click on the map type selector and then select the bottom view from the pop-up (Figure 6).
Let GNOME Do the Work
The GNOME apps are ready to go for you. Let them help you find your location, check the weather, play your music, and view your photos. Each app has come a long way since inception and are outstanding additions to the usual set of desktop tools. GNOME Maps is no exception…it’s incredibly handy and one of the easiest desktop map tools you’ll ever come across.


