Anyone familiar with Linux likely has some knowledge of the Raspberry Pi. That may not necessarily equate to having experienced one of the greatest embedded platforms on the planet.
If you’re unfamiliar with the Pi, let me introduce you. The tagline for the Raspberry Pi is Teach, learn, and make with Raspberry Pi. The Pi is a series of single board computers (developed by the Raspberry Pi Foundation) to promote the teaching of basic computer science. Thing is, the small-form factor device became incredibly popular beyond the educational environment. People around the globe embraced these boards and, with the help of embedded Linux, began to invent. To that end, as of September, 2016, more than 10 million Raspberry Pi boards have been sold.
To go along with this extraordinary phenomenon, the Raspberry Pi Foundation created an official OS to be used with their hardware. Derived from Debian, Raspbian is officially provided by the Foundation and can easily be installed on a Raspberry Pi board with the help of NOOBS. And now, Raspberry Pi boards can be booted with a completely refreshed desktop called PIXEL.
And guess what? You can experience that same platform on your desktop.
PIXEL stands for Pi Improved Xwindows Environment, Lightweight. On the desktop, PIXEL is only available as a live image, but for anyone without one of the Raspberry Pi boards, wanting to experience the new Pi environment on, this is definitely worth carrying around on a bootable USB flash drive. Why? Not only are you getting a full-blown, Pi-flavored desktop operating system, you will also find some interesting programming tools installed by default. That’s right, tools like BlueJ Java IDE, Geany Programmer’s Editor, Greenfoot Java IDE, Python 2/3 (IDLE), Scratch, Sense HAT Emulator, and Sonic Pi. These developer tools can be found, along with LibreOffice, the Chromium Web Browser, Claws Mail, and several other productive tools are found on a platform aimed at bringing a little Pi to the desktop.
Let’s download and run PIXEL.
Running PIXEL
Before we continue on, you must remember that PIXEL for the desktop is still very much a prototype. You will run into problems. The most current available release of PIXEL is to be used via NOOBS on the Raspberry Pi and is far more stable than what you’ll find for the desktop. However, if you still want to give PIXEL a spin on the desktop, you’ll have to settle for the image from December 2016 (found here). Of course, if you have a Raspberry Pi available, and you want to use PIXEL with NOOBS, you can download that image file here. But, because we’re talking about the desktop version, we’ll be sticking with the ISO.
Even with the release being just a few months old, it would behoove you to immediately run an upgrade, once the desktop has booted. However, in order to do this, you must be running PIXEL with persistence enabled (more on that in a bit). If you do not run with persistence enabled, the sudo apt-get upgrade or sudo apt-get dist-upgrade commands will fail due to a lack of space.
With that said, let’s get PIXEL up and running.
The first thing to do is download the latest ISO image. Once you have that image saved to your drive, you can get PIXEL up and running by either creating a VirtualBox VM or by creating a bootable USB flash drive with the PIXEL image. Let me walk you through creating a bootable flash drive with the help of Etcher. You’ll find this flashing tool to be one of the easiest to use on the market. Here’s what you do:
-
Download the compressed Etcher file that suits your system architecture
-
Open a terminal window and change into the directory housing the new download
-
Extract the file with the command unzip Etcher-XXX-linux-YYY.zip (Where XXX is the release number and YYY is the architecture)
-
Start the software with the command ./Etcher-XXX-linux-YYY.AppImage (Where XXX is the release number and YYY is the architecture)
-
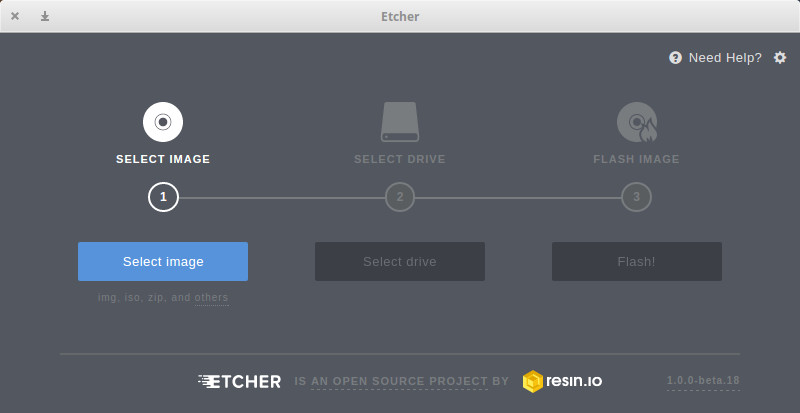
In the resultant window, click the Select image button (Figure 1)
-
Navigate and select the downloaded PIXEL ISO in the file selector
-
If you haven’t inserted your flash drive, do so now
-
Click Select drive
-
Navigate and select your USB flash drive in the pop-up window
-
Click Flash!
-
When prompted, type your admin password and hit Enter on your keyboard
-
Allow the flashing process to complete

Writing the bootable USB flash drive does take some time, so find something else to do while the process occurs.
When the drive is written, eject it from your file manager (if necessary), insert it into the machine that will run PIXEL, and boot. NOTE: If your machine doesn’t boot from the USB drive, you may have to enter the BIOS and set it up so that it can boot from a USB drive.
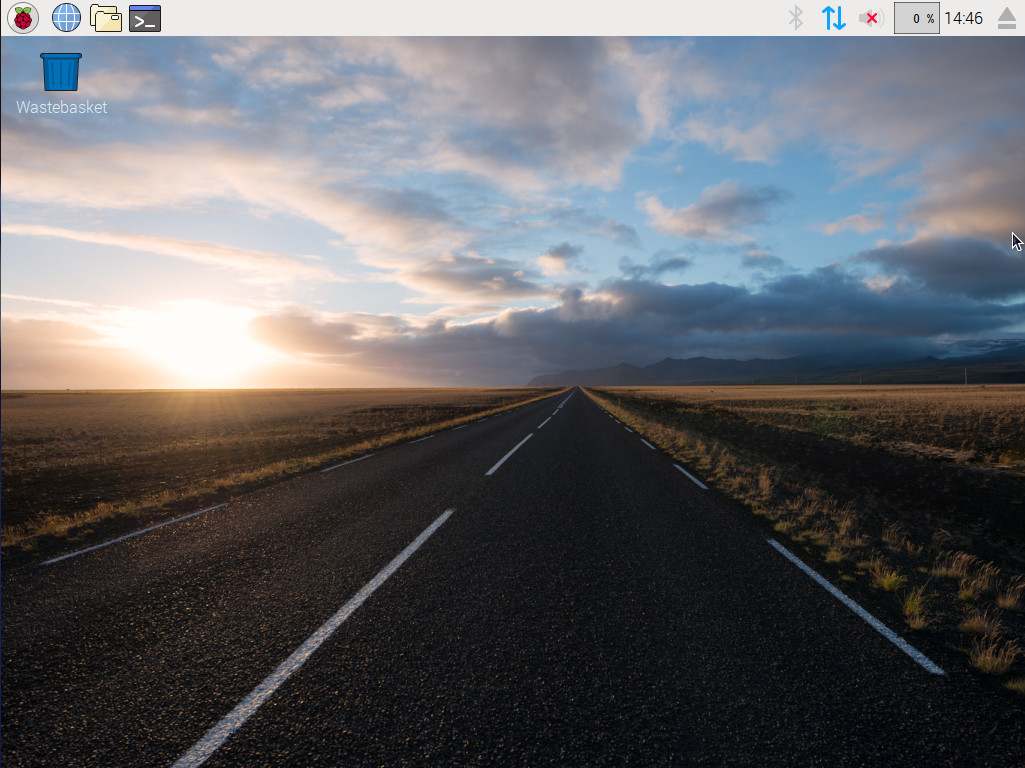
I opted to go the VirtualBox VM route. All that is necessary to get PIXEL up and running here is to create the Virtual Machine, start the VM, when prompted select the PIXEL ISO for your image, and allow PIXEL to boot. Once booted, you’ll find yourself on the very user-friendly PIXEL desktop (Figure 2).

Note that running PIXEL in a virtual machine will not allow for you to make use of the persistence feature.
Speaking of which…
Persistence
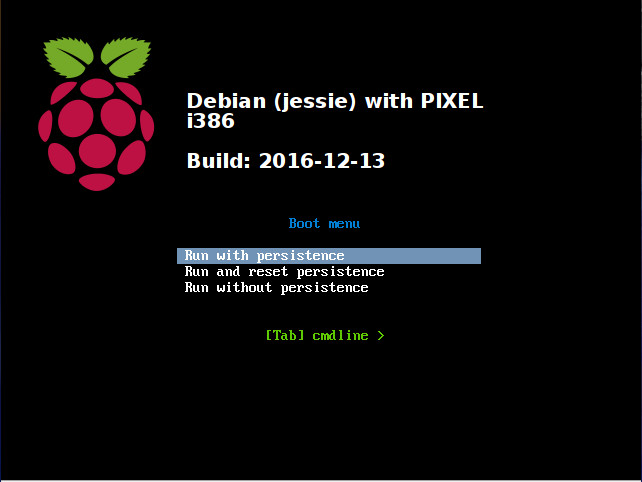
If you would like to be able to save work from session to session, you must be running PIXEL from a USB flash drive and have persistence enabled. To enable persistence you must hit Escape at the PIXEL splash screen and then (once the boot menu appears), select Run with persistence — Figure 3). This allows PIXEL to make use of any free space on the USB drive to save any changes made or files created. With persistence enabled, you can boot PIXEL from session to session, knowing your work will remain.

Should you want to clear and reset persistence, you can reboot, hit Escape, and select Run and reset persistence.
Using PIXEL
You’ve now reached the point where everything should become incredibly simple. You have a Desktop with a top panel that contains an Applications menu, quick launchers, and a system tray. There are no surprises at this point; PIXEL is very easy to use. Click on the Raspberry main menu to see what all the desktop has in store for you.
It’s not a perfect desktop, but it works and does so quite well. And best of all, you’ve just experienced the flavor of Raspberry on your desktop.
Learn more about Linux through the free “Introduction to Linux” course from The Linux Foundation and edX.


