
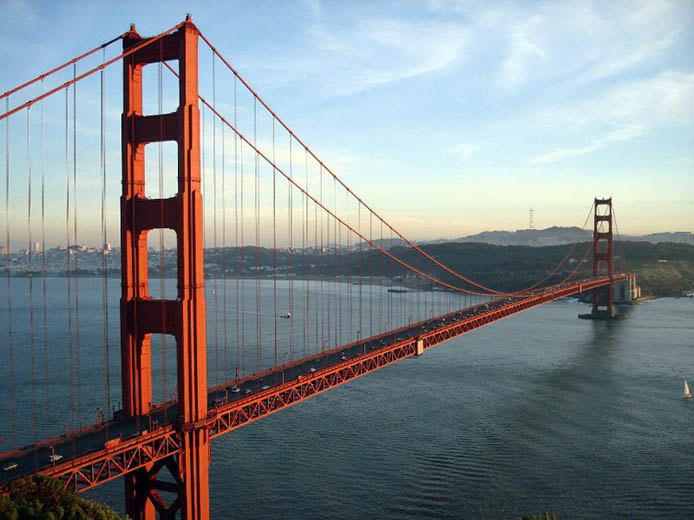
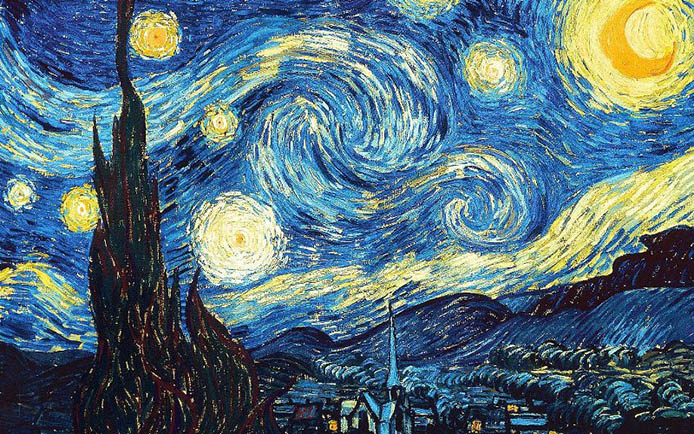
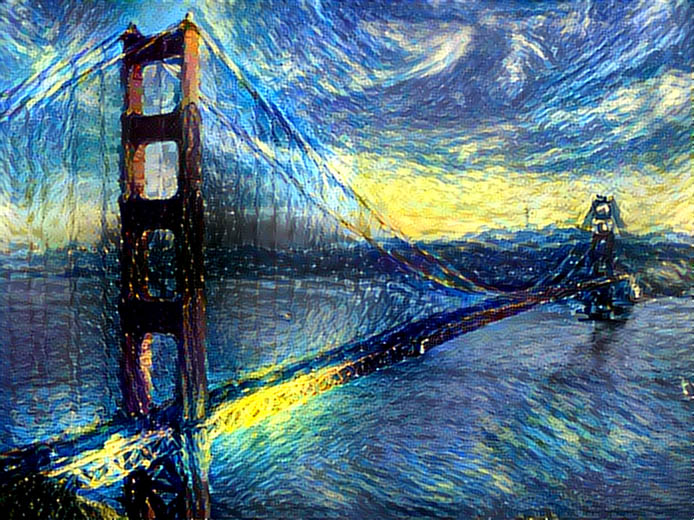
Neural networks can work on so many things. They can understand our voices, interpret images, and translate conversations, but did you know they can also paint? The image above shows some generated results using neural paintings.
Today, I’m going to walk you through how to do that. First off, make sure you have an up to date copy of Ubuntu (14.04 is what I used). You should have at least a few extra gigs of hard drive space and a RAM at least bigger than 6gb (more ram for bigger output size). To run Ubuntu as a virtual machine you can use vagrant together with virtualbox.
First make sure you have git installed. To download and install git, just open a terminal and run:
$ sudo apt-get install git
Step 1: Install torch7
Torch is a scientific computing framework with wide support for machine learning algorithms. Torch is the main package in Torch7 where data structures for multi-dimensional tensors and mathematical operations over these are defined. Additionally, it provides many utilities for accessing files, serializing objects of arbitrary types and other useful utilities.
In terminal run these commands (you might need to use sudo with them):
$ cd ~/
$ curl -s https://raw.githubusercontent.com/torch/ezinstall/master/install-deps | bash
$ git clone https://github.com/torch/distro.git ~/torch --recursive
$ cd ~/torch; ./install.sh
Now we need to source and refresh our environment variables, run:
$ source ~/.bashrc
Step 2: Install loadcaffe
$ sudo apt-get install libprotobuf-dev protobuf-compiler
$ luarocks install loadcaffe
Alternatively, if you face a problem, try this:
$ git clone git@github.com:szagoruyko/loadcaffe.git
$ ~/torch/install/bin/luarocks install loadcaffe/loadcaffe-1.0–0.rockspec
Step 3: Install neural-style
This is a torch implementation of the paper A Neural Algorithm of Artistic Style by Leon A. Gatys, Alexander S. Ecker, and Matthias Bethge. The paper presents an algorithm for combining the content of one image with the style of another image using convolutional neural networks.
First clone neural-style from GitHub:
$ cd ~/
$ git clone https://github.com/jcjohnson/neural-style.git
Next download the neural network models:
$ cd neural-style
$ sh models/download_models.sh
Step 4: Running it
Now make sure that you have at least 6gb RAM (if you are using a virtual machine, make sure you have set the appropriate amount of RAM for it). Then check if neural style is working with this command:
$ th neural_style.lua -gpu -1 -print_iter 1
Note that you are running this in CPU mode, running it in GPU mode is out of scope of this article.
To see instructions about how to use neural style, run:
$ th neural_style.lua ?
Now lets work on some test commands to check if our neural styles are working. First make sure you are in the directory of neural networks, if you followed all the instructions above, you should be in ~/neural-network, now run:
th neural_style.lua -style_image examples/inputs/picasso_selfport1907.jpg -content_image examples/inputs/shipwreck.jpg -gpu -1 -image_size 256
Note I have dialed down the image size for it to complete in less time. When this command is finished the default output file name will be out.png located in the same directory.


