In the classroom, testing can be a test of an instructors patience, organizational skills, time management, and more. With schools (and students) placing more demands to modernize the way educational institutions work, computerized examinations are looking more and more sensible. You’ll find plenty of tools to assist computerized exams, but few that are open source and cross-platform. Teachers on the hunt for computer exams should start by looking at iTest.
iTest is a full-featured client/server testing platform that allows instructors to enable the power of open source in their classroom for a reliable testing platform that will make everyone’s life a little bit easier. But what can iTest do? iTest can create and organize a full database of tests (on the server) that can be given at any time (to the clients). The installation is easy (at least on a Ubuntu machine) and can be installed on:
- Linux
- Windows
- Mac OS X
And, if you are really bold, you can open up the server to clients outside of the classroom so students can take tests remotely.
Let’s look at installing the server, client software, and setting up a test.
Installation
For this tutorial, this installation for both server and client will take place on a Ubuntu machine (specifically Ubuntu 10.4). So this will require you to add sources to your /etc/apt/sources.list file. This is simple:
- Open up a terminal window.
-
Issue the command
sudo nano /etc/apt/sources.list -
Add the following at the end of that file
deb http://ppa.launchpad.net/nagos/ppa/ubuntu karmic mainNOTE: You can substitute whichever Ubuntu release you are using in place ofkarmic, but thekarmicentry will work forlucid. - Save that file.
-
Issue the command
sudo apt-get update. -
Issue the command
sudo apg-get install itest.NOTE: This will install both client and server on the machine, this is necessary. - You may have to OK a few dependencies (this will be dictated by your installation).
That’s it! You are now ready to start working with iTest.
Creating a Test
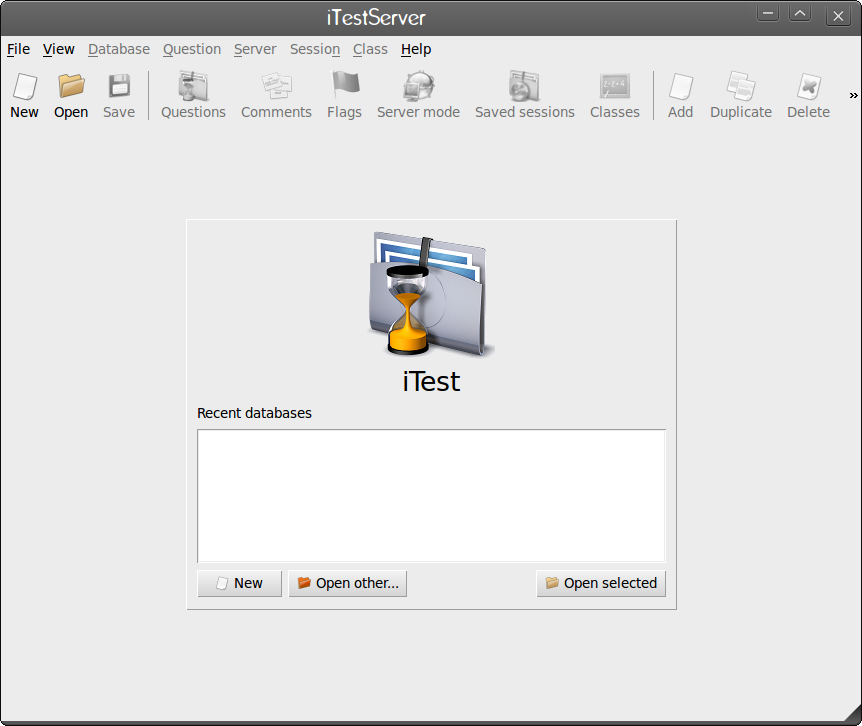
 The very first thing you must do is create a test. You do this with the iTestServer. To start up the iTestServer click on Applications > Education > iTest Server. When you open the iTest Server main window (see Figure 1) you will be greeted by a very user-friendly graphical interface.
In order to create a new test follow these simple steps:
1. Click the New button which will open a small window asking for a name.
2. Give your new test a name (for example Linux 101).
3. You will then have to save the database file, so choose a location which to house your database and click Save.
You have successfully created your test. Now it’s time to populate your first test with questions. To do this, follow these steps:
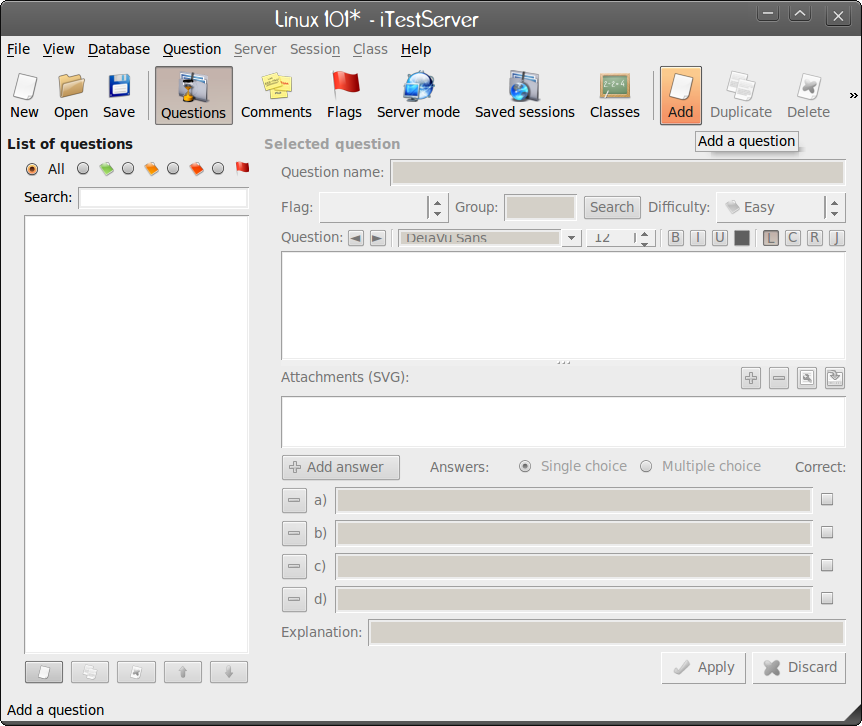
 1. Click the Add button near the top right corner (see Figure 2).
2. In the small window that pops up, give the question a name.
3. Type in your question in the Question text box.
4. Enter your answers in the Answers section (if you need more than the defaul four click Add Answer).
5. Select which of the answers is the correct answer.
6. Fill in any miscellaneous formatting.
7. Click Apply.
Repeat these steps until you have the entire test created. Once you have added all of your answers click the Save button to save your test.
Before you attempt to fire up the client you have to place iTestServer in Server Mode. To do this click the Server Mode button on the iTestServer Gui.
Server Mode
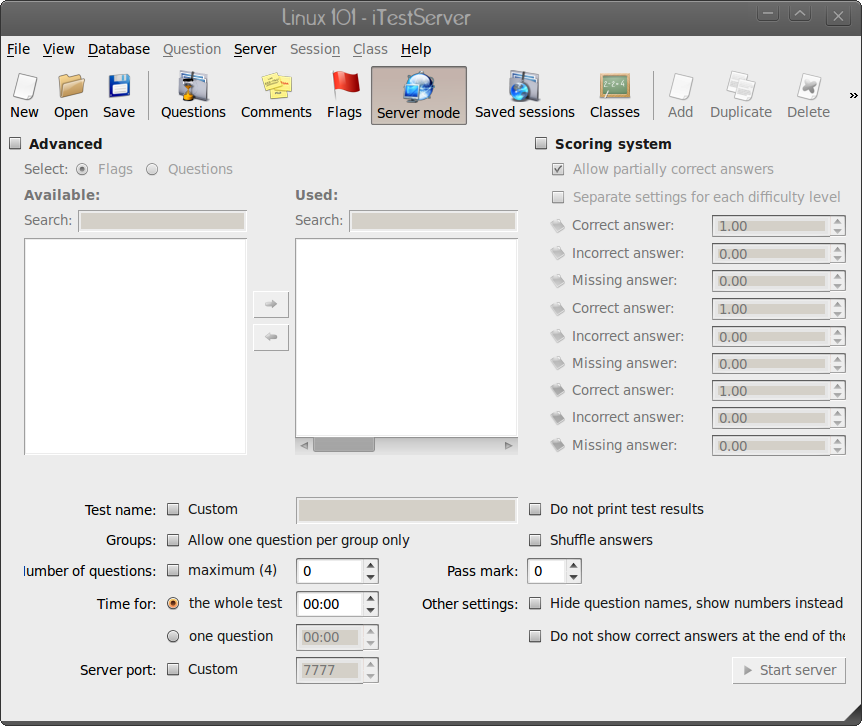
 This mode of iTest has its own GUI. Here you can add some nice advanced features to your test such as a scoring system, custom test name, time limit, custom server port, and more (see Figure 3). There is only one option here that you MUST configure, the “Time for” option. By default, iTest Server has 00:00 as the time limit. You must at least give 1 minute for the exam.
After you finish customizing server mode click the Start Server. If you haven’t already configured a printer for test results, you will be given the option now.
After the server starts your clients can then connect to the server. If you do not define a custom port, take note of the port your server is running on (it will tell you in the Server Mode window once you start the server).
Starting the Client
When you (and your students) are ready, it is time to start the client. To do this click Applications > Education > iTest Client which will open up a single window in full screen mode. Full screen mode ensures the students will not use their web browser to cheat. Of course if the students are resourceful enough they will know ways around this.
In order to connect to the server all you need to do is enter the address of the server and the port. It might be good to make sure the server IP address is mapped in /etc/hosts so the students aren’t having to type in an IP address. When the student is ready to begin the test, they only need click Ready and then enter their name. Once the test has started the process is very straight forward.
Managing the Tests
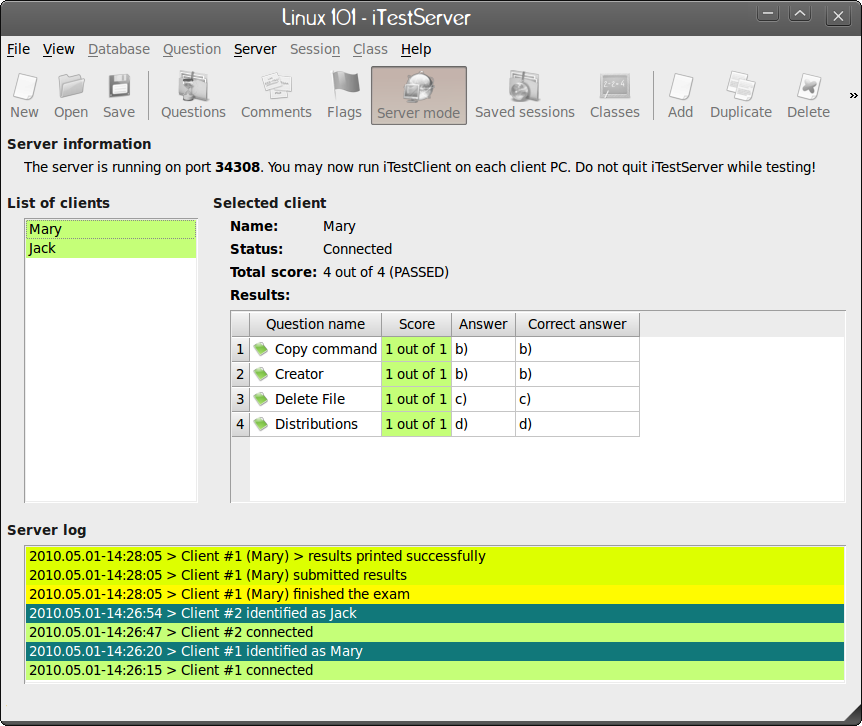
 When you start the server and clients begin connecting to take the tests, you will see them show up on the server. You can view their exams as they take them and monitor their success from the Server Mode window (see Figure 4).
A Few Thoughts
If you plan on allowing students to use iTest outside of the classroom you will want to make sure the address of the iTest Server is visible from the outside world. You will also want to make sure to take the time to lock down this server so that anyone gaining access to that server can’t do something they shouldn’t do.
You might also consider removing the iTest Server entry from the students menus. Since the server has to install with the client, it will be listed in the menu. You won’t want students starting up their own iTest Server in your classroom!
You can connect to your iTest Server from any of the supported platforms.
I have yet to come across a computerized testing tool that is as easy to use as iTest. Although it does take some time to set up, the cost-benefits far outweigh this time involved. If you are looking for a reliable, open source testing environment, iTest should be at the top of your class.


