
Previously here, while discussing the Linux shell, we briefly touched upon the need to have a command line editor that you’re comfortable using.
While there are quite a few very good editors out there (EMACS, Nano, etc.), vi/vim are my favorites. Some would say that I’m into self-flagellation to like vi/vim, but I think it’s probably due to the fact that they were my first exposure to command line editors. I’ve only recently found and used Nano (in Arch Linux). It’s pretty cool, but vim is my baby when it comes to editing on the command line.
Billions of electrons have been spent discussing the merits of one editor over another. We’re not going there today, though. I’ve become kinder to electrons in my old age. Instead, I’m going to show you the very basics you need to create or edit an existing text file from the command line using vim (vi – improved). If you learn just these few simple keystrokes, you should be able to edit a file should you ever need to.
OK, let’s start with how to start vim in the command line. Well, that’s pretty simple. Here are a couple ways. You can just type the executable for vim into your command line:
joe@mysystem:~$ vim
If you do it this way, the command will tell vim that a not-too-experienced user just called up the application and it will come up assuming you need some help:

That is the vim intro page. Now, a bit more experienced user will never see that page because he/she knows how to start vim in another way. Let’s say that we want to create a text file called testing and open it in vim ready-to-edit. This is how user Joe would do that:
joe@mysystem:~$ vim testing
In this example, a wiser Joe knows that this command will open the vim editor application with file testing just sitting there waiting to be edited, or created, in this case.
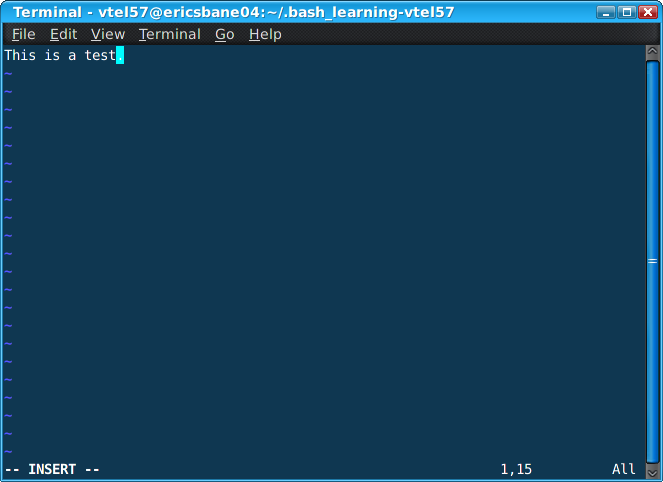
You can see that Joe has typed in a bit of text already. He must have done that when I got up to get my coffee refilled. Sneaky guy, ain’t he? Anyway, You’ll also notice at the bottom left of the editor window is the word INSERT. What this means is that vim is in one of its Input modes. The other mode is the Command mode, but we’ll get to that in just a sec.
To get into the Input mode, you would press the key i on your keyboard. This would put vim into the Insert mode right where the cursor is. If you hit the a key instead to get into the Input mode, vim will advance the cursor one spot and then enter Input mode. You can also get into the Input mode on most keyboards by using the Insert key, which is usually located just above the Delete key in that block of six keys just above your navigation (arrow) keys.
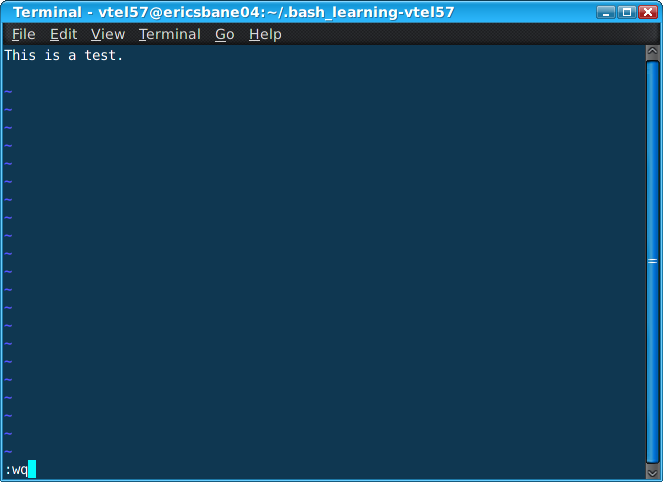
Oh, and speaking of those arrow keys… those are used to navigate within the file while using vim. You can also use the h, j, k, and l keys to move left, down, up, right, respectively. When you’re done moving and typing, you can leave the Input mode and enter the Command mode by using the ESC key in the upper left of your keyboard. Once in Command mode, you can do another very important chore that everyone needs to know how to do when editing text files… save your work. To save the testing file, just type this while in Command mode:
:wq
This command tells vim to write the file (save it) and quit vim. Here’s what that looks like:
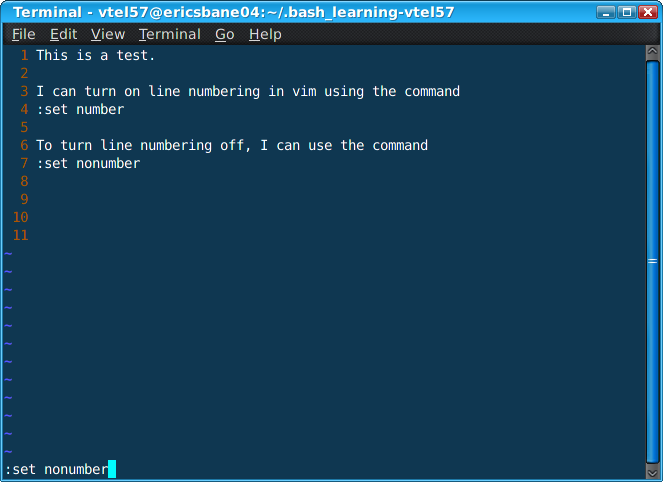
Here’s another neat trick, too. Some folks like to see the line numbers displayed while editing a file. Actually, often it’s a necessity when editing code files. To display the line numbers in vim just enter this command while in the Command mode:
:set number
To turn the numbering off use:
:set nonumber
Here’s a look at that in the vim editor:
You see? There’s nothing really to be afraid of while using vim. It’s nowhere as near as scary as folks would have you believe, huh? When you get a little practice with it and start learning some more of its tricks and shortcuts, it’s really a cool little editor. Oh, and don’t forget to type:
:help
while in Command mode. It will bring up all kinds of useful vim info. For further reading, check out vim’s website and the man page. Of course, you can access the man page from your own computer using the command line:
joe@mysystem:~$ man vim
I hope this lesson on the vim editor has been helpful to you. Don’t let it scare you. Just open up your terminal in Ubuntu or Mint or whatever your favorite GNU/LINUX distro is and create and play around with a practice file using vim. It’s a great way to learn without risking breaking something.
Stay tuned… next up we’re going to learn a little bit about archiving, compressing, and decompressing files using tar, gzip, and bzip2. Should be fun.
Until then…
~Eric
*This article was originally posted on my Nocturnal Slacker v1.0 blog at WordPress.com


