
I’ve been using the lm-sensors tool ever since CPUs became hot enough to melt themselves. It monitors CPU temperature, fan speeds, and motherboard voltages. In this two-part series, I’ll explain some advanced uses of lm-sensors, and look at some of the best graphical interfaces to use with it.
Install and Run
Install lm-sensors, then run it with no options to see what it does:
$ sensors
coretemp-isa-0000
Adapter: ISA adapter
Physical id 0:  +37.0°C  (high = +80.0°C, crit = +100.0°C)
Core 0:         +35.0°C  (high = +80.0°C, crit = +100.0°C)
Core 1:         +37.0°C  (high = +80.0°C, crit = +100.0°C)
Core 2:         +34.0°C  (high = +80.0°C, crit = +100.0°C)
Core 3:         +36.0°C  (high = +80.0°C, crit = +100.0°C)
This is on an Ubuntu PC. My openSUSE Leap system installs it with a working configuration, but Ubuntu needs some additional tweaking. Run sensors-detect to set it up to detect even more stuff. The safe method is to accept all of the defaults by pressing the return key to answer every question:
$ sudo sensors-detect
# sensors-detect revision 6284 (2015-05-31 14:00:33 +0200)
# Board: ASRock H97M Pro4
# Kernel: 4.4.0-96-generic x86_64
# Processor: Intel(R) Core(TM) i7-4770K CPU @ 3.50GHz (6/60/3)

This program will help you determine which kernel modules you need
to load to use lm_sensors most effectively. It is generally safe
and recommended to accept the default answers to all questions,
unless you know what you're doing.

Some south bridges, CPUs or memory controllers contain embedded sensors.
Do you want to scan for them? This is totally safe. (YES/no):

[...]
When it finishes scanning, it will ask you if you want it to modify /etc/modules:
To load everything that is needed, add this to /etc/modules:
#----cut here----
# Chip drivers
coretemp
nct6775
#----cut here----
If you have some drivers built into your kernel, the list above will
contain too many modules. Skip the appropriate ones!

Do you want to add these lines automatically to /etc/modules? (yes/NO)
Before you answer, look in your kernel configuration file to see if the drivers are built-in, or are loadable modules. If they are built-in then don’t modify /etc/modules. If they are modules, then modify /etc/modules. This is what loadable modules look like in my /boot/config-4.4.0-96-generic file:
CONFIG_SENSORS_CORETEMP=m
CONFIG_SENSORS_NCT6775=m
If they are built-in to the kernel (statically-compiled, if you prefer the nerdy term) then they look like this:
CONFIG_SENSORS_CORETEMP=y
CONFIG_SENSORS_NCT6775=y
If they are loadable modules, go ahead and modify /etc/modules, and then manually load the modules, substituting your own module names of course:
$ sudo modprobe nct6775 coretemp
Use lsmod to verify they are loaded:
$ lsmod|grep "nct6775|coretemp"
nct6775                57344  0
hwmon_vid              16384  1 nct6775
coretemp               16384  0
Any modules listed in /etc/modules will load at boot. Now let’s see what sensors shows us:
$ sensors
coretemp-isa-0000
Adapter: ISA adapter
Physical id 0:  +37.0°C  (high = +80.0°C, crit = +100.0°C)
Core 0:         +35.0°C  (high = +80.0°C, crit = +100.0°C)
Core 1:         +37.0°C  (high = +80.0°C, crit = +100.0°C)
Core 2:         +34.0°C  (high = +80.0°C, crit = +100.0°C)
Core 3:         +36.0°C  (high = +80.0°C, crit = +100.0°C)

nct6776-isa-0290
Adapter: ISA adapter
Vcore:          +0.90 V  (min =  +0.00 V, max =  +1.74 V)
in1:            +1.82 V  (min =  +0.00 V, max =  +0.00 V)  ALARM
AVCC:           +3.39 V  (min =  +0.00 V, max =  +0.00 V)  ALARM
+3.3V:          +3.38 V  (min =  +0.00 V, max =  +0.00 V)  ALARM
in4:            +0.95 V  (min =  +0.00 V, max =  +0.00 V)  ALARM
in5:            +1.69 V  (min =  +0.00 V, max =  +0.00 V)  ALARM
in6:            +0.78 V  (min =  +0.00 V, max =  +0.00 V)  ALARM
3VSB:           +3.42 V  (min =  +0.00 V, max =  +0.00 V)  ALARM
Vbat:           +3.28 V  (min =  +0.00 V, max =  +0.00 V)  ALARM
fan1:             0 RPM  (min =    0 RPM)
fan2:          1004 RPM  (min =    0 RPM)
fan3:             0 RPM  (min =    0 RPM)
fan4:             0 RPM  (min =    0 RPM)
fan5:             0 RPM  (min =    0 RPM)
SYSTIN:         +29.0°C  (high =  +0.0°C, hyst =  +0.0°C)  ALARM  sensor = thermistor
CPUTIN:         +42.5°C  (high = +80.0°C, hyst = +75.0°C)  sensor = thermistor
AUXTIN:         +47.0°C  (high = +80.0°C, hyst = +75.0°C)  sensor = thermistor
PECI Agent 0:   +37.0°C  (high = +80.0°C, hyst = +75.0°C)
                         (crit = +100.0°C)
PCH_CHIP_TEMP:   +0.0°C
PCH_CPU_TEMP:    +0.0°C
PCH_MCH_TEMP:    +0.0°C
intrusion0:    ALARM
intrusion1:    ALARM
beep_enable:   disabled
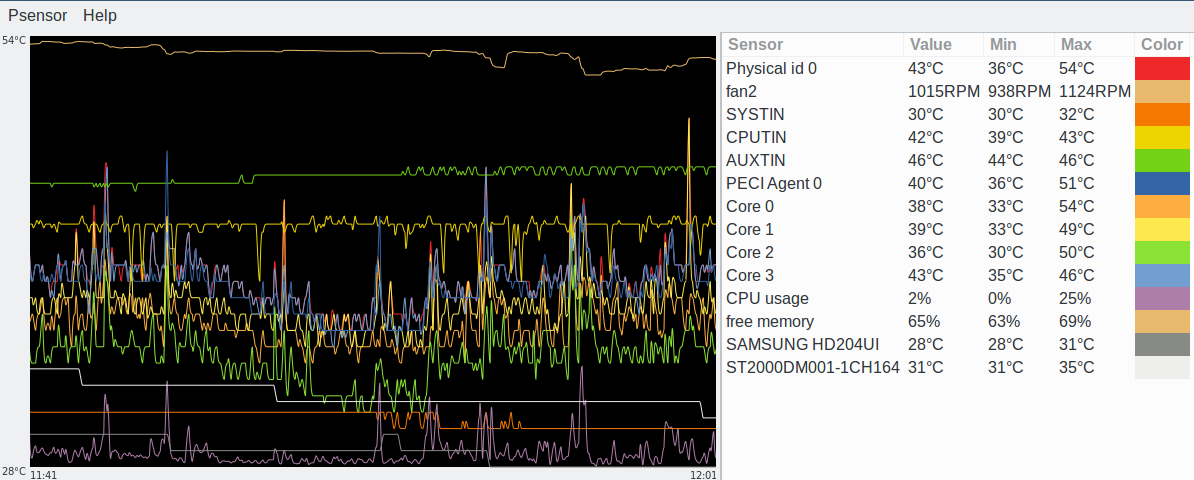
A feast of information! Much of which is not useful because devices do not exist or are not connected, like most of the fan sensors. On Ubuntu I disabled these in /etc/sensors3.conf with the ignore directive:
ignore fan1
ignore fan3
ignore fan4
ignore fan5
Now when I run sensors the output does not include those (Figure 1). You should be able to put your customizations in files in /etc/sensors.d, but this doesn’t work on my Ubuntu machine.
What do Those Things Mean?
CPUTIN is CPU temperature index, AUXTIN is auxiliary temperature index, and SYSTIN is system temperature index. These are all sensors on the motherboard. AUXTIN is the power supply temperature sensor, and SYSTIN measures motherboard temperature. Core temperature is different from CPUTIN as it reads from a sensor on your CPU.
HYST is short for hysteresis. This is the value that you want an alarm to turn off. For example, if your alarm temperature is 80C, set your HYST value to stop the alarm when the temperature falls to 75C.
Get the Specs
The basic lm-sensors monitoring of CPU temperatures may be enough for you. However, you can finely-tweak lm-sensors for greater accuracy, change labels, and run it as a daemon. You need the spec sheet for your motherboard (which will also help make sense of your lm-sensors output). Find your exact motherboard model and version by running $ sudo dmidecode -t 2. The kernel driver documentation is also useful. For example, this is the kernel spec for my nct6775 driver.
Come back next week and we’ll learn even cooler advanced uses of lm-sensors.
Learn more about Linux through the free “Introduction to Linux” course from The Linux Foundation and edX.


