
If you long to have a trackpad on your Linux machine but don’t want to shell out the cash for one, what do you do? If you happen to have an Android device handy, you already have most of what you need to make this happen.
That’s right, you can turn your Android smartphone or tablet into a sleek trackpad for Linux. For free! What’s best about this solution is you’d be hard-pressed to find a better feeling and responding trackpad than that Android device display. It’s smooth as silk and works better than any trackpad I’ve used.
I’ll walk through the process of setting this up, so you can enjoy the feel of a sweet trackpad on your Linux machine.
What You’ll Need
Most likely, you already have an Android smartphone. The app we’ll be using, DroidMote, requires Android 2.1 or newer. You will also need admin rights on the desktop machine (so the ability to run an app with sudo is perfect). Also, you’ll need the ability to open up port 2302 on your machine/network. I’ll be demonstrating DroidMote on a System76 Leopard Extreme running elementary OS Freya and using a Verizon-branded LG G3 as my trackpad. Finally, you’ll need the DroidMote server. You can download the server for either 32-bit or 64-bit Linux here.
Installing the App
First, you’ll need to install the app on Android. Here are the steps:
-
Open up the Google Play Store on your device
-
Search for droidmote
-
Locate and tap the entry by Videomap
-
Tap Install
-
Read the permissions listing
-
If the permissions listing is acceptable, tap Accept
-
Allow the installation to complete
Before you open up DroidMote, you’ll need to get the server up and running on your Linux machine.
“Installing” the Server
There is very little to be done on this end, because the downloaded .tar file includes a self-contained server. Here’s what you need to do (I’ll assume you downloaded the file to ~/Downloads):
-
Open up a terminal window
-
Change into the ~/Downloads directory
-
Unpack the file with the command tar xvf droidmote-server-linux-XXX.YYY.tar Where XXX is the system architecture and YYY is the release number)
-
Give the newly extracted server file executable permissions with the command chmod 777 droidmote
You’re now ready for testing.
Connecting the App to the Server
The first thing to do is start up the server. From within the ~/Downloads directory (this is temporary), issue the command sudo ./droidmote 2302 password (Where password is an actual password to be used). You should then see output like:
Waiting for incoming connections on ip:
192.168.1.145 on port 2302
Client connected with thread 139891787163392
The IP address given is the IP address of the client machine running the server.
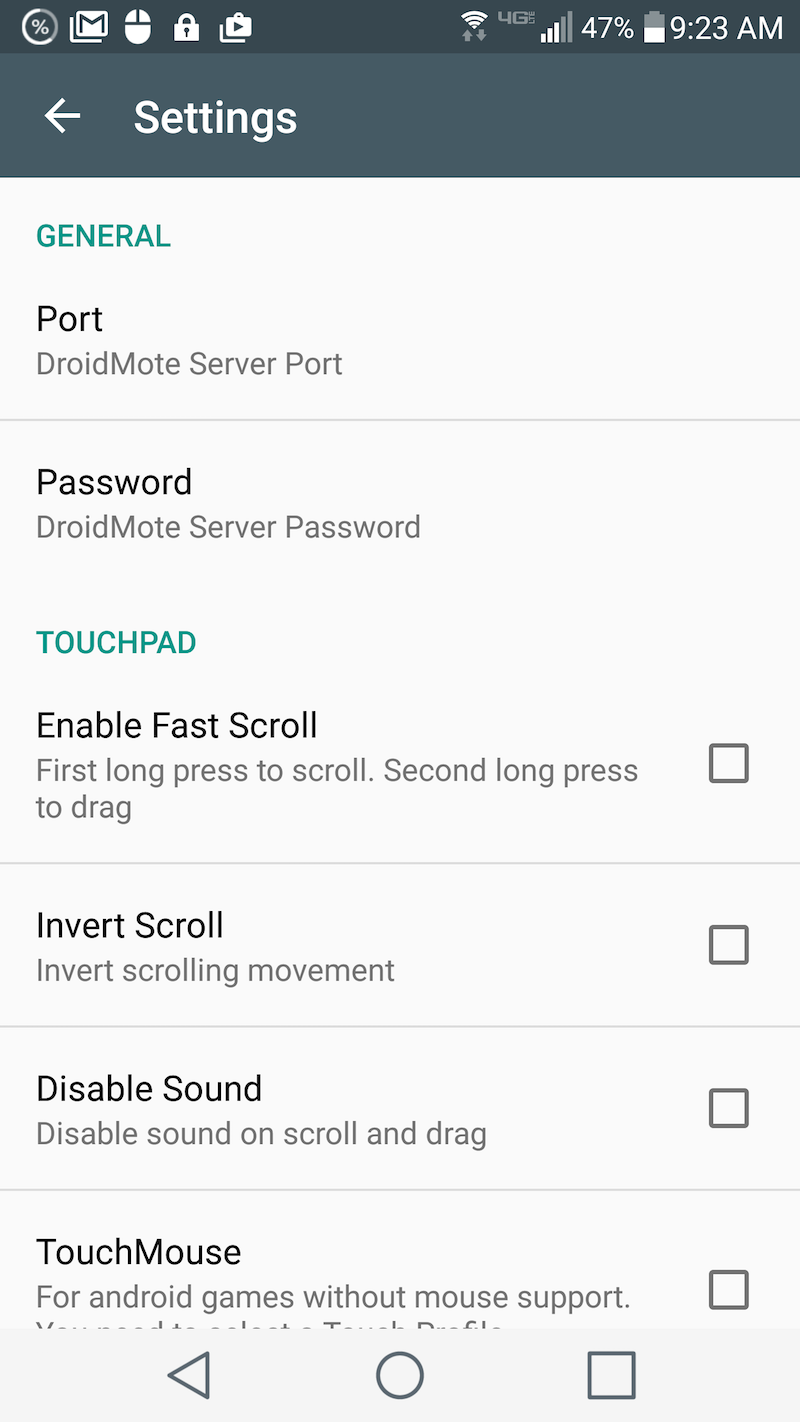
Now, head over to the Android device and fire up the app. When the app starts, the first thing you’ll want to do is tap the settings button (three vertical dots in the upper right corner) and then tap Password (Figure 1 above).
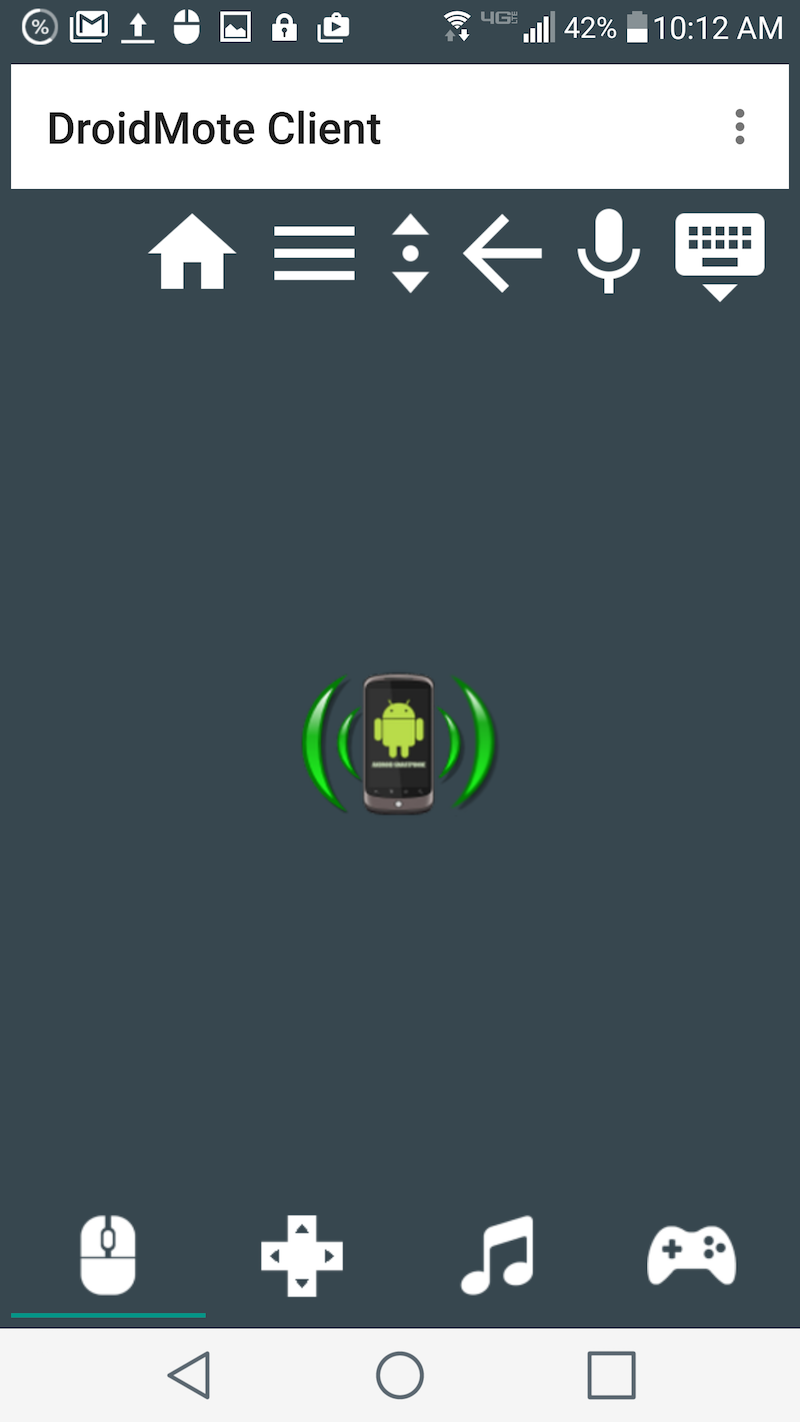
Go back to the DroidMote main window (Figure 2) and tap the droid icon in the center.
When you tap the DroidMote icon in the main window, a listing of IPs will appear (each of which is running the DroidMote server). Tap the address you want to connect to, and you will automatically be connected to the server.
You can now use your Android device as your desktop trackpad. You can also tap the keyboard icon and use the Android keypad as your desktop keyboard. If you have an app set up for voice input, you can tap the mic icon and then use speech to text on your desktop (It shouldn’t surprise you to know that this feature works surprisingly well with Google Docs).
You will also notice an icon with an up and down arrow. If you tap that icon, you can then scroll with the device with one finger. By default, the DroidMote app/server does recognize two-finger input as up and down scroll, but using the scroll icon does make for a much more smooth scrolling experience.
Setting the Server Up to Run Automatically
For the server script to run automatically, you have work through a few steps. How you do this will depend upon your distribution. I’ll walk you through the process of doing this using the Elementary OS Freya Startup GUI. Here’s what you need to do:
-
With admin permissions, copy the droidmote server to /usr/bin
-
Make sure the /usr/bin/droidmote has the correct permissions with the command sudo chmod 777 /usr/bin/droidmote
-
Create a shell script, named startdm.sh (contents below) and save it to /usr/local/bin
-
Issue the command sudo chmod +x /usr/local/bin/startdm.sh
-
Open the Elementary OS Settings window
-
Click on Applications > Startup
-
Click on the + button
-
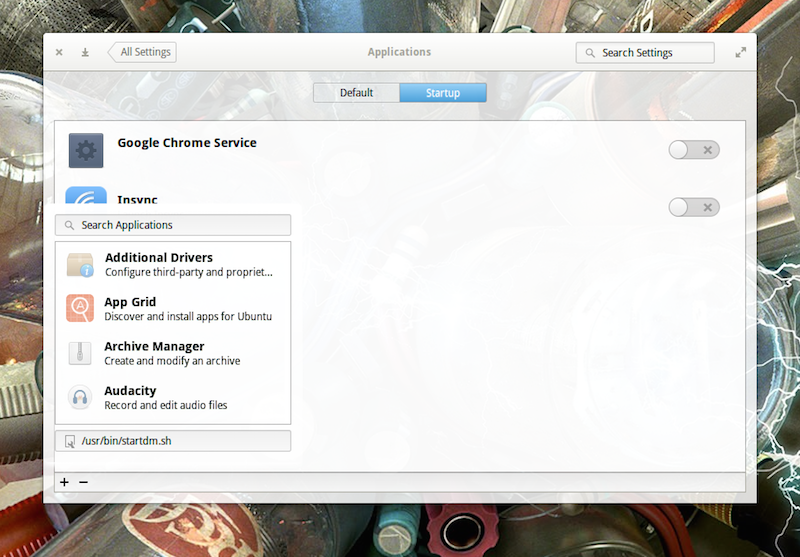
In the text area enter /usr/bin/startdm.sh (Figure 3) and hit the Enter key
-
You should now see an enabled custom command for DroidMote
-
Log out of Elementary OS and lot back in
Contents of startdm.sh
#!/bin/sh
droidmote 2302 password &
Where password is the actual password you’ll use.
You should now be able to connect to the DroidMote server. As I mentioned above, how you set DroidMote up to run automatically will depend upon your distribution of choice. However, most desktop distributions offer a Startup app configuration tool.
If you’re looking for a way to make use of your Android device as a trackpad for your Linux box, DroidMote is the simplest, most reliable way to do so. Give this free app and server a try and see if it doesn’t make for one of the smoothest trackpad experiences you’ve ever had with Linux. If you run into trouble, check out the DroidMote FAQ for answers to common questions.


