
I’ve been using Linux for a very long time. Over the years, I’ve been incredibly happy with how the open source landscape has evolved. One particular area that has come quite a long way is the installation of various distributions. Once upon a time, installing Linux was a task best left to those who had considerable tech skills. Now, if you can install an app, you can install Linux. It’s that simple. And that, my friends, is a very good thing—especially when it comes to drawing in new users. The fact that you can install the entire Linux operating system faster than a Windows user can run an update says quite a bit.
But every so often, I like to see something different—something that might remind me from where I came. That’s exactly what happened when I came into NixOS. To be quite honest, I had assumed this would be just another Linux distribution that offered the standard features, with the KDE Plasma 5 interface.
Boy was I wrong.
After downloading the ISO image, I figured up VirtualBox and created a new virtual machine, using the downloaded image. Once the VM booted, I found myself at a Bash login instructing me that the root account had an empty password and how to start a GUI display manager (Figure 1).

“Okay,” I thought, “let’s fire this up and see what happens.”
Once the GUI was up and running (KDE Plasma 5), I didn’t see the usual “Install” button. Turns out, NixOS is one of those fascinating distributions that has you configure your OS before you install it. Let’s take a look at how that is done.
Pre-install configuration
The first thing you must do is create a partition. Since the NixOS installer doesn’t include a partition tool, you can fire up the included GParted application (Figure 2) and create an EXT4 partition.
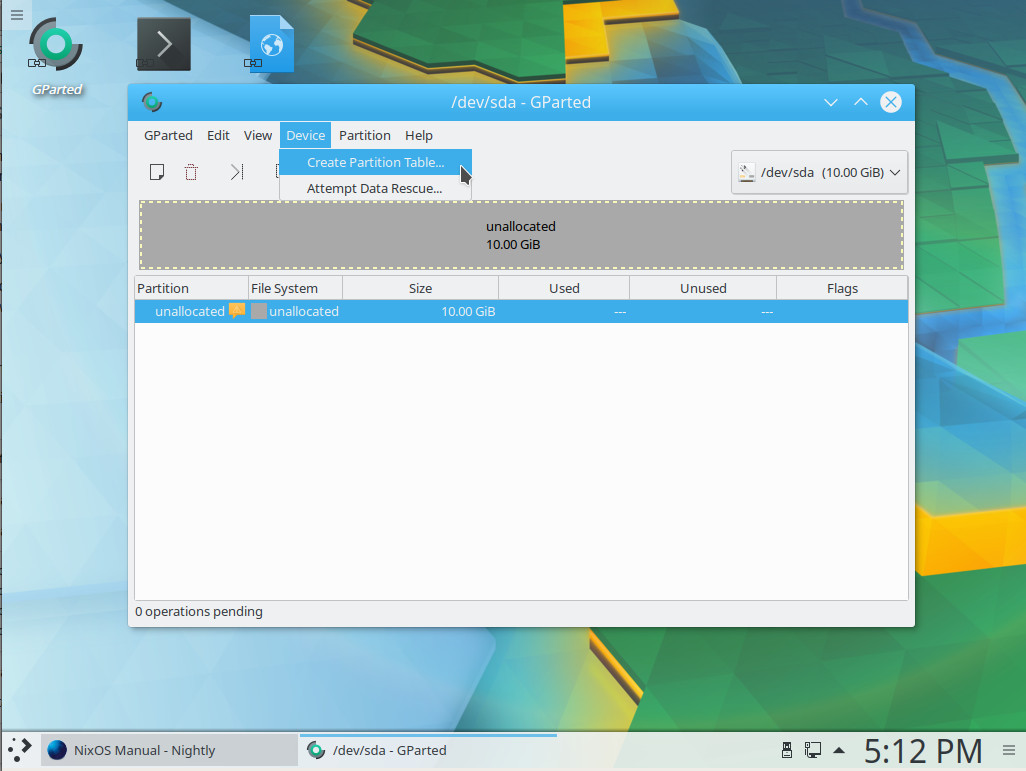
With your partition created, mount it with the command mount /dev/sdX /mnt (Where sdX is the location of your newly created partition).
You now must generate a configuration file. To do this, issue the command:
nixos-generate-config --root /mnt
The above command will create two files (found in the /mnt/etc/nixos directory):
-
configuration.nix — The default configuration file.
-
hardware-configuration.nix — The hardware configuration (this is not to be edited).
Issue the command nano /mnt/etc/nixos/configuration.nix. Within this file, we need to take care of a few edits. The first change is to set the option for the boot loader. Look for the line:
# boot.loader.grub.device = “/dev/sda”; # or “nodev” for efi only
Remove the # sign at the beginning of the line to uncomment this option (making sure /dev/sda is the name of your newly created partition).
Within the configuration file, you can also set your timezone and add packages to be installed. You will see a commented out sample for package installation that looks like:
# List packages installed in system profile. To search by name, run:

# nix-env -aqP | grep wget

# environment.systemPackages = with pkgs; [

# wget vim

# ];
If you want to add packages, during installation, comment out that section and add the packages you like. Say, for instance, you want to add LibreOffice into the mix. You could uncomment the above section to reflect:
# List packages installed in system profile. To search by name, run:

nix-env -aqP | grep wget

environment.systemPackages = with pkgs; [

libreoffice wget vim

];
You can find the exact name of the package by issuing the command nix-env -aqP | grep PACKAGENAME (where PACKAGENAME is the name of the package you’re looking for). If you don’t want to issue the command, you can always search the NixOS packages database.
After you’ve added all the necessary packages, there is one more thing you must do (if you want to be able to log into the desktop. I will assume you’re going to stick with the KDE Plasma 5 desktop. Go to the bottom of the configuration file and add the following before the final } bracket:
services.xserver = {

 enable = true;

 displayManager.sddm.enable = true;

 desktopManager.plasma5.enable = true;

};
You can find out more options for the configuration file, within the NixOS official documentation. Save and close the configuration file.
Installation
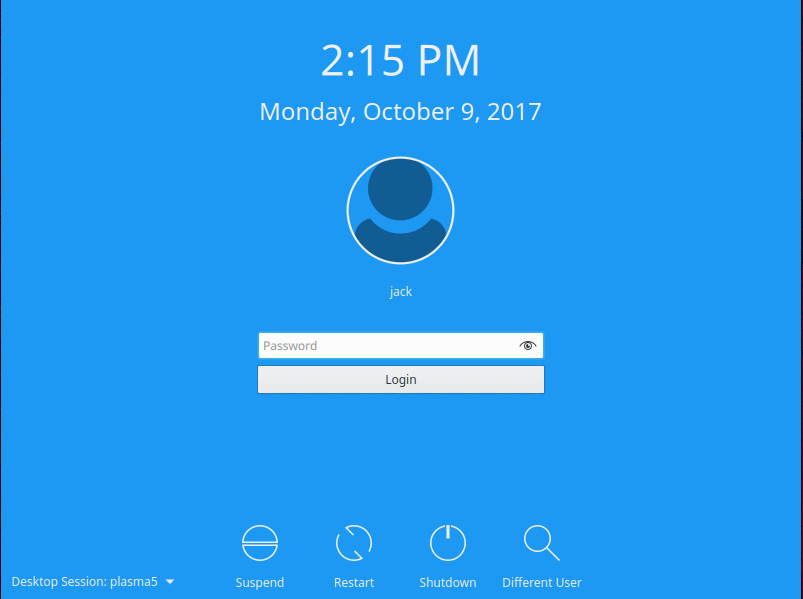
Once you have your configuration exactly how you like it, issue the command (as the root user) nixos-install. Depending upon how many packages you’ve included for installation, the time it takes to complete this task will vary. When it does complete, you can then issue the command reboot and you will (when the reboot completes) be greeted by the KDE Plasma 5 login manager (Figure 3).
Post-install
One of the first two things you’ll need to do is give the root user a password (issue the command passwd to change the default) and add a standard user. This is done as you would with any Linux distribution. Log in as the root user and then, at a terminal window, issue the command:
useradd -m USER
Where USER is the name of the user you want to add. Next give the user a password with the command:
passwd USER
Where USER is the name of the user just added. You will be prompted to type and verify the new password. You can then log into NixOS as that standard user.
Once you have NixOS installed and running, you can then add new packages to the system, but not via the standard means. If you find you need to install something new, you have to go back to the configuration file (which is now located in /etc/nixos/), add the packages in the same location you did prior to installation, and then issue the command (as root):
nixos-rebuild switch
Once the command completes, you can then use the newly installed packages.
Enjoy NixOS
At this point, NixOS is up and running, with all the software you need and the KDE Plasma 5 desktop interface. Not only have you installed Linux, but you’ve installed a Linux distribution customized to meet your exact needs. Enjoy the experience and enjoy NixOS.
Learn more about Linux through the free “Introduction to Linux” course from The Linux Foundation and edX.


