
 Here is a quick test and first impressions of the HP F4283 printer on Ubuntu.
Set-up
The set-up process takes less then 10 minutes – most of which is spent getting rid of all the sticky stuff 🙂
Before plugging it into your computer, turn on the power and install the cartridges. The supplied cartridges is (apparently) 1/3 of the normal capacity – according to the sales person. I’ll just take their word for it for now.
After the cartridges are installed, an alignment page is print automatically. You take this page and put it in the scanner. Press the scan button on the print and the printer does the alignment (it makes weird noises – I think this is normal).
Now plug it into your computer.
Configuration
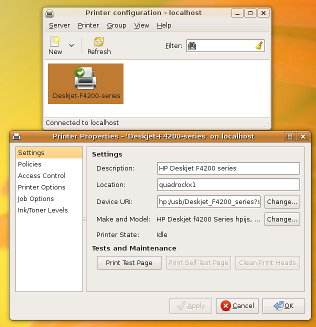 In Ubuntu (9.04 64-Bit) a window will pop-up. Everything was detected automatically. You can just hit the appropriate button to produce the standard Ubuntu print test page.
This whole process took the greater part of like 10 seconds!
Scanning
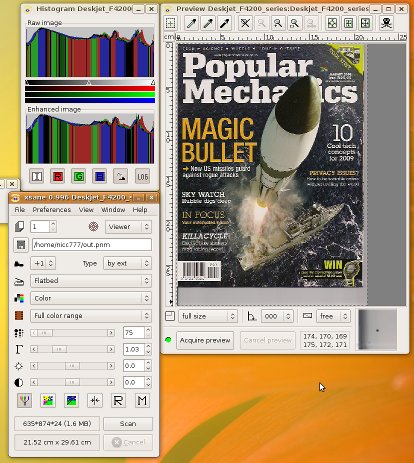
On the Gnome menu, go to “Applications -> Graphics” and you should find the XSane option near the bottom of the list. Click on it and wait about 15 to 20 seconds to detect the scanner.
The first scan was a no brainer – can it get any easier then this?
Quality
The print quality is acceptable for me for documents, but I wouldn’t print photos on this printer just yet. The Ubuntu test page showed slight imperfections in the various colour boxes but it’s acceptable for day to day use in office document production.
The scanner is acceptable as well. I mostly use it to prep hard documents for faxing anyway, so my expectations are rather low. Yet, the scanned image was supprisingly high quality.
Conclusion
For the price I paid (ZAR499 – just over US$60) was money well spent for me. I am very happy so far.


