This tutorial is part of a series on how to create CI/CD pipelines for your web applications using Docker containers. It is following up the first part focused on how to use Docker Hub to automatically build your application images.
Application testing is key for a properly functioning web application. It will help you ensure that already tested scenarios keep running properly whenever newer features are added to your project. There are many ways to test your application, but we will focus here on the essential unit tests and see how we can integrate Docker in the process. We will use the online Travis-ci platform to automate the process of running those units tests.
Requirements
You will not need more software installed on your workstation than what you already used in part one.
I will follow the spirit of the other tutorials I wrote and keep using platforms, like Docker, that offer free plans for public projects.
Please register an account on the Travis testing platform, preferably using your GitHub account so that your repository can be automatically linked into your Travis account.
Create and run unit tests locally with Docker
Of course, before running your tests on Travis, you will first want to run then locally to ensure they function properly.
Let’s see how you can achieve such a thing by adding a few basic units tests to your project and run them using the Docker image.
In your app folder, create a file called test_app.py containing the following test code for your application:
from app import app
import unittest

class FlaskAppTests(unittest.TestCase):

    @classmethod
    def setUpClass(cls):
        pass

    @classmethod
    def tearDownClass(cls):
        pass

    def setUp(self):
        # creates a test client
        self.app = app.test_client()
        # propagate the exceptions to the test client
        self.app.testing = True

    def tearDown(self):
        pass

    def test_home_status_code(self):
        # sends HTTP GET request to the application
        # on the specified path
        result = self.app.get('/')

        # assert the status code of the response
        self.assertEqual(result.status_code, 200)

    def test_home_data(self):
        # sends HTTP GET request to the application
        # on the specified path
        result = self.app.get('/')

        # assert the response data
        self.assertEqual(result.data, "Hi ! I'm a Flask application.")
Add the code to your repo with:
git add test_app.py
git commit -m "First commit test file" test_app.py
git push
Wait for your image to build on the Hub or build it locally and run it with:
docker pull lalu/flask-demo-app
docker run -d --name app -p 80:80 lalu/flask-demo-app
Run your newly created unit tests with:
docker exec app python -m unittest discover
You should see the positive results of your testing:
----------------------------------------------------------------------
Ran 2 tests in 0.009s

OK
You’ve just run your first tests locally and successfully! Let’s see how you can have this task run automatically for you everytime a new commit is done to your code repository.
Using Travis continuous integration platform to perform tests automatically
In the second part of the tutorial you are going to use the SaaS version of travis-ci, one of the most popular continuous integration platforms out there. Of course what you are going to do would apply perfectly to your own installation of Travis-ci.
Login to Travis-ci with your GitHub account and switch the build of your project on, in my case:

Configuring Travis, requires nothing more than a simple file in your repository. This file will contain the different instructions to have Travis-ci run your unit tests.
Create a file named .travis.yml with the following content:
sudo: required

language: python

services:
  - docker

before_install:
- docker build -t flask-demo-app .
- docker run -d --name app flask-demo-app
- docker ps -a

script:
- docker exec app python -m unittest discover

after_script:
- docker rm -f app
The process is pretty straighforward and mimics what you just did locally before. Travis will first be building your image, then runnning it, and finally executing a command inside the container to run the tests.
Now simply add your file to your repository:
git add .travis.yml
git commit -m "Initial commit of travis test instructions" .travis.yml
git push
By default Travis will run your tests each time a new commit or a pull request is done to your repository. As you’ve just done this by adding our .travis.yml, your project should already be building.
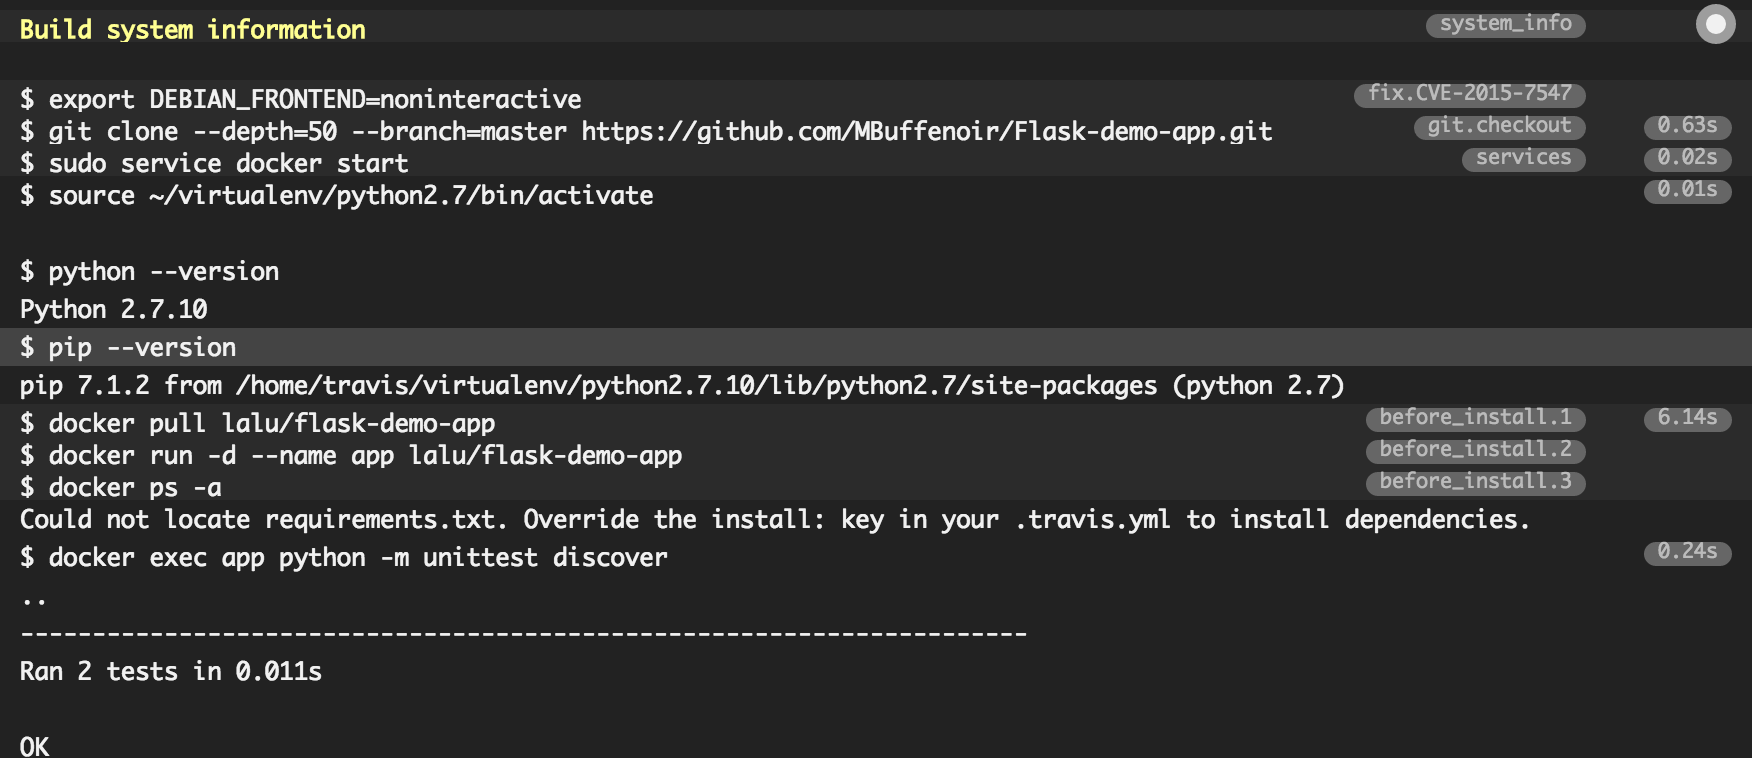
Click on the little wheel next to your project name to see your build details. You should see here the result of the latest build:

Et voila ! Now you simply have to keep up with providing well-tested code to your project, Travis will automatically run those tests for you.
It is easy to add the state of the latest build to your app Readme.md using the code 
Check out mine here !
Conclusion
To go further, have a look at the Travis-ci documentation. For example, it is easy to add notifications about the state of the latest build. Connectors exists for mail, chat applications, etc …
Next time, we are going to have a look on how to use Travis and docker-compose to deploy your application!


