
Collectd, a Unix daemon that collects statistics related to system performance and also provides means for storing the values in different formats like RRD (Round Robin Database) files. The statistics gathered by Collectd help to detect the current performance blocks and predict system load in future.
Collectd-web is a web-based front-end monitoring tool for RRD data gathered by Collectd. It is based on contrib/collection.cgi which is a demo CGI script included in Collectd. It interprets and generates the statistics in the form of graphical HTML page that can be executed by the Apache CGI gateway with minimum configurations needed on Apache web server side.
The graphical web interface with the produced stats can also be executed by the standalone web server provided by Python CGI HTTP Server script, a pre-installed script with the main Git repository.
In this tutorial, you will learn the installation process of Collectd service and Collectd-web interface on CentOS7/Fedora/RHEL and Ubuntu/Debian based systems with minimum configurations required to be done for running the services and enabling a Collectd service plug-in.
Step 1:- Install Collectd Service
- The basic task of Collectd daemon is to collect and store data stats on the system that it runs on. You can download and install Collectd package from the default Debian based distribution repositories by running the following command –
On Ubuntu/Debian
# apt-get install collectd [On Debian based Systems]
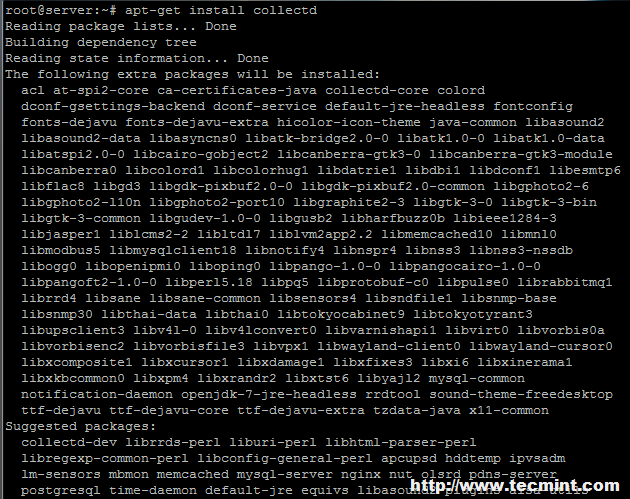
Image Source: tecmint.com
On RHEL/CentOS 6.x/5.x
If you have older RedHat base systems like Fedora/CentOS, you need to enable EPEL repository first on your system and then install Collectd package from it.
# yum install collectd
On RHEL/CentOS 7.x
You can install and enable EPEL repository from default yum repos as displayed below –
# yum install epel-release
# yum install collectd
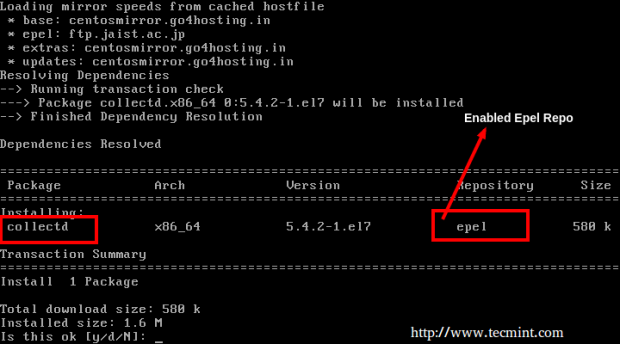
Image Source: tecmint.com
Note: If you are a Fedora user, there is no need to enable any third-party repositories. Only type yum, to get the Collectd package from default yum repositories.
2. Once the installation of package is done on your system, to start the service run the below command –
# service collectd start			[On Debian based Systems]
# service collectd start                        [On RHEL/CentOS 6.x/5.x Systems]
# systemctl start collectd.service              [On RHEL/CentOS 7.x Systems]
Step2: Install Collectd-Web and Other Dependencies
3. Ensure that the Git software package and the below required dependencies are installed on your machine prior to importing the Collectd-web Git repository.
----------------- On Debian / Ubuntu systems -----------------
# apt-get install git
# apt-get install librrds-perl libjson-perl libhtml-parser-perl
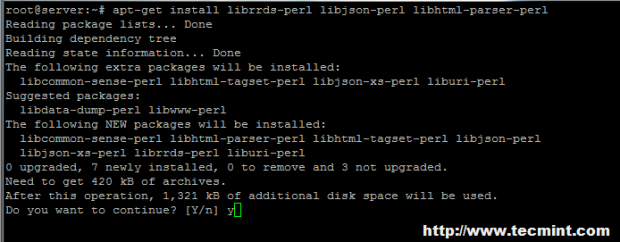
Image Source: tecmint.com
----------------- On RedHat/CentOS/Fedora based systems -----------------
# yum install git
# yum install rrdtool rrdtool-devel rrdtool-perl perl-HTML-Parser perl-JSON
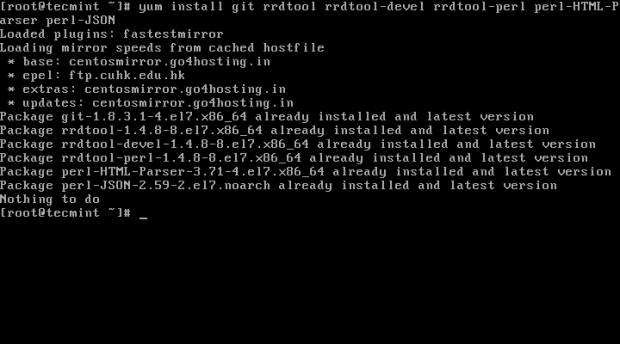
Image Source: tecmint.com
Step 3: Import Collectd-Web Git Repository and Modify Standalone Python Server
4. Next select and change the directory to a system path from the Linux tree hierarchy in order to import the Git project and then run the command below for cloning Collectd-web git repository –
# cd /usr/local/
# git clone https://github.com/httpdss/collectd-web.git
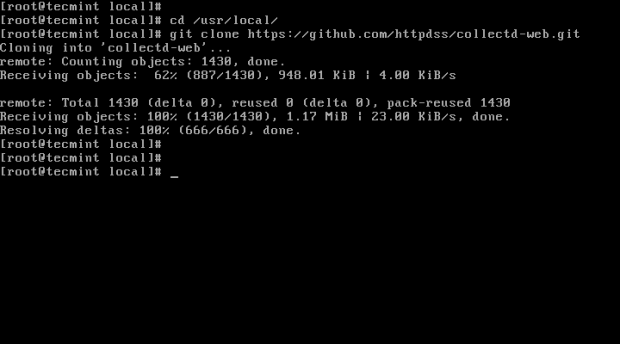
Image Source: tecmint.com
5. After the Git repository is imported on your system, enter the Collectd-web directory and list the contents for identifying the Python server script (runserver.py), which will be modified in the next step. Don’t miss to add execution permissions to the following CGI script: graphdefs.cgi.
# cd collectd-web/
# ls
# chmod +x cgi-bin/graphdefs.cgi
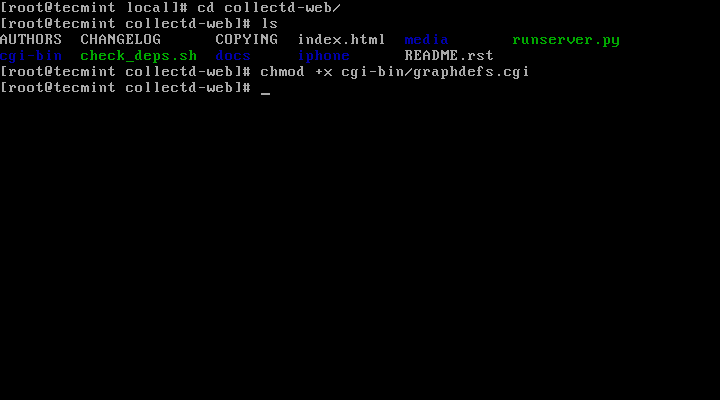
Image Source: tecmint.com
6. A by default configuration of Collectd-web standalone Python server script is set to run and bind only on loopback address (127.0.0.1).
If you want to access Colletd-web interface from a remote browser, edit the runserver.py script and change the above IP address to 0.0.0.0, to bind on all network interfaces IP addresses.
If you want to bind only to specific interface, use that interface’s IP address (don’t use this option if your network interface address is dynamically allocated by a DHCP server). Below is the screenshot for the appearance of the final runserver.py script –
# nano runserver.py
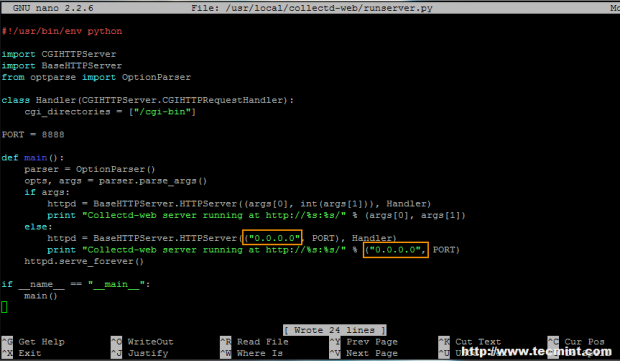
Image Source: tecmint.com
You can modify the PORT variable value in case you want to use another network port.
Step 4: Run Python CGI Standalone Server and Browse Collectd-web Interface
7. Once the standalone Python server script IP address binding is modified, start the server in the background with the below command –
# ./runserver.py &
Alternate method – Call the Python interpreter to start the server with the below command –
# python runserver.py &
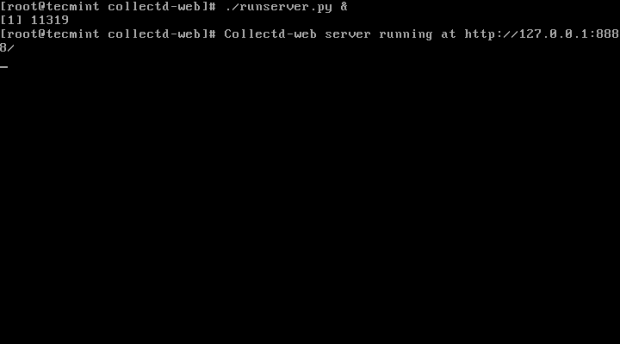
Image Source: tecmint.com
8. You can view the Collectd-web interface and statistics about your host by simply pointing the URL at your server IP address and port 8888 using HTTP protocol.
http://192.168.1.211:8888
You will by default see several graphics about disk usage, CPU, network traffic, processes, RAM and other system resources when you click on the host name displayed on Hosts form.

Image Source: tecmint.com
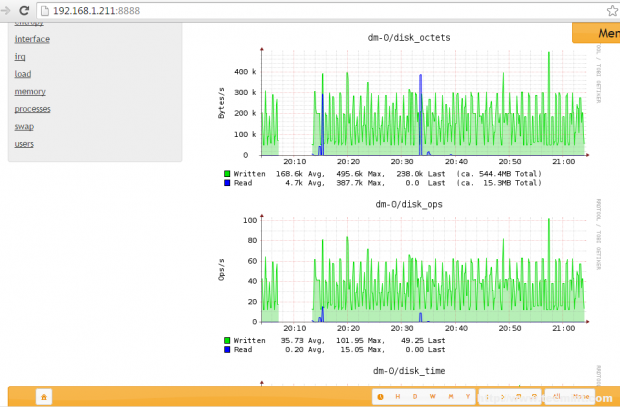
Image Source: tecmint.com
9. If you want to stop the standalone Python server, cancel or stop the script by hitting Ctrl+c key or simply use the command below –
# killall python
Check out more about linux servers here – https://www.eukhost.com/vps-hosting/linux.php


