
Feh and the identify command are two of the tools I use for viewing and managing images on Linux. They are fast, flexible, and can be stuffed into scripts for automating operations, which is especially valuable when you work with artists or marketing people who have large image galleries to maintain. For me, they are faster and better for managing large numbers of images than graphical image managers, which tend to require too much clicking and poking through nested menus to find what I want, if they even have it.
feh
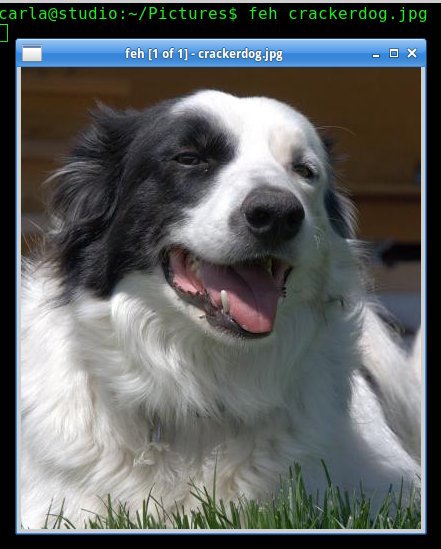
The feh X11 image viewer is my favorite fast, lightweight image-viewing tool. Feh runs in any X terminal. Feh displays single images, slideshows, montages, thumbnails, and lists of images. It runs primarily from the command line, though it also has a right-click menu on open images.
feh displays images at their native resolution. You can shrink large images by specifying a smaller geometry in pixels:
$ feh -g 400x300 image.png
Your image proportions are preserved, so you don’t have to figure out the exact proportional geometry. feh --multiwindow opens all images in the current directory in their own windows. Closing any single window closes all of them, or right-click on any image to open a menu and click Exit.
Launch a slideshow from the current directory with a duration of 5 seconds per slide, in fullscreen:
$ feh --fullscreen --slideshow-delay 5
Press Alt+tab to cycle back to your console and stop the slideshow by pressing Ctrl+c, or right-click any image, and click Exit from the menu. When I have a lot of images to review, I put the filename at the top left and display EXIF data at the bottom left. --draw-tinted puts a background on the EXIF data to make it more readable:
$ feh --draw-filename  --draw-tinted  --draw-exif --fullscreen
       --slideshow-delay 5
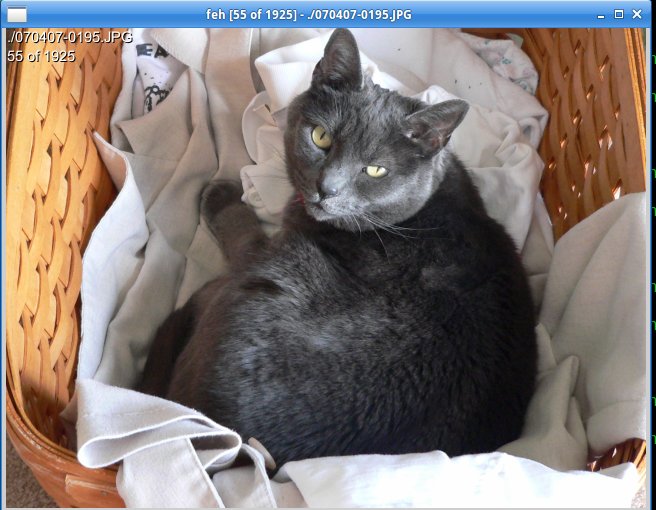
feh -g 640x480 -d -S filename images/
Press the spacebar to advance through the images. The right and left arrow keys navigate forward and backward, and the up and down arrow keys zoom in and out.
This command creates a thumbnails gallery from the current directory, with each thumbnail sized to 200×200 pixels, and displays the name and size of each image:
$ feh --thumbnails  --thumb-height 200 --thumb-width 200
       --index-info "%nn%wx%h"
Click on any thumbnail to open the full image. You can save an image of your thumbnails by appending the --output option, for example --output thumbnails.png.
You can create a montage, and preserve it as a new image:
$ feh --montage --thumb-height 200 --thumb-width 200
       --index-info "%nn%wx%h" --output montage.png
List images in a directory with their dimensions and file sizes:
$ feh -l
NUM FORMAT WIDTH HEIGHT PIXELS SIZE ALPHA FILENAME
1  jpeg    1200  800    960k   529k  -    ./backhoe-munch.jpeg
2  jpeg    1200  800    960k   534k  -    ./backhoe-spit.jpeg
3  jpeg    1200  1086     1M   663k  -    ./chipper-dogs.jpeg
4  jpeg    1200  834      1M   242k  -    ./cinder-donut-shop.jpg
5  jpeg    800   1200   960k   353k  -    ./dee-walt-table-saw.jpg
Getting Image Information with Identify
Graphical file managers don’t always display the image file information you want, or they make you wade through menus that let you select only one option at a time and then close, so you have to keep going back over and over to configure multiple options. The identify command, which is part of the fabulous ImageMagick suite of image manipulation tools, quickly extracts the image type, width and height, bit depth, file size, and color profile:
$ identify sheba.png
sheba.png PNG 1280x720 1280x720+0+0 8-bit sRGB 1.298MB 0.000u 0:00.000
The zeroes at the end report how long it took to read and process the image. The -verbose option dumps all possible information about your image, including EXIF data:
$ identify -verbose image.jpg
Most identify options alter images, so the safe way to extract specific information is with egrep. This examples filters some of the information I like to have when I am printing images:
$ identify -verbose image.jpg|egrep -iw 'print size|resolution|
       filesize|background color'
  Resolution: 72x72
  Print size: 35.5556x26.6667
  Background color: white
  Filesize: 1.327MB
Combine identify with find to generate a plain-text report of all JPG and PNG files in the current directory:
$ find . -iregex ".*.(jpg|png)" -exec identify {} ; > image-report.txt
-iregex performs a case-insensitive search to find jpg, JPG, png, and PNG files. You can add more file extensions such as (jpg|png|jpeg|gif), and remember to escape the pipes and parentheses. See Supported Image Formats for a list of supported image formats.
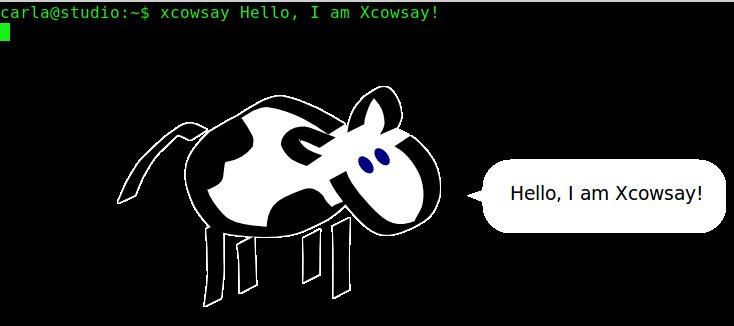
Bonus: xcowsay
All work and no play makes Jill dull, so take a break from your serious duties with xcowsay. This is the graphical version of the beloved classic cowsay. xcowsay requires an X terminal. Try xcowsay Hello, I am Xcowsay!:
Advance your career in Linux System Administration! Check out the Essentials of System Administration course from The Linux Foundation.


