
The Apache Software Foundation has announced the release of Cassandra. Version 1.2 of the Cassandra big data “NoSQL” distributed database introduces several new features to the open-source project…Read more at Phoronix
No, we don’t really need another smartphone OS
 Would you ever consider buying a smartphone running Ubuntu, Tizen, or Firefoxas its operating system? For most of you, the answer is and will probably remain: no.
Why would you? Android and iOS fight for worldwide domination, with no signs of slowing down. Both have extremely well-developed ecosystems that make sharing information across services and even across individual handsets a fairly simple, unified process. App development is strong, and OS updates are regular enough to give phone owners new party tricks…Read more at CNET News
Linux Tips: Fun With the Figlet And Toilet Commands
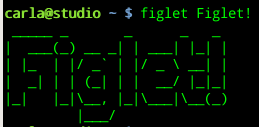
The figlet command makes turns ordinary terminal text into big fancy letters, like this:
There are a number of font and formatting options, so use the showfigfonts command to see the available fonts:
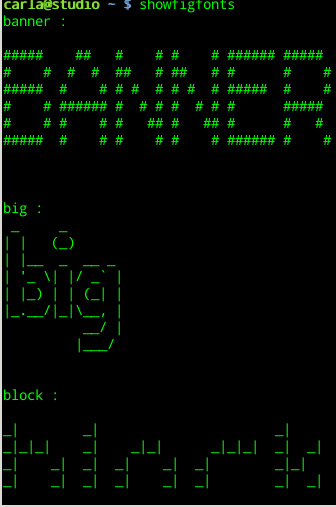
Then you can specify which font you want to use with the -f option:
$ figlet -f script yourtexthere
You should also look in the /usr/share/figlet directory to see a complete font list.
man figlet describes all the other options. But it doesn’t tell you how to make a cool Figlet clock. You can combine the watch and date commands to output the date and time in the standard font, not smushed, and to update it once per second:
$ watch -n1 "date '+%D%n%T'|figlet -k"
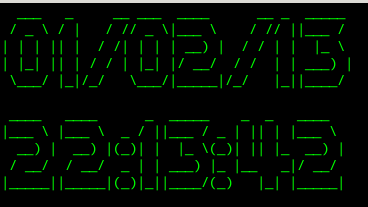
Press Ctrl+c to stop it.
Now that is kind of cool, and you can modify the various command options to tweak it to suit your own whims, but there is one sad flaw: it cannot be colorized, because watch does not support colors. The version of watch that is on my Linux Mint system has a --color option, but it does not work. There may be a way to get color output with watch, so if you know the magic incantation please share it in the comments.
Meanwhile, there is another way to get a color clock, and that is by using the toilet and echo commands. toilet is compatible with figlet, and it supports color output. It has export options like HTML, SVG and TGA images, and ANSI. Try typing this in your command shell:
$ while true; do echo "$(date '+%D %T' | toilet -f term -F border --gay)"; sleep 1; done
You should see something like this:
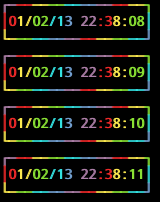
This isn’t ideal, because every repetition outputs to a new line. But it’s fun, and a creative way to learn to fiddle with Linux commands. Consult the man pages to learn more about these commands, and visit toilet and figlet.org.
Distribution Release: Ultimate Edition 3.5
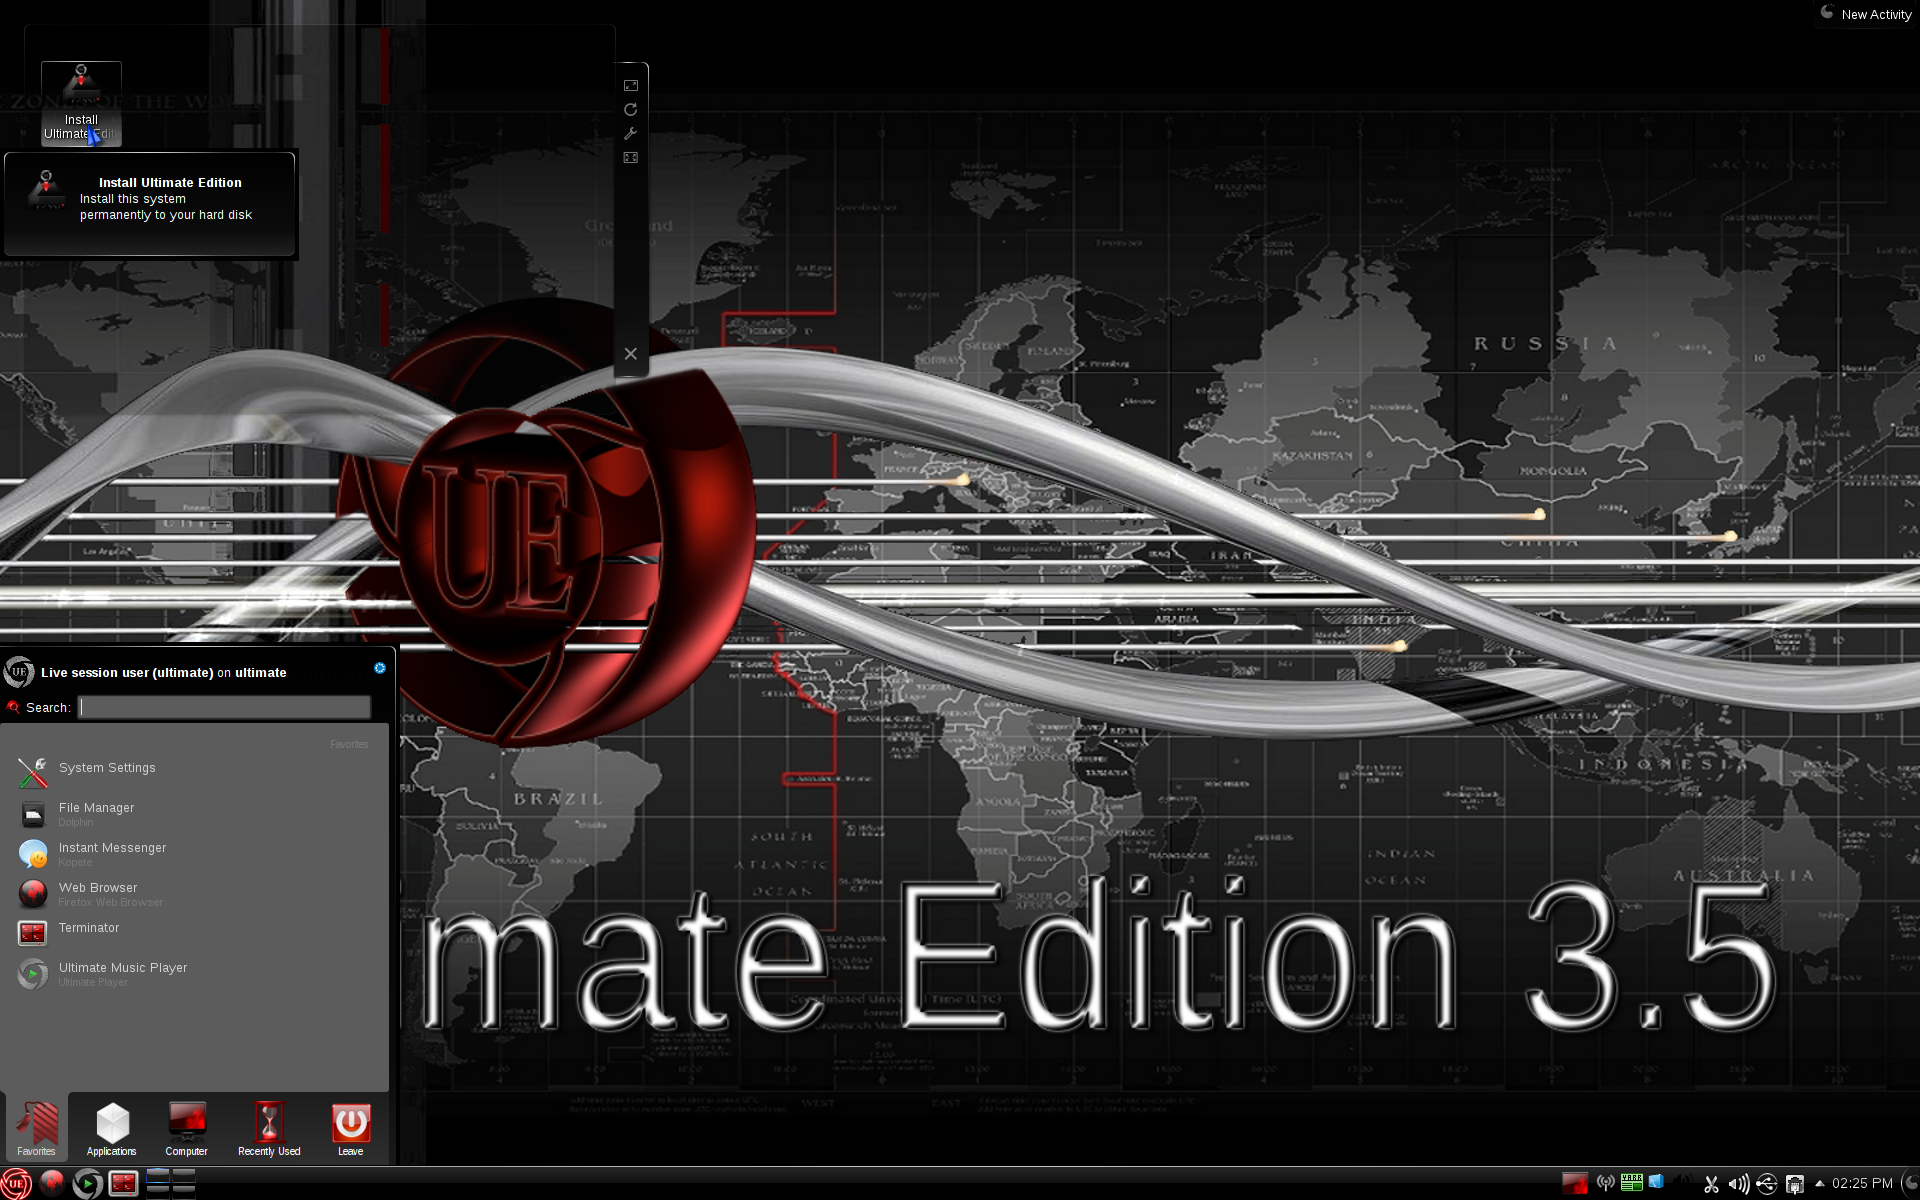 A new version of Ultimate Edition, an Ubuntu 12.04 remix with KDE as the default desktop, was announced earlier today: “What is Ultimate Edition 3.5? Ultimate Edition 3.5 was built off Ultimate Edition 3.4 and Ubuntu 12.04 ‘Precise Pangolin’ release. All packages fully updated and upgraded, old kernels….Read more at DistroWatch
Android Programming for Beginners: Part 2
In the first part of this two-part series on getting started with Android coding, you set up your development environment, built a basic countdown app, and got acquainted with the Android API. In this second article we’ll have a closer look at the structure of an Android app, create a menu, and write a second activity to input a countdown time. We’ll also look at running your app on a physical phone.
Menu options
There are three Android menu types. The Options Menu is the menu that appears when you hit the menu button (on older Android) or is shown in the Action bar (newer Android), and you can also access contextual menus and popup menus. We’re going to use the Options Menu to allow you to set the count down time.
Eclipse creates an stub Options Menu method with a new main Activity:
public boolean onCreateOptionsMenu(Menu menu) {
  getMenuInflater().inflate(R.menu.activity_main, menu);
  return true;
}
getMenuInflater() allows you to follow best practice and create your menu in XML rather than in code. Edit res/menu/activity_main.xml:
<menu xmlns:android="http://schemas.android.com/apk/res/android">
    <item android:id="@+id/set_time" android:title="@string/set_time"></item>
</menu>
and add the @string reference to res/values/strings.xml. You can fiddle around more with menu ordering and other options in the Layout tab, if you want.
onMenuItemSelected()is fired when the user chooses a menu item:
public boolean onMenuItemSelected(int id, MenuItem item) {
  switch(item.getItemId()) {
    case R.id.set_time:
      setTime();
      return true;
    default:
      // we don't have any other menu items
  }
  return super.onMenuItemSelected(id, item);
}
All we do is get the menu item ID (set in the XML above) and act accordingly. We’re now ready to write the setTime()method, which will call another Activity.
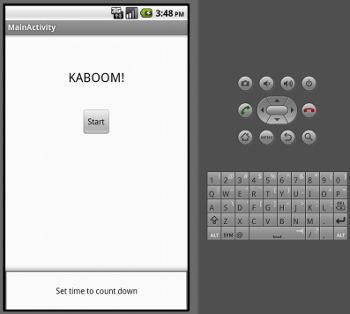 Menu item is showing at the bottom of the screen.
Activities
First, a little bit of background. Android is structured as a whole bunch of modules, the idea being that parts of one app can easily hook into parts of other apps, maximising code reuse. There are four main application components:
- Activites: provide a screen and UI for a particular action. An app has at least one main Activity, and may have lots of other associated Activities.
- Services: run in the background doing something (checking email, playing music, etc), without a UI.
- Broadcast Receiver: receive announcements broadcast by the system and do something accordingly.
- Content Provider: makes data available to other apps.
Intents are messages which are used to jump into a module, or to pass information between modules. We’re going to set up a second Activity to enter the time to count down for, using a scroller widget, called using the menu and setTime():
private void setTime() {
  Intent i = new Intent(getBaseContext(), CountdownSetTime.class);
  startActivityForResult(i, SET_TIME_REQUEST_ID);
}
This Intent simply starts the new CountdownSetTime Activity, and tells the current Activity to expect a result. In CountdownSetTime.java, the work is done in the onCreate()method:
public void onCreate(Bundle savedInstanceState) {
  super.onCreate(savedInstanceState);
  setContentView(R.layout.set_time);
  context = this.getApplicationContext();
  Spinner spinner = (Spinner) findViewById(R.id.spinner);
  ArrayList<Integer> spinnerList = new ArrayList<Integer>();
  for (int i = MIN; i <= MAX; i++) {
    spinnerList.add(i);
  }
  ArrayAdapter<Integer> adapter = new ArrayAdapter<Integer>(context,
          android.R.layout.simple_spinner_item, spinnerList);
  adapter.setDropDownViewResource(
          android.R.layout.simple_spinner_dropdown_item);
  spinner.setAdapter(adapter);
  spinner.setOnItemSelectedListener(new OnItemSelectedListener() {
    public void onItemSelected(AdapterView<?> parent,
      View view, int pos, long id) {
      secondsSet = (Integer)parent.getItemAtPosition(pos);
    }
    public void onNothingSelected(AdapterView<?> parent) {
      // Do nothing.
    }
};
The XML layout in res/layout/set_time.xmllooks like this:
<RelativeLayout xmlns:android="http://schemas.android.com/apk/res/android"
  android:orientation="vertical"
  android:layout_width="wrap_content"
  android:layout_height="wrap_content"
  >
  <Spinner
    android:id="@+id/spinner"
    android:layout_width="wrap_content"
    android:layout_height="wrap_content"
    android:padding="50px"
    android:text="@string/spinner_text"
  />
  <Button
    android:id="@+id/ok_button"
    android:layout_width="wrap_content"
    android:layout_height="wrap_content"
    android:layout_below="@id/spinner"
    android:layout_marginLeft="10dip"
        android:text="@string/ok_text" />
  <Button
    android:id="@+id/cancel_button"
    android:layout_width="wrap_content"
    android:layout_height="wrap_content"
    android:layout_below="@id/spinner"
    android:layout_toRightOf="@id/ok_button"
    android:layout_marginLeft="10dip"
        android:text="@string/cancel_text" />
</RelativeLayout>
It defines a Spinner and two buttons, within a RelativeLayout. A Spinner displays data; an array holds the data; and an ArrayAdapter translates between the two. Our Spinner just displays numbers (seconds to count down), so the data is held by an Integer ArrayList, holding the integers between our MIN and MAX values. android.R.layout.simple_spinner_item and android.R.layout.simple_spinner_dropdown_itemare stock Android layout resources that set up the look of the spinner item and the dropdown. You could also choose to create your own resources.
onItemSelectedListener() sets up a Listener to act when an item is picked, setting the secondsSet class variable. To pass this value back to the original Activity, we set up OK and Cancel buttons. You’ve already seen the code for a button and its OnClickListener in the previous article, so here I’ll just show the onClick()method for the OK button:
public void onClick(View view) {
  Intent i = new Intent();
  Bundle bundle = new Bundle();
  bundle.putInt(CountdownActivity.SET_TIME_KEY, secondsSet);
  i.putExtras(bundle);
  setResult(RESULT_OK, i);
  finish();
}
A Bundle is used to store information in an Intent, so it can be passed between Activities. Each value (here we just have a single Integer) is stored with a String key. For the cancel button, no Bundle is needed. Just create an Intent, set the result as RESULT_CANCELLED, and call finish().
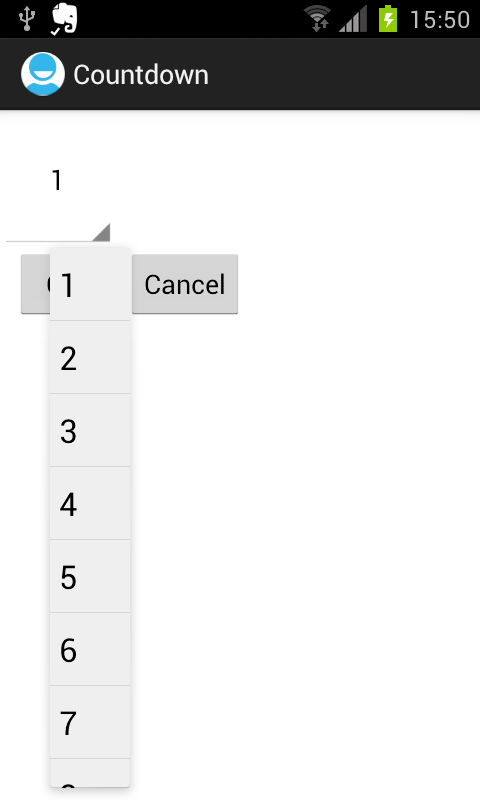 Choosing the number of seconds on a hardware phone.
You’ll also need to register the new Activity by adding this line to AndroidManifest.xml:
<activity android:name=".CountdownEnterTime"></activity>
Finally, then, we need something to handle the Intent back in CountdownActivity; this is what the onActivityResult()method is for:
private int countdownSeconds = 10;  // default value of 10 secs
[ .... ]
protected void onActivityResult(int requestCode, int resultCode, Intent i) {
  super.onActivityResult(requestCode, resultCode, i);
  if (resultCode == RESULT_CANCELED) {
    return;
  }
  assert resultCode == RESULT_OK;
  switch(requestCode) {
    case SET_TIME_REQUEST_ID:
      Bundle extras = i.getExtras();
      countdownSeconds = extras.getInt(SET_TIME_KEY);
      countdownDisplay.setText(Long.toString(countdownSeconds));
      break;
    default:
      // do nothing; we don't expect any other results
    }
  }
}
Check for RESULT_CANCELLED first, as this will be the same for any returning Activity, and you will always ignore it and return. The assertstatement makes it clear that beyond this point, the result is assumed to be OK. If any other value is returned, the method will throw an error. The number of seconds is stored in a class variable, and displayed to the user.
Finally, to make the timer do the right thing, we need to change one line in the start button’s onClick()method:
showTimer(countdownSeconds * MILLIS_PER_SECOND)
If you run the app on an emulator now, you should be able to pick a time and watch it count down.
Installing on a phone
You can hook your phone up via USB and run on that rather than on the software emulator. For some uses (e.g. the accelerometer and the GPS) it is better to test it on a phone, rather than in the emulator. Just plug in the USB cable, and turn on USB Debugging in Settings / Developer Options. When you hit Run in Eclipse, you’ll get the option to run it on your phone. If you want to be able to run your app in non-debugging mode, check out the Android info on publishing.
This app could obviously still use some improvement. Perhaps a start/stop button (check out the CountDownTimer API); a button rather than a menu item to set the time; a ringtone to go off when the alarm finishes; a different form of spinner; some graphical design improvements… Play around and see where you can take the code from here!
Open Recall: MediaGoblin, tux3 and Secure Boot

- MediaGoblin 0.3.2 – The latest release of MediaGoblin, the free software media publishing platform, has added support for 3D models. Currently, the software supports STL and OBJ files, and it can use Blender on the uploading user’s system to render a preview image of the object being uploaded to the web site. MediaGoblin is AGPLv3-licensed and source code for the application can be downloaded from the Gitorious project hosting service.
The tux3 filesystem makes a comeback – Tux 3 developer Daniel Phillips has released…Read more at The H
The Raspberry Pi Education Manual Teaches You Basic Computer Science Principles

Whether you have a new Raspberry Pi and are just figuring out what you can do with it or don’t have your hands on one yet but want to get started learning more about programming and other computer science topics, the free Raspberry Pi Education Manual is a wonderful 172-page resource…Read more at Lifehacker
The Tux3 filesystem returns
 The “Tux3” next-generation filesystem project generated a lot of discussion and a fair amount of code before fading into obscurity; LWN last covered this work in 2008. Tux3 developer Daniel Phillips has resurfaced with a new-year posting suggesting that work on this code is resuming. “In brief, the first time Hirofumi ever put together all the kernel pieces in his magical lab over in Tokyo, our Tux3 rocket took off and made it straight to orbit. Or in less metaphorical terms, our first meaningful benchmarks turned in numbers that meet or even slightly beat the illustrious incumbent, Ext4.” The code can be found in git://github.com/OGAWAHirofumi/tux3.git for those who want to play with it.
Read more at LWN