
At 57 percent, the Android Market boasts the highest percentage of free apps among all mobile app stores, says new analysis from Distimo.
Read more at CNET News
At 57 percent, the Android Market boasts the highest percentage of free apps among all mobile app stores, says new analysis from Distimo.
Ask many IT administrators why they don’t standardize on open source software, and quite a few of them will cite lack of support and documentation in response. That’s true despite the fact that many of the same IT administrators aren’t aware of the growing numbers of resources for support and documentation for open source software. The real key to solving this problem, though, is to consider how the average IT adminstrator thinks about topics like support.
For many individual users of software products, the ability to place a call to a help center or access online help suffice when it comes to support. For lots of those same individuals, the quality of available support, or types of support don’t factor into software buying decisions.
Read more at Ostatic
IBM recently made available an OpenCL 1.0 conformant SDK for Red Hat Enterprise Linux on the company’s POWER line of processors (though only for 32-bit operation). The release was made through the company’s alphaWorks site, and updates the initial release made on October 30 of last year.
The Linux Foundation has announced that it has now licensed the Windows version of IAccessible2 under a BSD licence to allow proprietary software developers to easily incorporate the accessibility API
Norwegian developer Jon Lech Johansen, also known as DVD-Jon, says that, “Google does far too little curation of the Android Market, and it shows.” Johansen believes that Google need to make a lot of changes to keep Android developers happy
Google is rolling out Android 2.2, codenamed Froyo, to Nexus One handsets. The new version of the operating system brings an extremely noticeable performance boost, a handful of impressive new features, some minor user interface enhancements, and useful new APIs for developers. The additions in Froyo fill some of the gaps in the platform and augment its competitiveness relative to rivals.
If you have one Linux system to administer, you need a good working knowledge of scripting, command line utilities, and a trusty text editor. If you have two or more, it may be time to add Puppet to that list.
Every good system administrator strives to automate repetitive tasks so that they can free up their time to focus on more important matters. It’s the difference between spending a work day running the same set of commands on 20 different systems, or spending a work day improving a piece of infrastructure or testing a new open source tool that might be useful for your organization. Also, it’s just plain fun to know you can run a single command and accomplish what it would have taken half a day to finish.
In this piece, we’ll take a look at what Puppet is and some basics of installing and using Puppet on a single machine. In the next tutorial, we’ll get into the nitty gritty and focus on configuring Puppet and some more concrete examples.
So how does Puppet fit into all this? Puppet was born to automate repetitive tasks and to give system administrators a flexible framework to build on. Puppet is written in Ruby, and comprises a configuration language to write manifests and modules, daemons to run the Puppet instructions on managed systems and to coordinate machines that are using Puppet, and a dashboard to help visualize your systems and create reports.
In short: Puppet is a system to centralize and standardize configuration and administration of your systems. These can be desktop systems, workstations, servers, whatever. Now, since this is Linux.com, the primary focus for the article is Linux systems — but Puppet is not limited to Linux. You can also use Puppet with UNIX-based OSes like Solaris, the BSDs, and Mac OS X. According to the Puppet Web site, plans are also afoot for Windows support at some point “in the near future,” but no concrete date is set. (It’s probably quite a bit easier to port Puppet from Linux or a UNIX to another UNIX-like system than to wrangle it onto Windows.)
If you hadn’t guessed already, Puppet is open source. It’s licensed under the GNU General Public License (GPL).
Puppet abstracts the state you want your system to be in from the actual commands needed to get to that point. To put it another way, if you want to run updates on all your systems using Puppet, you don’t need to specify the Yum commands for Fedora systems, the Zypper commands for openSUSE, and APT commands for Ubuntu and Debian systems. Instead, you can write a manifest and run it on all your systems to update your packages.
Creating the manifest and configuring all the systems will be a bit more work, the first time. After that, it’s much easier. Let’s get started.
Puppet packages should be available for most major distros already. Just search for puppet using your package manager of choice. For example, on Ubuntu 10.04 you’d want puppet and puppet-common for the managed systems, and puppetmaster for the central server (if you have multiple systems). You might also want the vim-puppet package if you’ll be writing Puppet manifests in Vim, or puppet-el if you want to write manifests in GNU Emacs.
When you’re working with Puppet, you’re working with resources. Users, packages, files, services, etc. A resource describes something on your system. You can find the standard types on the language resource guide on Puppet Labs’ site. Some resources are standard across all OSes (like files) others are OS-dependent (like zfs and zone, which are Solaris-only).
For single systems, you’ll usually use puppet to execute a manifest. Remember, a manifest is a file containing a set of resources and instructions on how that resource should be configured or manipulated.
Puppet also has a shell that you can use to execute Puppet commands and configure a local system. The Resource Abstraction Layer Shell (ralsh) can list resources, and operate on resources. Here’s a simple example to verify whether a user exists on the system using ralsh:
ralsh user norm
If norm doesn’t exist as a user account on the system yet, you’ll see this:
user { 'norm':
    ensure => 'absent'
}
This is Puppet providing the current system configuration, as expressed in the Puppet language. This is how you’d write a manifest to remove the user norm from a system. What if we want to add norm as a user with ralsh? Easy:
ralsh user norm
Ridiculously easy, isn’t it? That will create norm with some sane defaults. Here’s the manifest that ralsh executes:
user { 'norm':
    uid => '1001',
    ensure => 'present',
    gid => '1001',
    home => '/home/norm',
    shell => '/bin/sh'
}
You’d write that up as a manifest and run it using puppet on your local system. What if we want to make norm‘s shell bash instead of sh? Let’s look at that as a manifest:
user { 'norm':
    uid => '1001',
    ensure => 'present',
    gid => '1001',
    home => '/home/norm',
    shell => '/bin/sh'
}
Copy that to a file, like norm.pp, and change the shell line to shell => ‘/bin/sh’. Then run puppet norm.pp. Puppet will check the user, and make the changes necessary so that the user conforms to the manifest.
So how is this easier than running the commands to create a new user on your system? On a single system, it’s not. What if you need to create the user on 20 systems, though? Much, much easier. And this would work on Linux, Mac OS X, FreeBSD, and more.
This has been a pretty quick overview of how Puppet works on a single system. In the next tutorial, we’ll look at configuring Puppet to manage multiple systems and how to make changes across different distros.
Text editors on Linux. Few things conjure up more images and memories of heated flame wars. Sure, you have the classic KDE vs. GNOME, and today’s Firefox vs. Chrome, but those battles pale in comparison to the mother of them all: the Emacs vs. vi wars. Who won? We all did.
Mighty warriors have fallen in those battles. Both camps were powerful, righteous, and just. Eventually no one really won the war. In fact, the war mostly disappeared in favor of more modern, immediate issues on the Linux front. But this does not mean the players disappeared. In fact, each and every warrior can still be found on the battlefield – along with new combatants. And the winners are the users who have a variety of much improved text editors.
In this Linuxables series I am going to introduce you to some of those tools that no Linux administrator (or user) should be without. In this series I’ll help you find an editor that suits your needs and personality perfectly, or as close as possible. I will waver slightly from the classic list of combatants in favor of adding newer text editors into the mix. Specifically, I am going to introduce you to: Nano, vi, Gedit, and Kate. Each of these serves a similar purpose and each has a very different approach.
But, before we get into the muck and mire of the tools themselves, let’s first discuss why the text editor is even necessary… or is it?
For many applications in Linux the configurations are handled by plain text files. You’ve probably heard of the .conf file? Some examples are:
These files are often referred to as “flat text files.” What this means is that they have no formatting… they are plain text and no more. Some might assume a standard Word Processor (such as OpenOffice.org) can be used to edit these files, but this should be avoided for very good reason.
Generally speaking, word processors add extra formatting to text that will make the .conf file unreadable by the application. When the configuration file is unreadable by the application, the application will not work. What makes this even more challenging is that some times this extra formatting is obfuscated from the user. So you won’t even know you’ve added extra formatting to your file. To avoid this, the text editor is always used for configuration files.
You will find, in this series, two console-based and two GUI-based editors illustrated. What are the differences? Simple: Text-based editors (such as Nano and vi) have no graphical component. These editors can even be used from the console login (making them indispensable for GUI-less server installations). Without the added overhead of a GUI, console-based editors are extremely light-weight, making them ideal candidates for users who demand speed and nearly instant response. The downfall? With console-based editors you are going to have learn a variety of key combinations.
GUI editors, on the other hand (such as Gedit and Kate) do have a GUI component which adds features that make desktop-centric users happy. The downfall of GUI-based editors? You must have a graphical desktop installed to use them. The pros for GUI-based editors? Ease of use. These tools work very similarly to standard word processors, so any user will be comfortable using these tools. The downfall? GUI-less servers need not apply. The added “weight” of the GUI also makes using them remotely more challenging than console-based editors.
That, of course, is yours to decide. In the upcoming series you will see these four editors up close and personal. By the end of the series, you will have a good idea which editor is best for your needs. But know this, whether you are a Linux administrator or a Linux end-user, eventually you will need a text editor and you will want to make sure you use the text editor best suited to your needs, ability, and style.
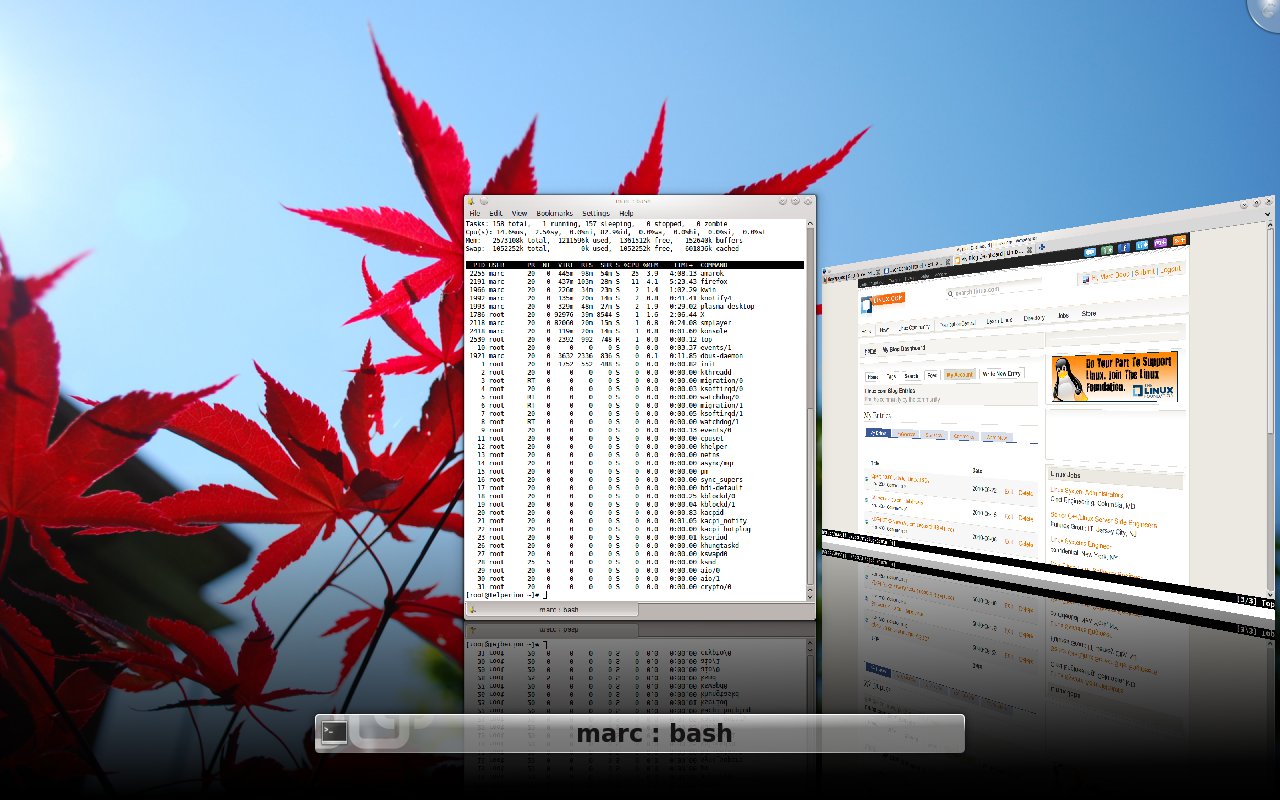
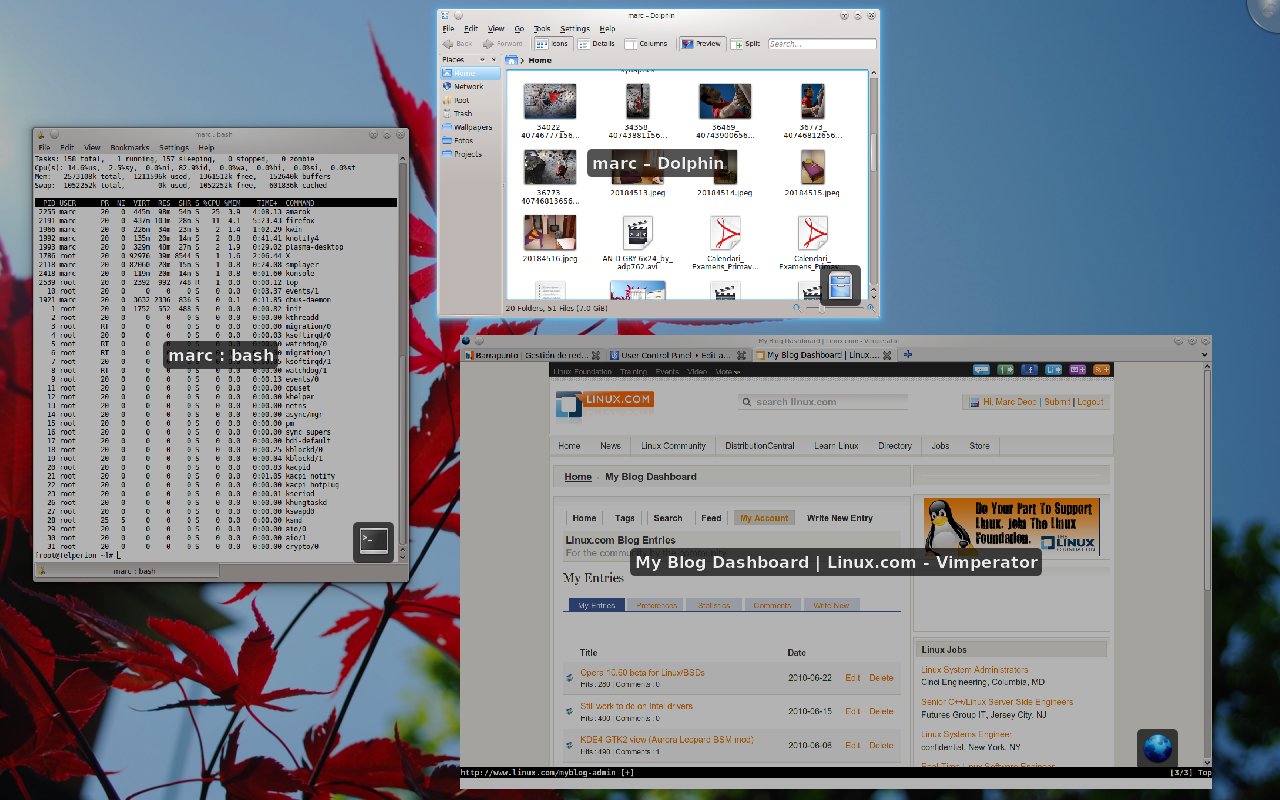
Well, I’ve been running for almost a week the KDE SC 4.5 RC1 and I must say that the “feelings” are *fantastic*. It’s almost the same sensations I had when I tried the 3.5 release some time ago: there is both a performance and usuability great improvement on this release.
The most significant improvement I’ve found is KWIN related: it is finally usable! Not only that but it’s actually FAST (both effects on and off) even on my poor Intel 945GM!!!
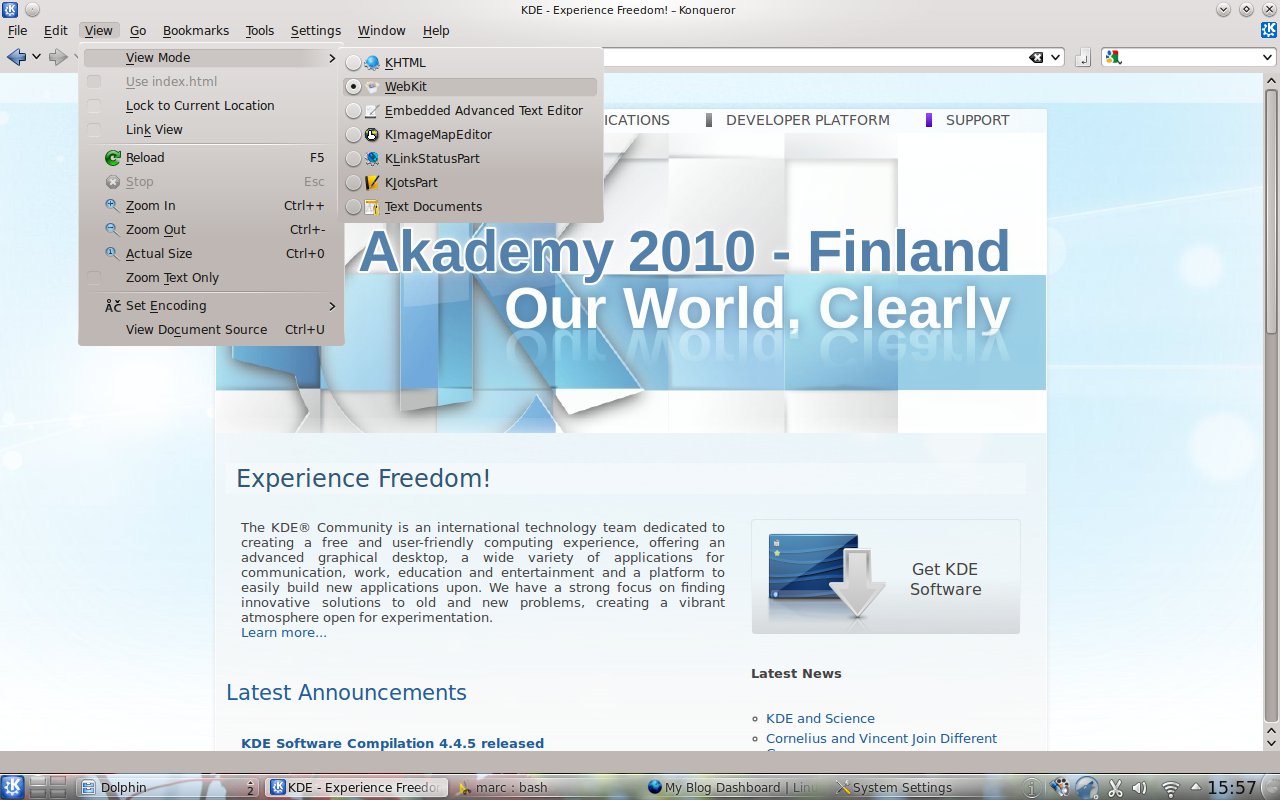
Another great thing is the ability to use webkit as and HTML renderer under konqueror. It is still not stable on my machine(no webkit based browser is, so it does not seem like a KDE’s fault).
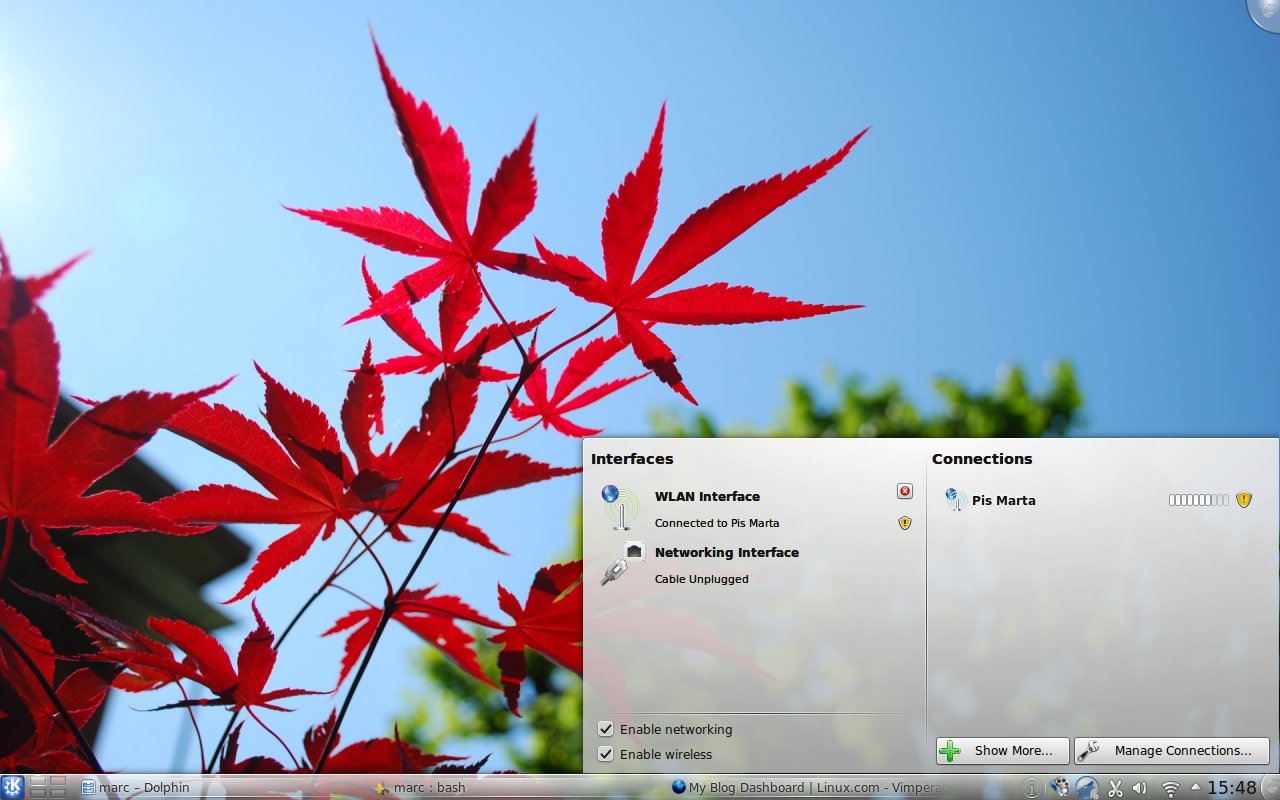
What else? Mmmm the networkmanager applet has been changed and cooperates with knetworkmanager.
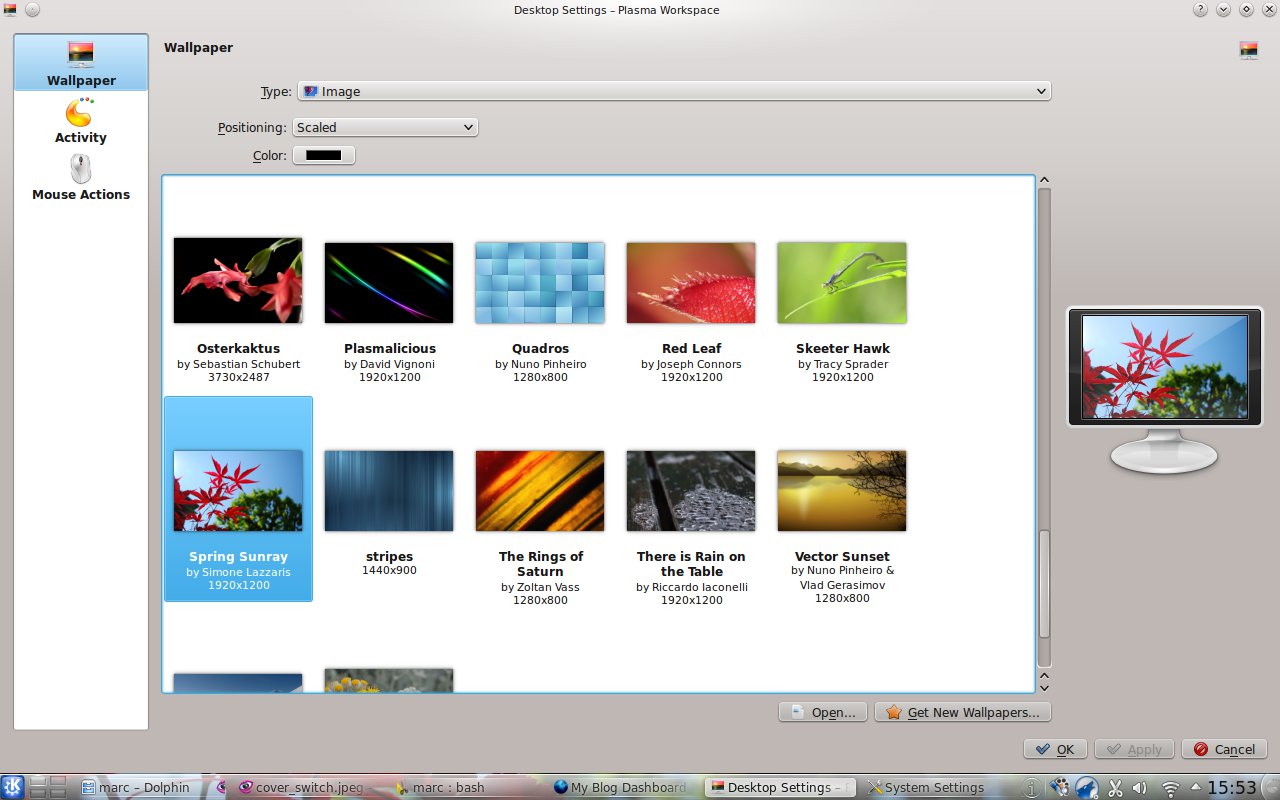
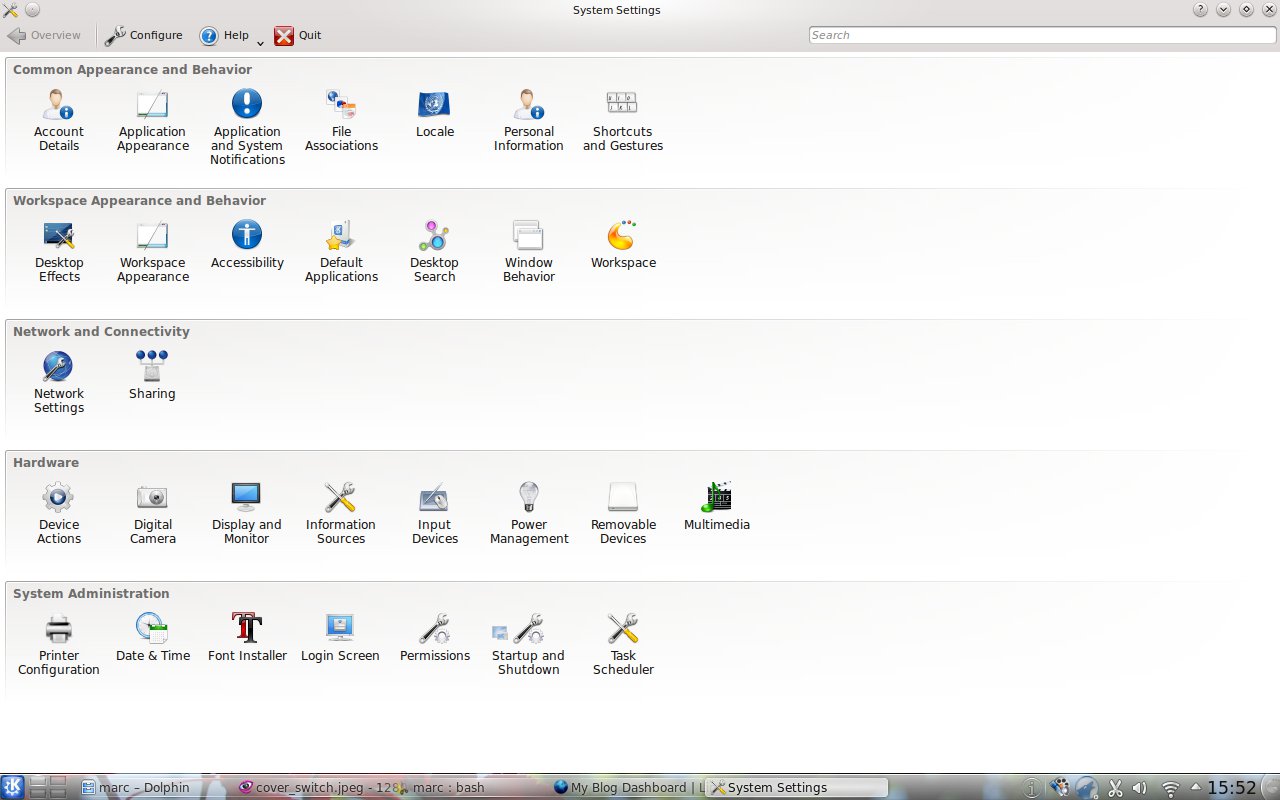
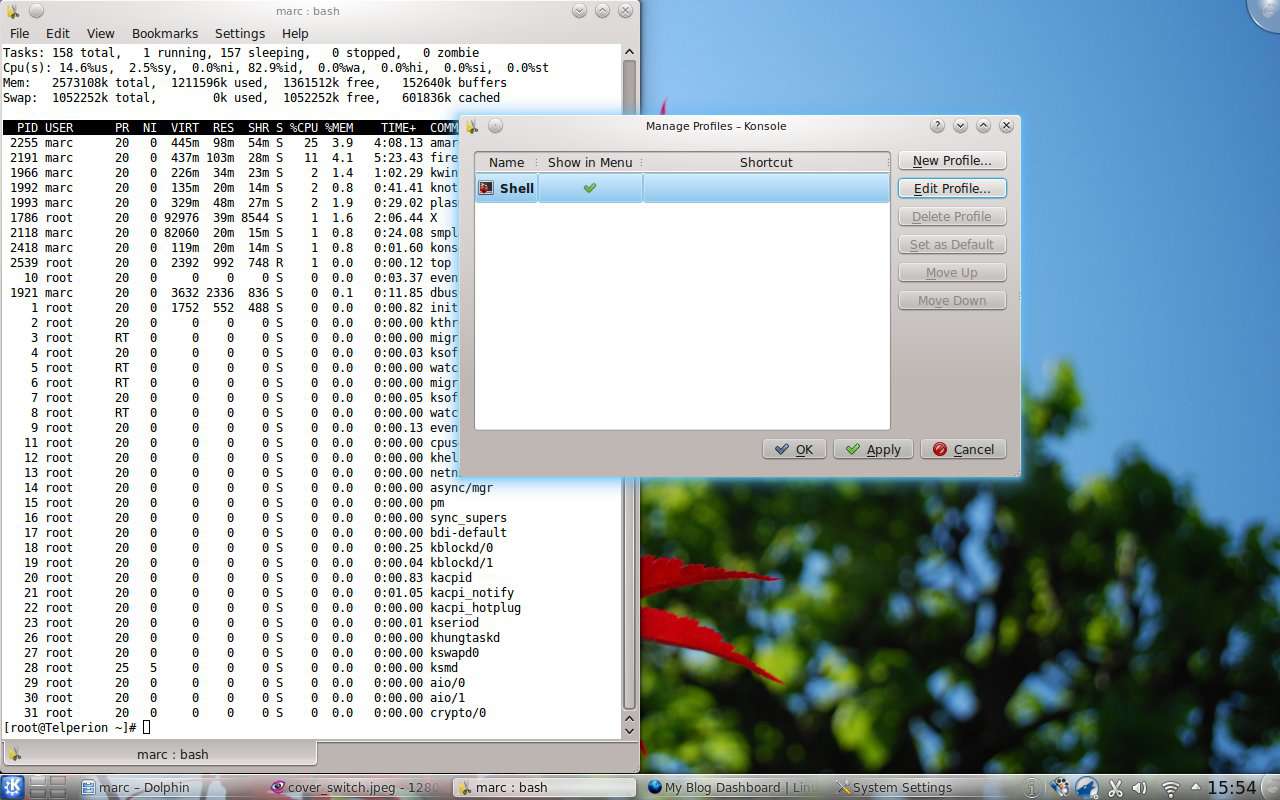
There are also changes on the Desktop Settings arrangements as well as some minor GUI/shortcuts changes on different places (like konsole).
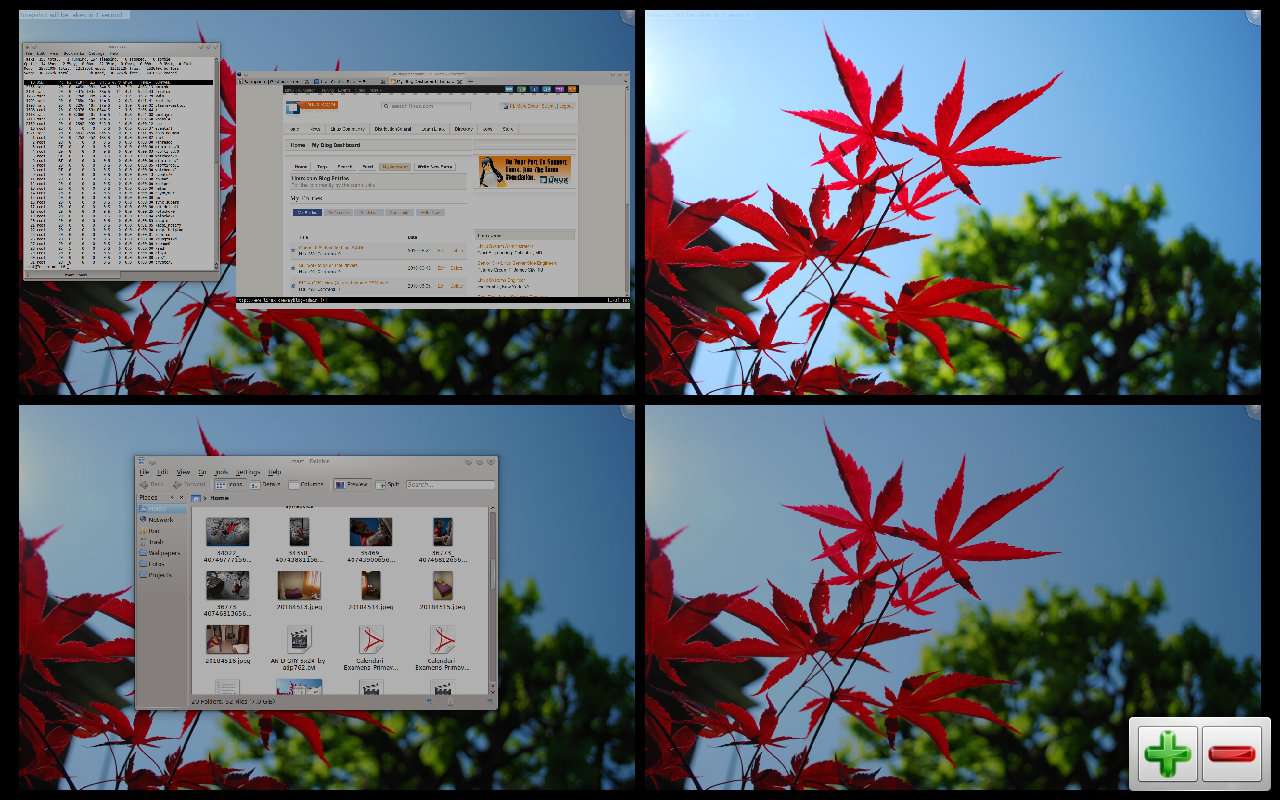
Well, here are the screenshots:
After the basics and the server configuration here’s a quick ‘n’ dirty example of my linux client configuration.
Each Linux client (but generically speaking a UNIX or OS/X client) only needs the rsync program installed, no additional dependencies, each linux distribution has it, just type:
~$ rsync --version
rsync  version 3.0.6  protocol version 30
Copyright (C) 1996-2009 by Andrew Tridgell, Wayne Davison, and others.
Web site: http://rsync.samba.org/
Capabilities:
    64-bit files, 64-bit inums, 64-bit timestamps, 64-bit long ints,
    socketpairs, hardlinks, symlinks, IPv6, batchfiles, inplace,
    append, ACLs, no xattrs, iconv, symtimes

rsync comes with ABSOLUTELY NO WARRANTY.  This is free software, and you
are welcome to redistribute it under certain conditions.  See the GNU
General Public Licence for details.
To see if it’s properly installed.
This example coming from real world is connected to an RSync server as detailed in my previous article,the script itself is not complex, it just feet my needs and I use it with cron each day, in the first section there is a configuration part for remote host setup, the second part is where the business logic resides, a little bit of logging is inserted as well
~/bin$ cat backup.rsync
#!/bin/bash
# Sync sensible data of this pc to a remote rsync host
#


# Configuration Section, change your parameters below

# Remote host name
REMOTE_HOSTNAME=myfavoritenas

# RSync connection on remote host (username as well)
REMOTE_SYNC_POINT=array1_backup

# Remote directory name where rsync copies will be created
REMOTE_DIR=linux_client_host

# Local directory name to sync (not the whole disk...)
LOCALE_DIR=$HOME

# RSync password for the connection (see rsyncd.secret)
RSYNC_PASSWORD=idonttellmypasswdtoyou

# Exclude FILES
EXCLUDE_FILES="
--exclude "$HOME/.Trash"
--exclude "$HOME/.bittorrent"
--exclude "$HOME/.dbus"
--exclude "$HOME/.evolution"
--exclude "$HOME/.fontconfig"
--exclude "$HOME/.gnochm"
--exclude "$HOME/.icons"
--exclude "$HOME/.macromedia"
--exclude "$HOME/.metacity"
--exclude "$HOME/.mozilla"
--exclude "$HOME/.mysqlgui"
--exclude "$HOME/.nautilus"
--exclude "$HOME/.nx"
--exclude "$HOME/.python"
--exclude "$HOME/.qt"
"


# Business logic, don't change anything below this line
MY_RSYNC_OPTIONS="
--verbose --recursive --compress --perms --owner --group
--specials --stats --devices --links --times --delete
$EXCLUDE_FILES
"

# Exec command
RSYNC_COMMAND="`which rsync`"
export RSYNC_PASSWORD
DATE_BEGIN="Begin : `date`"
if [ "$1" != "" ]; then
    $RSYNC_COMMAND $MY_RSYNC_OPTIONS
        $LOCALE_DIR/
        $REMOTE_SYNC_POINT@$REMOTE_HOSTNAME::$REMOTE_SYNC_POINT/$REMOTE_DIR
    echo $DATE_BEGIN
    echo "End   : `date`"

else
    $RSYNC_COMMAND $MY_RSYNC_OPTIONS
        $LOCALE_DIR/
        $REMOTE_SYNC_POINT@$REMOTE_HOSTNAME::$REMOTE_SYNC_POINT/$REMOTE_DIR
        > /$LOCALE_DIR/backup.rsync.log 2>&1
    echo $DATE_BEGIN      >> $LOCALE_DIR/backup.rsync.log
    echo "End   : `date`" >> $LOCALE_DIR/backup.rsync.log
fi
As you can see from example you can invoke this script just by typing:
~/bin$ ./backup.rsync
If you provide an additional parameter on command line you can store rsync operations in a log file (backup.rsync.log)
~/bin$ ./backup.rsync log
Glad to improve my example if someone of you wants to contribute or add something
Next article covers windows client configuration, stay tuned
Next:
Windows RSync client side configuration
Steps:
Easy backup with RSync, introduction
RSync server side config on linux platform
Linux RSync client side configuration
Windows RSync client side configuration
Glad to see your comments
Andrea (Ben) Benini