Do you want to sharpen your system administration or Linux skills? Perhaps you have some stuff running on your local LAN and you want to make your life easier—where do you begin? In this article, I’ll explain how to set up tooling to simplify administering multiple machines.
When it comes to remote administration tools, SaltStack, Puppet, Chef, and Ansible are a few popular options. Throughout this article, I’ll focus on Ansible and explain how it can be helpful whether you have 5 virtual machines or a 1,000.
Eight months after three critical vulnerabilities were fixed in the memcached open source caching software, there are over 70,000 caching servers directly exposed on the internet that have yet to be patched. Hackers could execute malicious code on them or steal potentially sensitive data from their caches, security researchers warn.
Memcached is a software package that implements a high performance caching server for storing chunks of data obtained from database and API calls in RAM. This helps speed up dynamic web applications, making it well suited for large websites and big-data projects. While memcached is not a database replacement, the data it stores in RAM can include user sessions and other sensitive information from database queries.
While the default IEEE Spectrum ranking in the Top Programming Languages interactive gives a good aggregate signal of language popularity, here we are taking a deep dive into the metrics related to job demand. Two of our data sources, Dice and CareerBuilder, measure job openings for the languages included in the interactive, and consequently we have a preset for “Jobs” that weighs the rankings heavily toward those metrics. So, if you want to build up your tech chops before looking for a programming job, what languages should you focus on?
Although Python has moved to the top of the default Spectrum ranking, if we instead go purely by the volume of openings that mention a language, we find that C beats Python by a ratio of 3.5 to 1, or about 19,300 job openings versus 5,400 across Dice and CareerBuilder combined.
It is easy to dismiss bash — the typical Linux shell program — as just a command prompt that allows scripting. Bash, however, is a full-blown programming language. I wouldn’t presume to tell you that it is as fast as a compiled C program, but that’s not why it exists. While a lot of people use shell scripts as an analog to a batch file in MSDOS, it can do so much more than that. Contrary to what you might think after a casual glance, it is entirely possible to write scripts that are reliable and robust enough to use in many embedded systems on a Raspberry Pi or similar computer.
I say that because sometimes bash gets a bad reputation. For one thing, it emphasizes ease-of-use. So while it has features that can promote making a robust script, you have to know to turn those features on. Another issue is that a lot of the functionality you’ll use in writing a bash script doesn’t come from bash, it comes from Linux commands (or whatever environment you are using; I’m going to assume some Linux distribution). If those programs do bad things, that isn’t a problem specific to bash.
This week in Linux and open source headlines, ONAP leads the way in the automation trend, Mozilla launches new, open source speech recognition project, and more! Get up to speed with the handy Linux.com weekly digest!
1) With automation being one of the top virtualization trends of 2017, The Linux Foundation’s ONAP is credited with moving the industry forward
2) Mozilla has launched a new open source project speech recognition system that relies on online volunteers to submit voice samples and validate them.
3)In addition to membership growth, EdgeX Foundry has launched a series of technical training sessions to help developers get up to speed on the project.
It would have been impossible to avoid hearing that Canonical has decided to shift their flagship product away from their in-house Unity desktop back to an old friend: GNOME. You may remember that desktop — the one that so many abandoned after the shift from 2.x to 3.x.
A few years later, GNOME 3 is now one of the most rock-solid desktops to be found, and one of the most user-friendly Linux desktop distributions is heading back to that particular future. As much as I enjoyed Unity, this was the right move for Canonical. GNOME is a mature desktop interface that is as reliable as it is user-friendly.
I won’t spend too much time speculating on why this happened (there are already plenty of pieces on this topic). There has also been plenty of speculation as to whether or not Canonical will deliver a GNOME-based Ubuntu that offers some of the features found in Unity. To that, Ken VanDine said to OMGUbuntu that the Ubuntu team “…may consider a few tweaks here and there to ease our users into the new experience.”
That’s not much. It also means, features like the HUD will not be anywhere to be found. Unfortunately, there aren’t any (current) GNOME extensions to replicate that feature. For some (like myself), losing the HUD is big (but not unforgivable). Why? I’d always found that particular menu interface to be one of the single most efficient on the market.
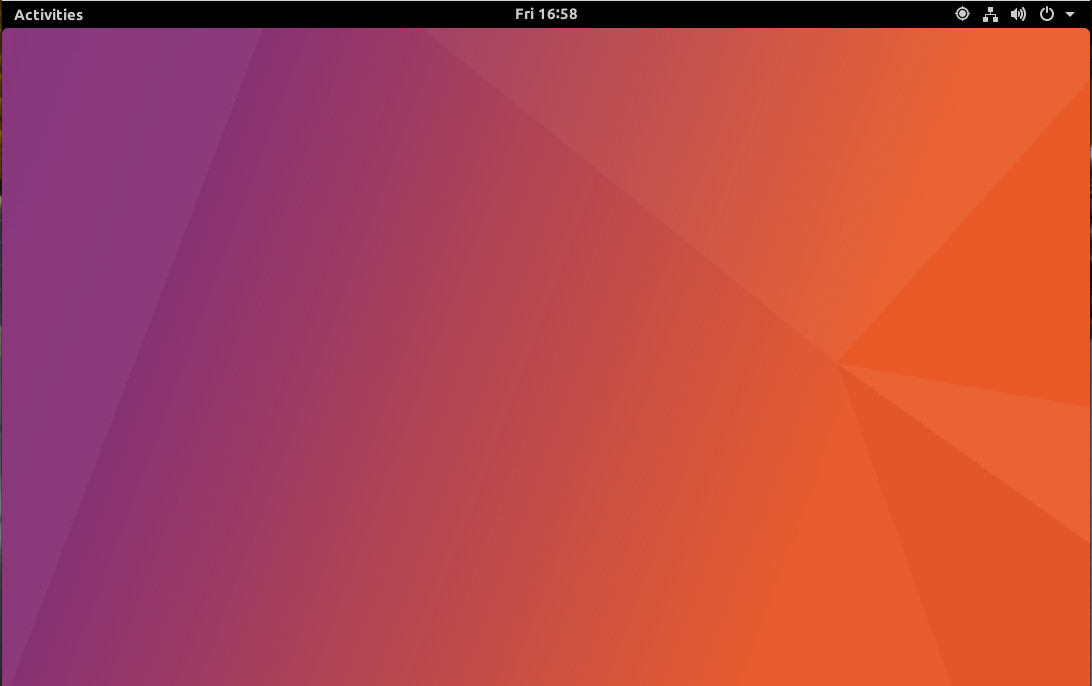
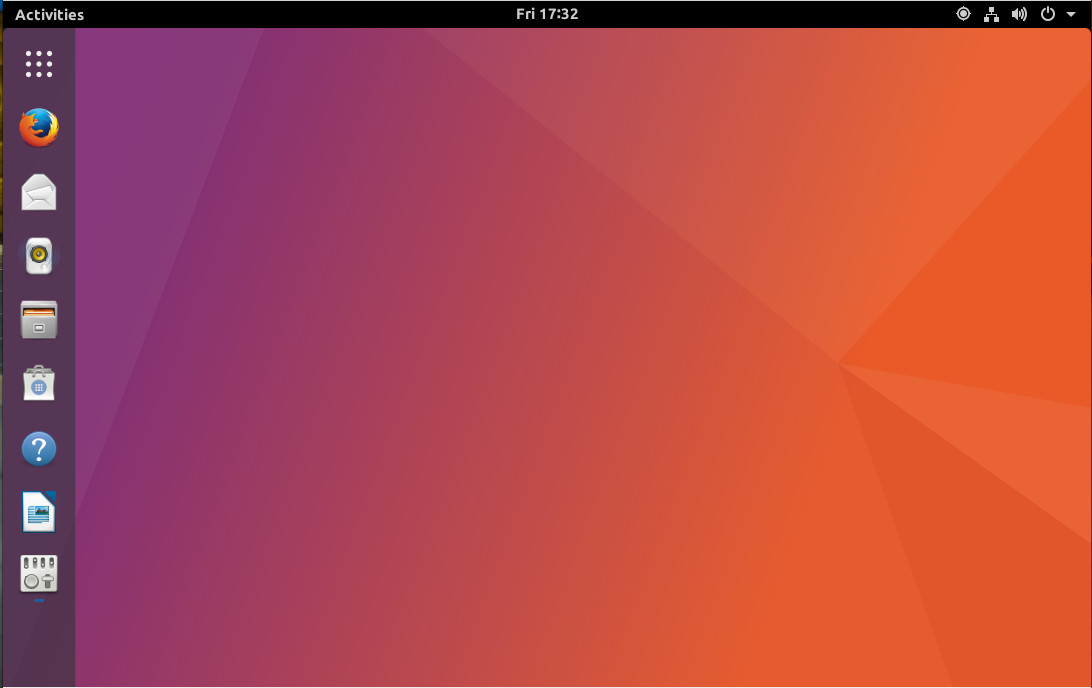
My guess is that GNOME, as shipped with Ubuntu 17.10, will be a fairly vanilla take on the desktop (with a bit of Ubuntu theme-branding in the mix). If the daily builds of 17.10 are any indication, that will be exactly the case (Figure 1).
Figure 1: The default Ubuntu 17.10 look.
Extensions will be your friend
For those that consider GNOME to be a bit less efficient than Unity, know that extensions will be your friend. Again, you’re not going to find an extension to bring about every feature found in Unity, but you can at least gain some added functionality, to make the GNOME desktop a bit more familiar to those who’ve been working with Unity for the last few years.
The first two extensions I would suggest you examine are:
Which of the above will better suit your needs will depend on three things:
Where you like your panel
If you prefer a bit of transparency
If you prefer a separate top panel with your dock
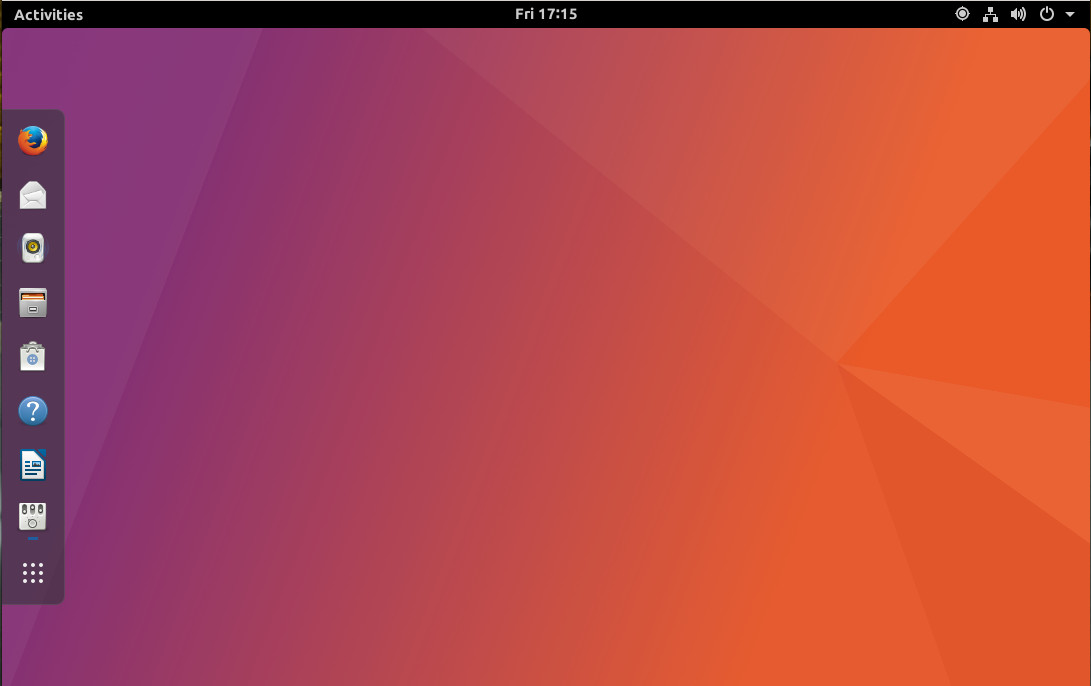
With Dash to Dock, your GNOME Favorites (found within the Dash) is added to the desktop (Figure 2) to function in similar fashion to the Unity Launcher.
Figure 2: Dash to Dock in action.
What I like about the Dash to Dock extension is that it not only allows you to add a bit of transparency to the dock, it can be placed on the top, bottom, left, or right edge of the display and does not do away with the top panel.
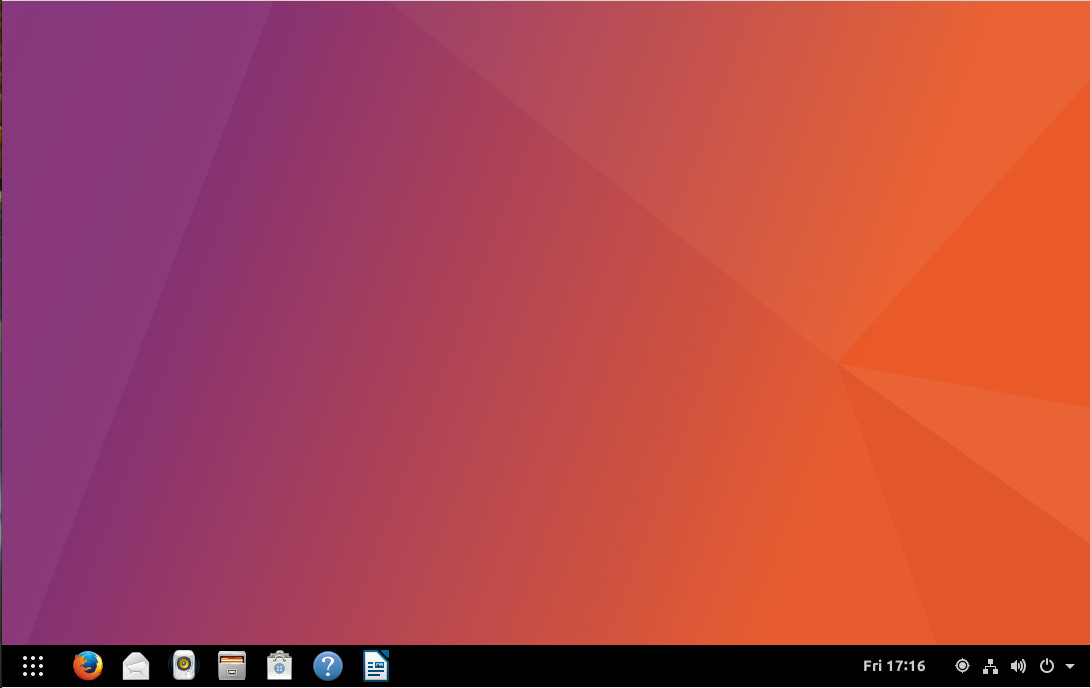
With the Dash to Panel (Figure 3), your Dash Favorites are placed in a panel that spreads across the screen and rolls in the top panel.
Figure 3: Dash to Panel in action.
For those that might miss the look and feel of what Unity offered, Dash to Dock will be your preferred extension. For those that might like a traditional panel (such as that found in Windows 7 or KDE), Dash to Panel will be your go to.
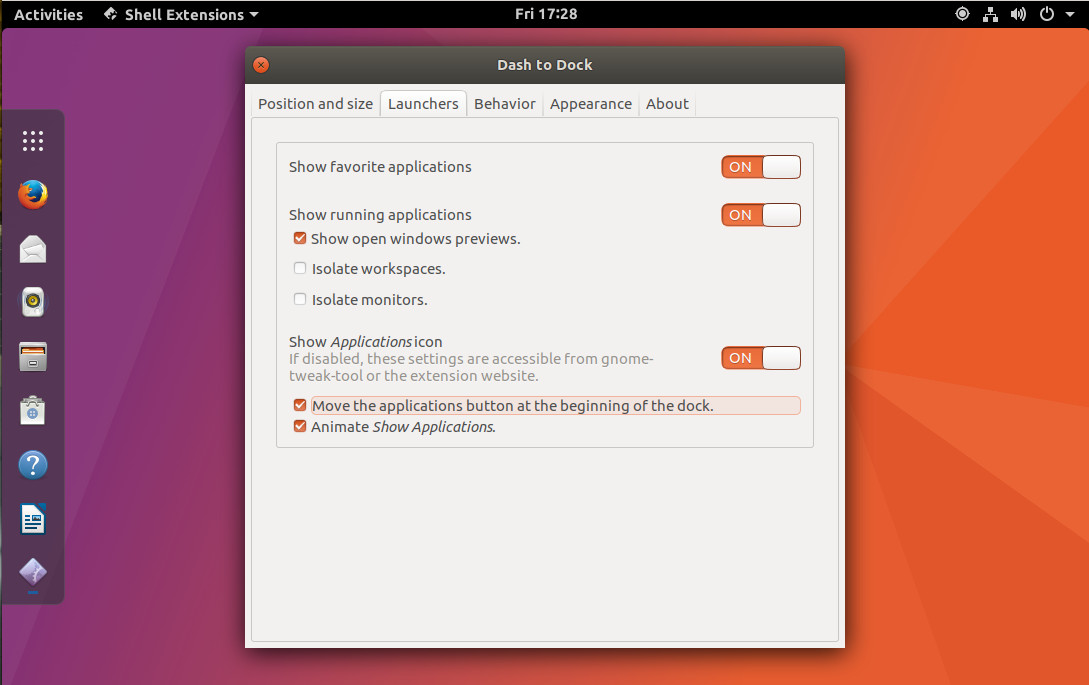
If you do use Dash to Dock, you might want to enable the feature to move the applications button to the beginning of the dock (Figure 4).
Figure 4: Moving the applications button.
For anyone that has been using Unity long enough, having that applications button at the bottom of the dock can be a real point of frustration. You can also shift Dash to Dock to panel mode (to even better emulate Unity (Figure 5).
Figure 5: Now we’re starting to look more like Unity.
GNOME Tweak
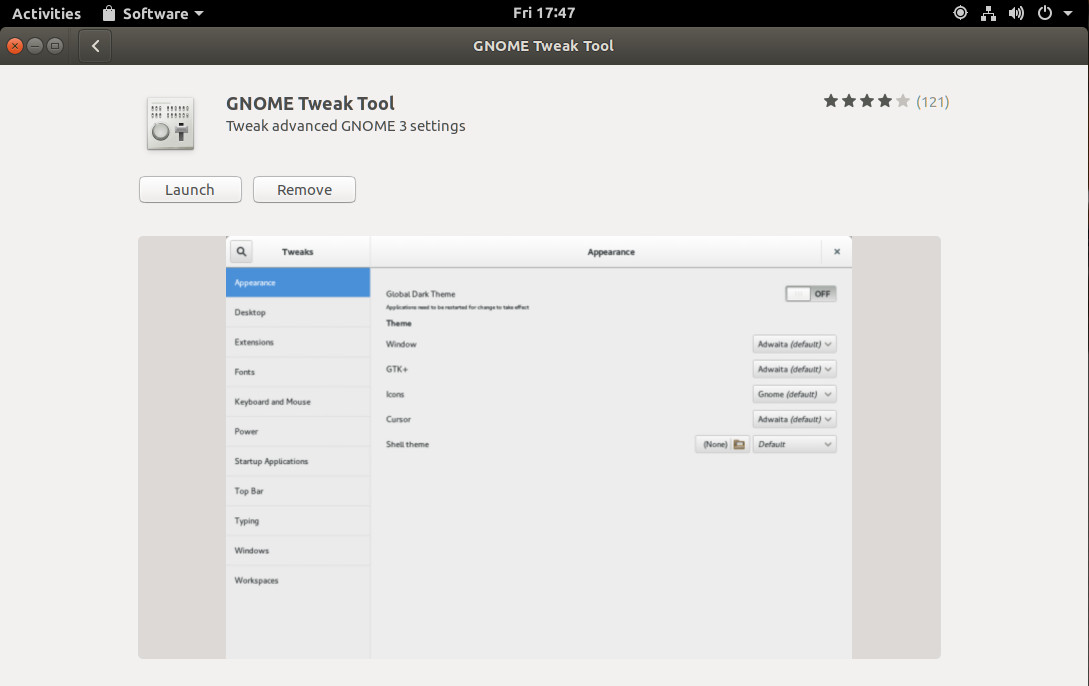
One thing you must know is that, to gain access to the options for these extensions (and to even enable/disable them), you will need to install the GNOME Tweak Tool. To do this, open the GNOME Software tool, search for GNOME Tweak and click Install. Once installed, you can click the Launch button (Figure 6) and you’re ready to tweak your extensions (and other aspects of GNOME).
Figure 6: GNOME Tweak installed from Software.
Trust me when I say, GNOME Tweak will make your transition from Unity to GNOME slightly smoother.
The end result
As much as the Unity lovers might hate to hear this, the switch to GNOME will wind up being quite welcome on all fronts. The primary reason is that GNOME is simply more mature than Unity. This translates to (at least from my experience thus far) a much better smoother and snappier desktop. And, with the addition of a few extensions, the only thing Unity fans will miss is the HUD. But for those that cannot let go of Unity, know that there has been a fork of Unity 7, now named Artemis. At the moment, there is not even an alpha to test, but this looks to be a very promising project that might be offering both a “pure” Unity-like desktop or a Plasma-like Unity desktop. Either way, for anyone hoping that Unity 7 will continue on… fear not.
Try it out now
If you can’t wait until October 2017, you can download the latest daily build and install your very own Ubuntu 17.10. I’ve been working with the daily build and have found it to be remarkably stable. If you go this route, just make sure to update regularly. If you’re not one to test pre-release software, the final release is but a few months away.
Once again, the future looks incredibly bright for the Ubuntu Linux desktop.
Learn more about Linux through the free “Introduction to Linux” course from The Linux Foundation and edX.
Let the knowledge-sharing continue! On Monday, July 31 at 10 AM PT, The Linux Foundation will present another installment in its #AskLF program: a series of monthly Twitter chats hosted by The Linux Foundation thought leaders and experts. The program allows the open source community to ask a designated host questions about the organization’s offerings and strategies. Previous topics have included open networking, Linux Foundation Training and Certification programs, the basics of Cloud Foundry, and gender & diversity inclusion at Linux Foundation events. This fifth chat in the series will focus on The Linux Foundation’s SysAdmin Training offerings, hosted by Nate Kartchner, Training Marketing Manager at The Linux Foundation.
#AskLF began earlier this year as a way to shed light on the organization’s various experts on open source industry topics, as well as the organization’s strategy and vision. The series also gives @linuxfoundation followers a way to access its many resources — and engage with one another over shared interests. Nate Kartchner has been with The Linux Foundation since 2014, helping lead the evolution of The Linux Foundation’s growing role in training the open source pros of tomorrow.
His #AskLF chat will take place the Monday after SysAdmin Day: a professional holiday the organization has recognized for years.
From free introductory MOOCs on a handful of important open technology topics to mid-senior level open source training, The Linux Foundation has steadily expanded its training initiatives to include professional training on the open source projects that matter most. Students at various places in their career trajectories can find guidance in Linux Foundation Training offerings such as LFS201: Essentials of System Administration.
@linuxfoundation followers will have the chance to ask Nate questions about how Linux Foundation Training can help guide their burgeoning and existing SysAdmin career journeys.
Sample questions include:
How does LFS201 prepare students for real-world SysAdmin challenges?
How can an absolute beginner kick off their SysAdmin career?
How will a Linux Foundation SysAdmin certification help me get hired ?
Here’s how you can participate in the #AskLF:
Follow @linuxfoundation on Twitter: Hosts will take over The Linux Foundation’s account during the session.
Save the date: July 31, 2017 at 10 a.m. PT.
Use the hashtag #AskLF: To ask Nate your questions while he hosts. Click here to spread the news of #AskLF with your Twitter community.
More dates and details for future #AskLF sessions to come! We’ll see you on Twitter, July 31st at 10 a.m. PT.
Get more tips for SysAdmins considering a Linux Foundation certification here.
You’ve probably heard many stereotypes about system administrators and the job itself. Like most stereotypes, they have varying levels of accuracy, so it’s worth digging a little deeper if you’re considering a career change.
Here’s the truth about are some of the things you may have heard about network and system administration.
If you know anything about Linus Torvalds, you know he’s the mastermind and overlord of Linux. If you know him at all well, you know he’s also an enthusiastic scuba diver and author of SubSurface, a do-it-all dive log program. And, if you know him really well, you’d know, like many other developers, he loves gadgets. Now, he’s starting his own gadget review site on Google+: Working Gadgets.
The title says it all, but Torvalds explained:
I was throwing out a lot of old gadgets that I no longer use. Because I love crazy gadgets, and not all of them are great or stay useful. It’s not always even computer stuff: my wife can attest to the addition of crazy kitchen gadgets I have tried.
For those that have been in the technology industry for some time, there is a tendency to compare or even equate the current microservices phenomenon with the more archaic Service Oriented Architecture (SOA) approach. This is done implicitly in many cases, but also quite explicitly with statements such as “microservices is nothing more than the new SOA” or “Amazon is the only company to get SOA right.”
This is unsurprising, because it’s rooted in fact. For all of its other faults, SOA was a vision of enterprises that looks remarkably like what progressive organizations are building today with cloud native architectures composed of, among other things, microservices. Stripped to its core, SOA was the idea that architectures should be composed of services rather than monolithic applications.


 #AskLF began earlier this year as a way to shed light on the organization’s various experts on open source industry topics, as well as the organization’s strategy and vision. The series also gives @linuxfoundation followers a way to access its many resources — and engage with one another over shared interests. Nate Kartchner has been with The Linux Foundation since 2014, helping lead the evolution of The Linux Foundation’s growing role in training the open source pros of tomorrow.