For many, the computer interface has always followed the same formula:
-
Start Menu
-
Panel
-
System tray
-
Desktop icons
With those simple elements, people have happily interfaced with their hardware and done their jobs for a very long time. For those working within the world of Windows, the best take on that formula was (in many an opinion) Windows 7. So, it should come as no surprise that some Linux distributions have adopted that formula to create a desktop with which users would feel a sense of immediate connection. Some Linux takes on that metaphor have failed and some have reached a modicum of success. But none have managed to pull off what ChaletOS has.
Don’t get me wrong, under the all-too familiar looking desktop (Figure 1), ChaletOS is still Linux. But the execution of the design cannot be mistaken.
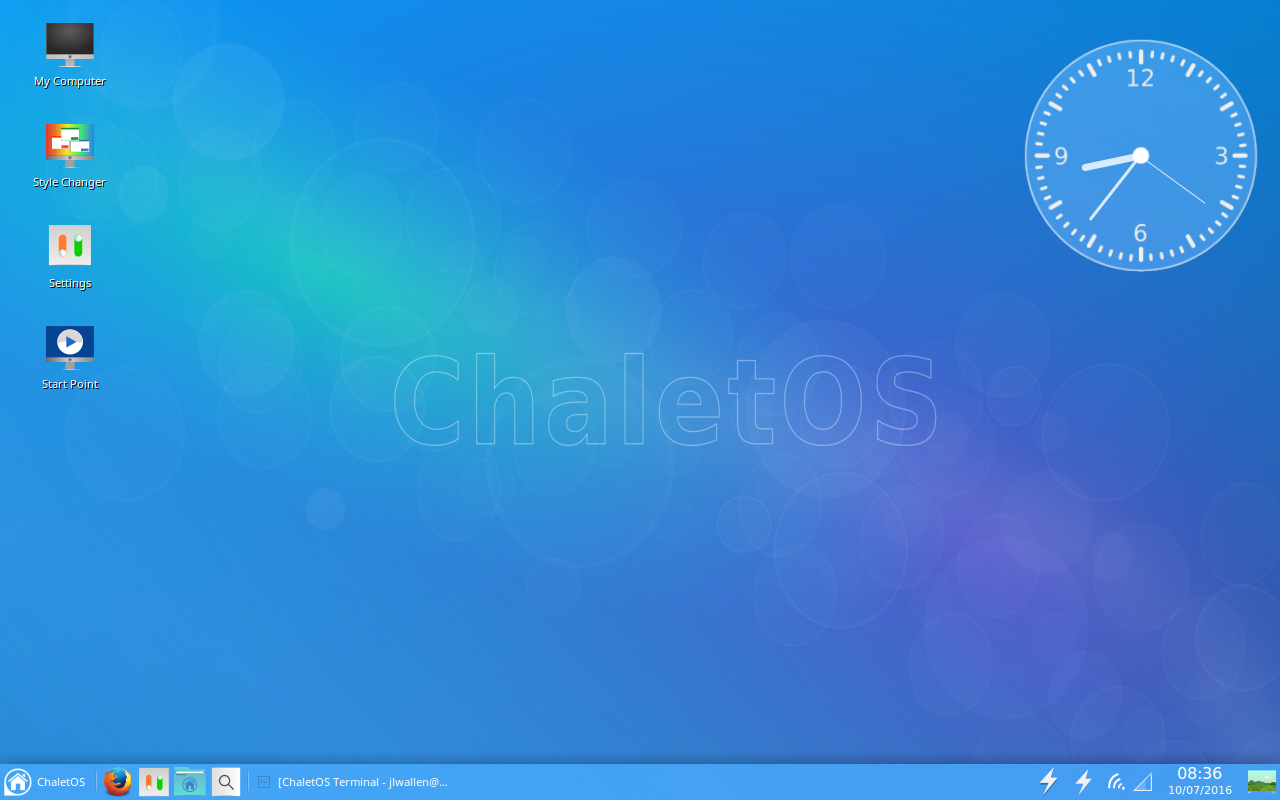
Before you can get “under the hood,” however, it’s hard to not see exactly what developer Dejan Petrovic was shooting for with ChaletOS.
He succeeded.
What makes this so “Windows-y”
The first thing you should know is that ChaletOS is based on Xubuntu—which indicates the look and feel was achieved via Xfce. Added to this desktop were a number of tweaks focused on giving the user the ability to alter and refine the style, as well as the inclusion of Conky. Included with this Xfce-volution is what Petrovic calls the Style Changer. The ChaletOS Style Changer is an elegant solution for tweaking the look and feel. With it, you can easily change the theme of both Xfce and Conky (Figure 2).
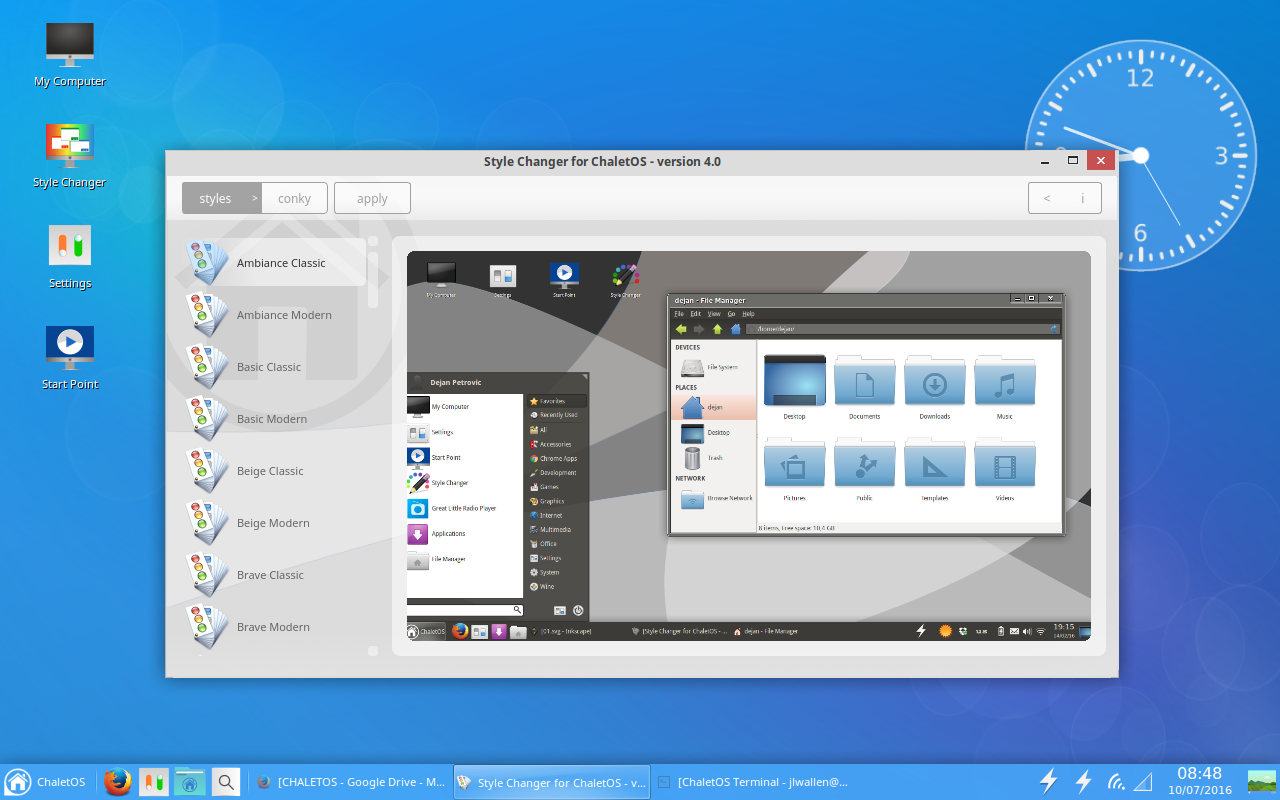
No, the Style Changer isn’t on par with the likes of Ubuntu Tweak, but when you glance at the ChaletOS Settings manager, you have everything you need to tweak the platform to perfectly meet your needs.
Click on the ChaletOS Start Menu, and you’ll see yet another familiar landscape (Figure 3).
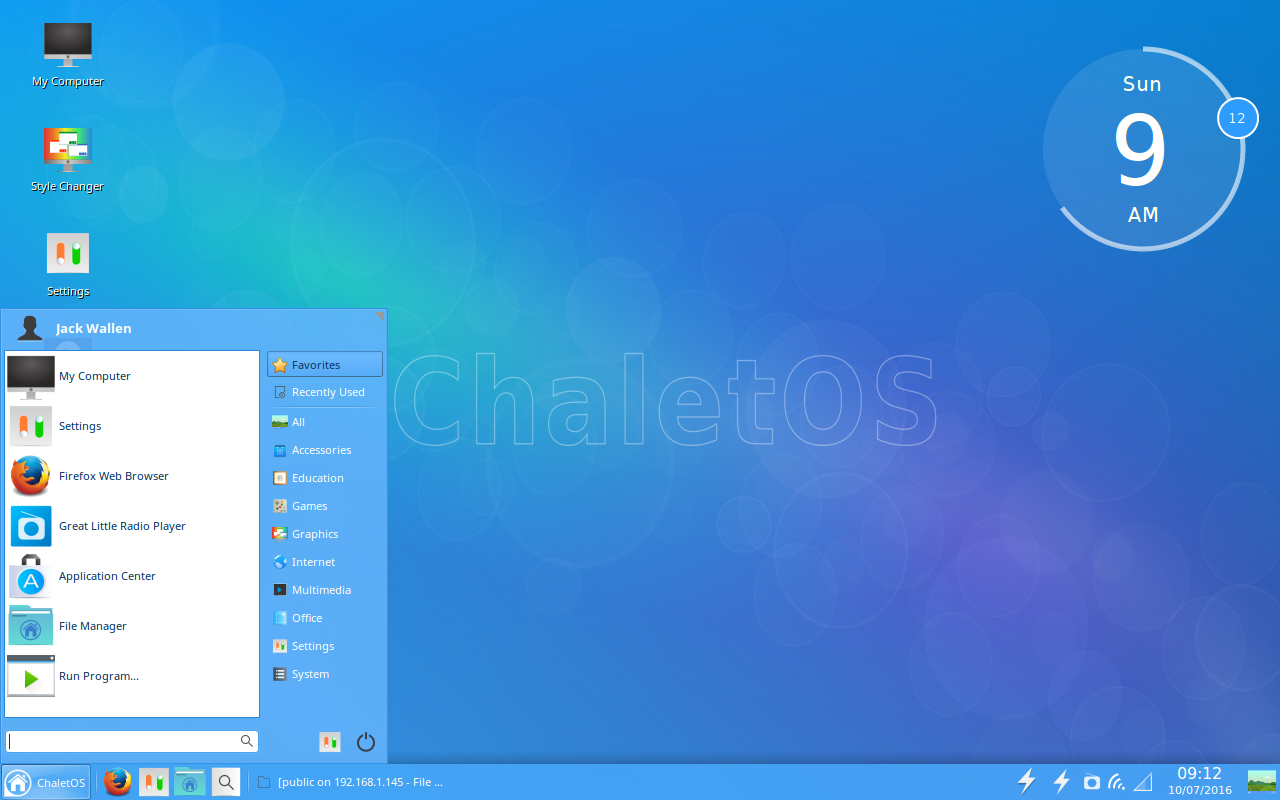
Within the Menu, you’ll find all the standards:
-
Favorites
-
Recently Used
-
App/configuration categories
-
Quick access to Log Out/Shutdown/Reboot
-
Quick access to Settings
-
Search
The Start Point
I recently wrote about another very user friendly Linux distribution—Linux Lite (see my post “Linux Lite 3: The Ideal Platform for Old Hardware and New Users”). Although I wouldn’t say ChaletOS knocks Linux Lite from its new-found perch atop the “best of” throne, it comes close. One reason I believe ChaletOS to be a solid distribution for new users (besides its ultra-familiar interface) is the Start Point app. Open this app and you’ll see a world of possibility (Figure 4).
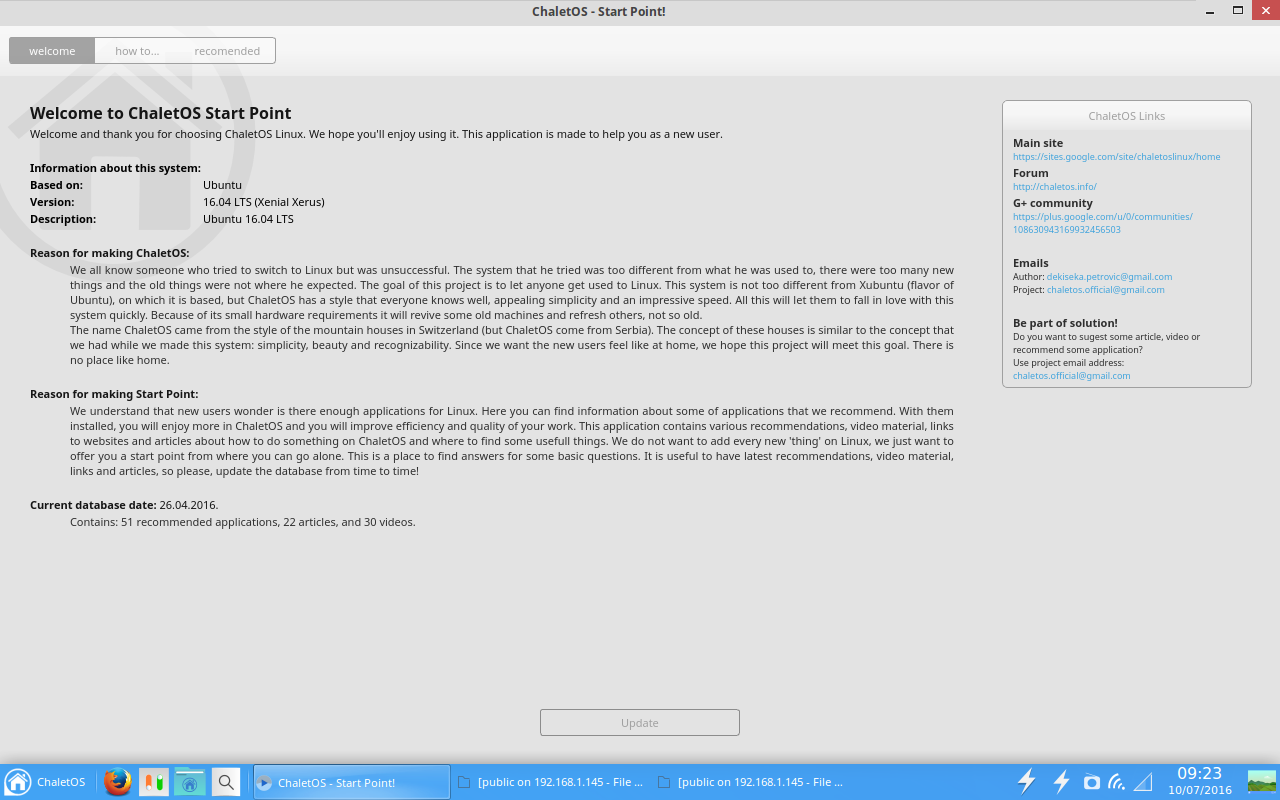
From Start Point, you can update your system with the click of a button. You can click on the How To tab and find ChaletOS-specific how to videos and articles or click on the Recommended tab and find videos about software that can be installed on ChaletOS.
I’ve been thrilled to find more distributions including apps like ChaletOS’s Start Point. Any distribution that plans to focus on new users should consider these help centers a must-have. ChaletOS’s Start Point would be a great reference for any developer hoping to snag a piece of the new user pie.
The caveats
So far so good, eh? At first blush, ChaletOS looks and feels like a distribution that will make a lot of noise in the Linux landscape—as it should (it’s a fine platform). That doesn’t mean it’s perfect. I will say, however, the imperfections will seriously depend on the level of user we’re talking about. Let me explain.
For the new user, ChaletOS should only suffer from a bare minimum of issues. The only glaring issue I found is that, out of the box, there is no office suite installed. I usually expect to see LibreOffice or (if I’m dealing with a minimal distribution) AbiWord. Instead, what I found in the “Office” menu was a listing of applications that wouldn’t suit the needs of any user level:
-
A PDF viewer
-
A dictionary
-
An ebook viewer
That’s it. In order to work with office documents, you’d either have to sign into your Google or your Office365 account or install an office suite. For users familiar with installing applications on Linux, that won’t cause the slightest hiccup. New users, however, will have to know to visit the Application Center and then search for LibreOffice. Sounds easy, right? I’ve worked with users for whom that process isn’t exactly second nature. To that end, I would highly recommend, to the developers of ChaletOS, that LibreOffice be included in the default installation. The less new users have to do out of the box, the better.
The next caveat jumps up a user level or two. Most Linux users I know like to be able to really tweak their desktops. Although ChaletOS has an outstanding tool for selecting from a number of styles, adding new styles to the system isn’t at all intuitive. In fact, it took a bit of digging to locate where the Conky themes are stored in ChaletOS. Open up a terminal window (press [Ctrl]+[t]) and then issue the following command:
cd /opt/extras.ubuntu.com/chaletosstylechanger/conky
Now issue the ls command and you’ll see all the included Conky styles. I attempted to add a few new Conky themes into that directory, but the attempt failed. And considering there’s no clear way to add Conky themes from within the Style Changer, your best bet is to install the Conky Manager app (outlined here “How to Install and Configure Conky”). Once the Conky Manager app was installed, the downloaded Conky themes were simple to apply.
Naturally, the new user isn’t going to dive deep into the muck and mire of Conky and will (most likely) stick with the few included themes. But, it would be nice to have the ability to easily install a few new themes out of the box.
The final verdict
Although I happen to be a fan of the new world desktop order of GNOME, Unity, and elementary OS Freya, I cannot help but feel a sense of great respect for what ChaletOS is not only striving for, but achieving. Dejan Petrovic has created a desktop that not only works well with lesser powered hardware, but with lesser “powered” users. Anyone that knows Windows 7, would be instantly at home with ChaletOS. It’s easy to use, easy on the eyes, and easy on the system resources.